We devoted a long friday night and another full Saturday to this bathroom project. Here is the update.
Kathryn is a fantastic project planner and made us some great lists to help us keep track of everything we need to do on this project. It’s a daunting list, but doable in bite size pieces...we think.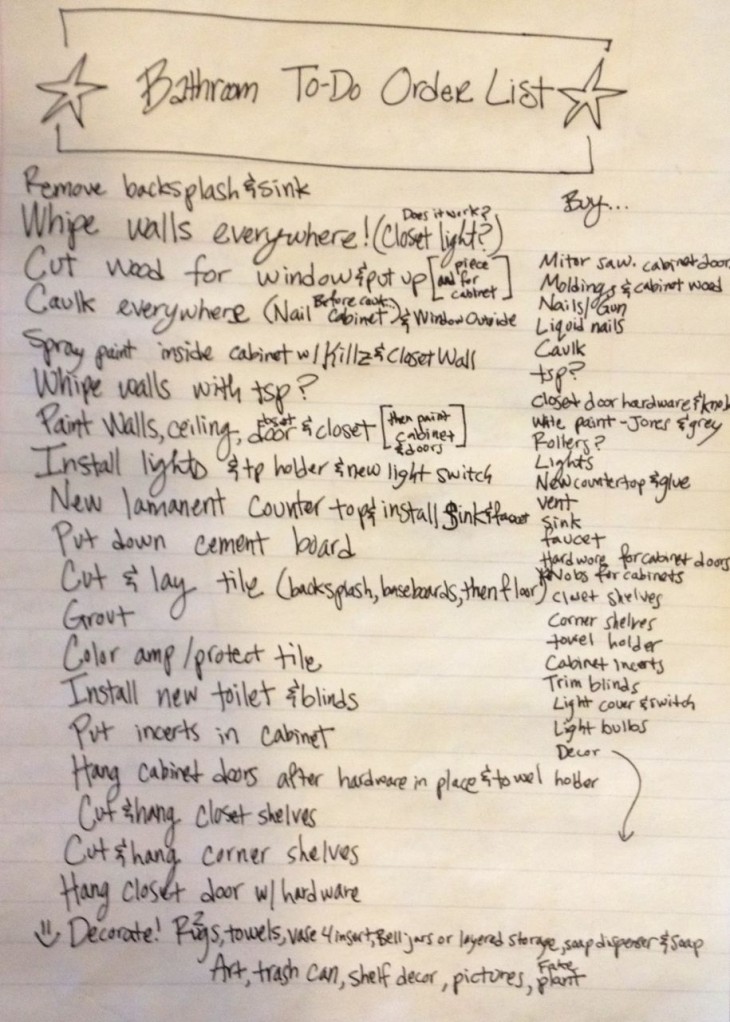
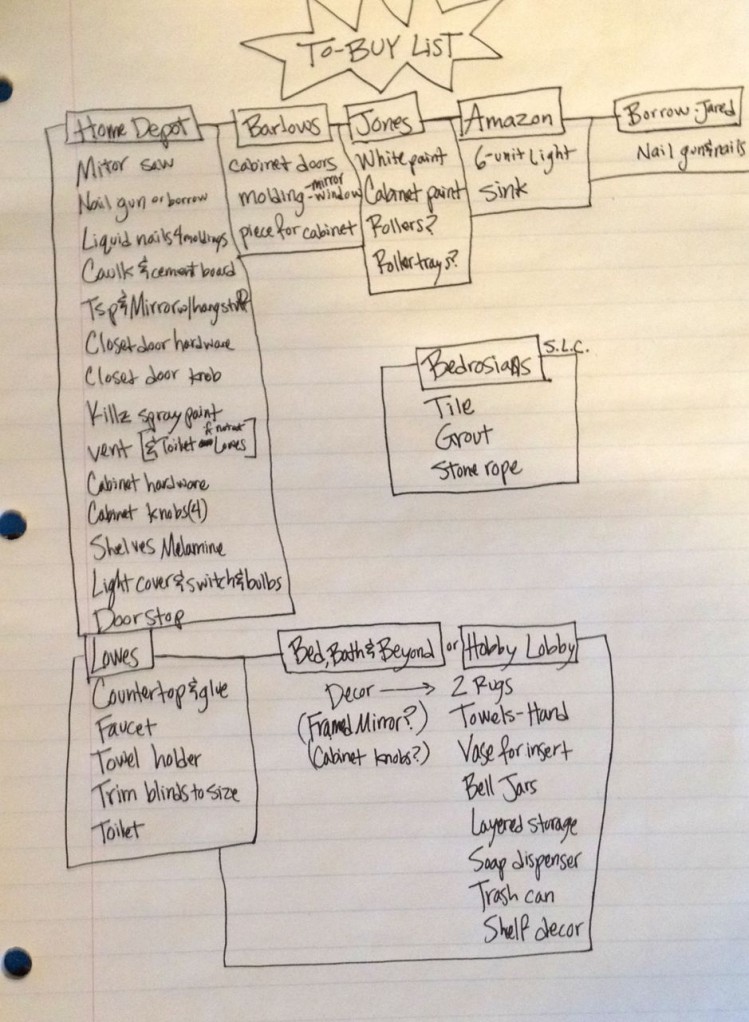
This was our Friday date night project. We had planned on getting the molding from Barlows in Springville, but they weren’t able to cut it in time. On our Home Depot supply run, Kathryn found some other molding that would also work, plus it was pre-primed! So we bought the molding and other stuff and headed home to get to work. I got to use my recently acquired miter saw for the project. We also used the old table saw Dad gave us when we worked on the fireplace project. We measured thrice, and cut once and got everything to work out nicely. Now we just need to caulk and paint it.
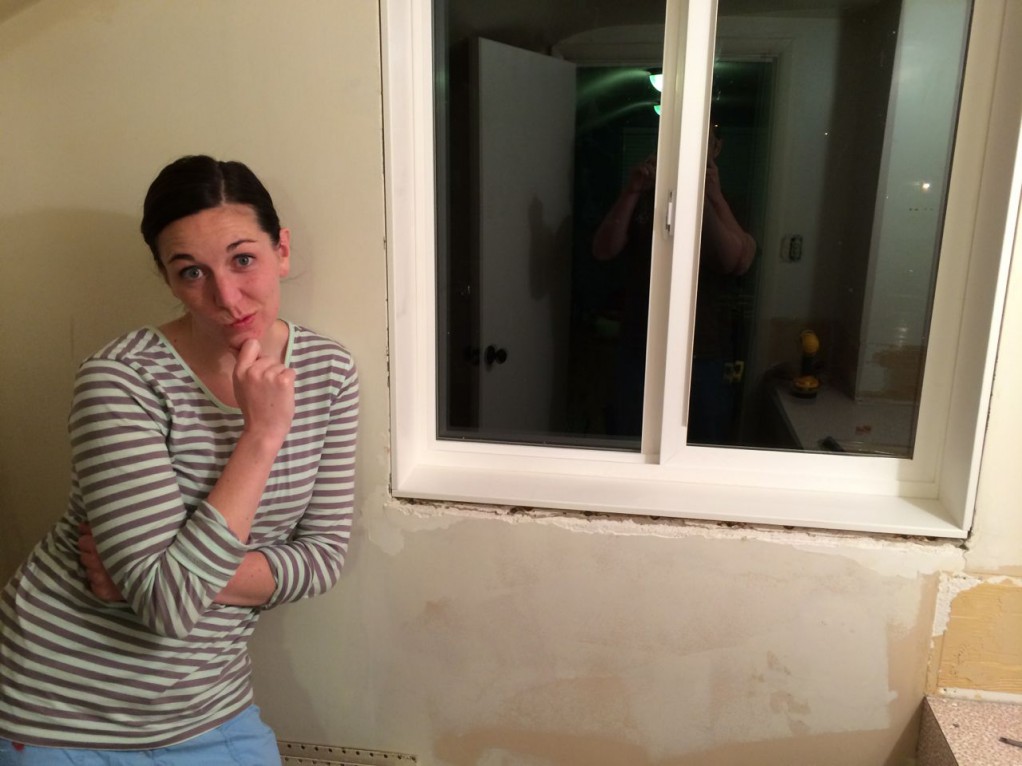

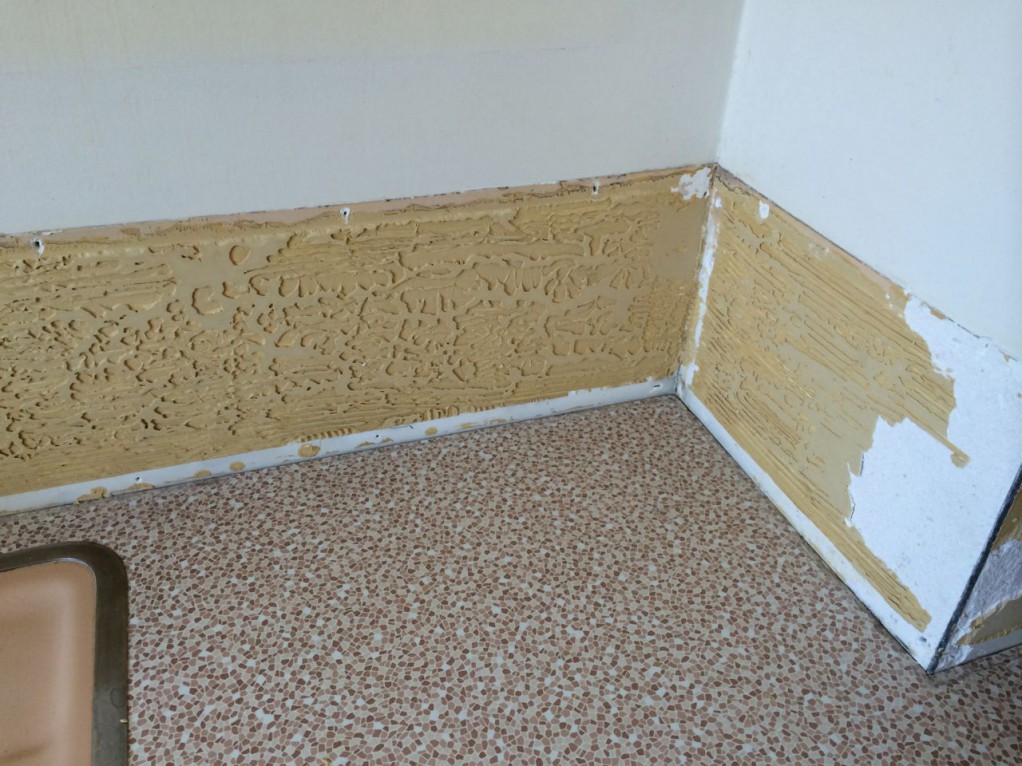
We were able to get the backsplash off the wall.
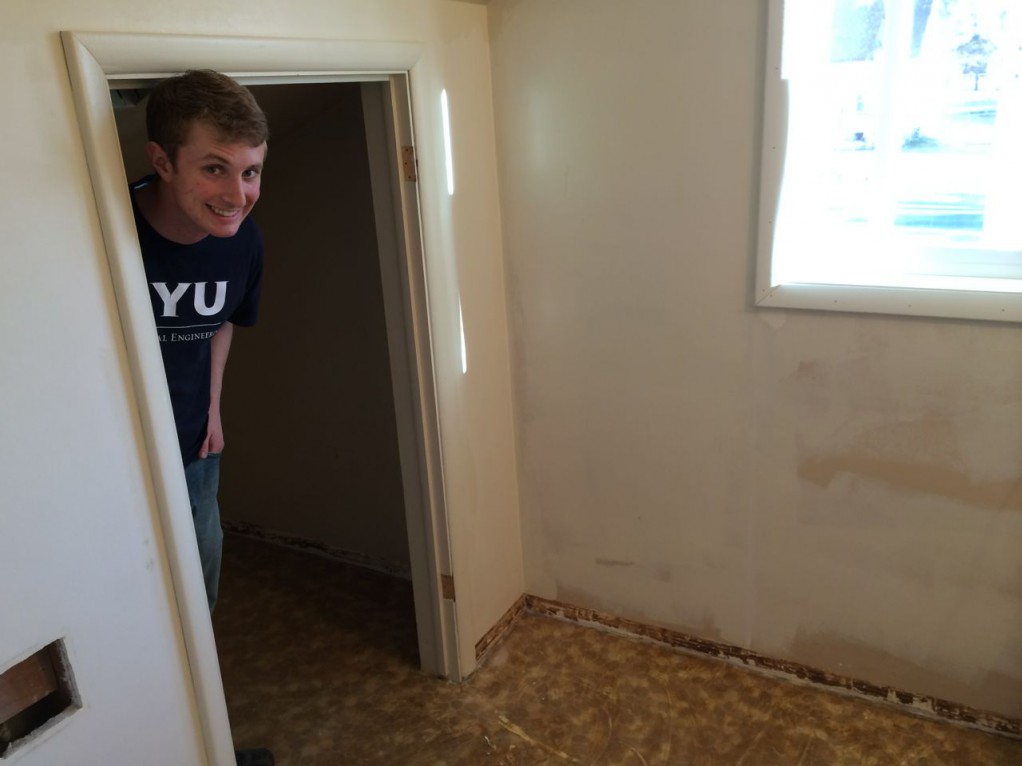
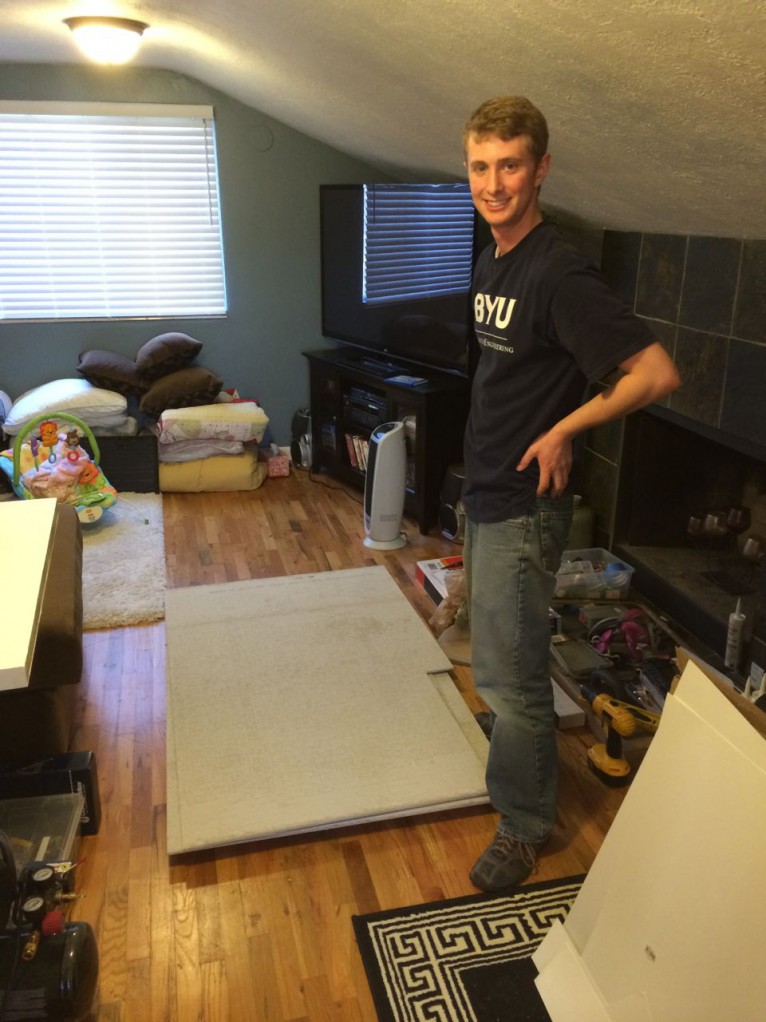
Kevin was very generous to come over for the afternoon and help. He was instrumental in getting the backer board down. We used poster board as a template for the tricky corners that weren’t square. We got all the pieces cut and laid out, then stacked in the other room ready to go once the mud was down. I bought a mud mixing beater to mix the mud with, but the corded drill was geared to high and couldn’t spin it. I made quite the mess trying to mix the mud with it though. I had the drill at full throttle but barely moving and I started to pull it up out of the bucket a little when it suddenly started spinning and made a huge splash of the soupy water on top of the mud. We thought we were beat, but then we tried the battery powered drill on low gear and half the batch of mud, and we were able to mix it. Once the mud was mixed, we were on the clock and we had to move fast. We got all the boards laid down, screwed them down as fast as we could, then taped the seams. All in all, I think it went pretty well considering how we started out failing to mix up the mud.
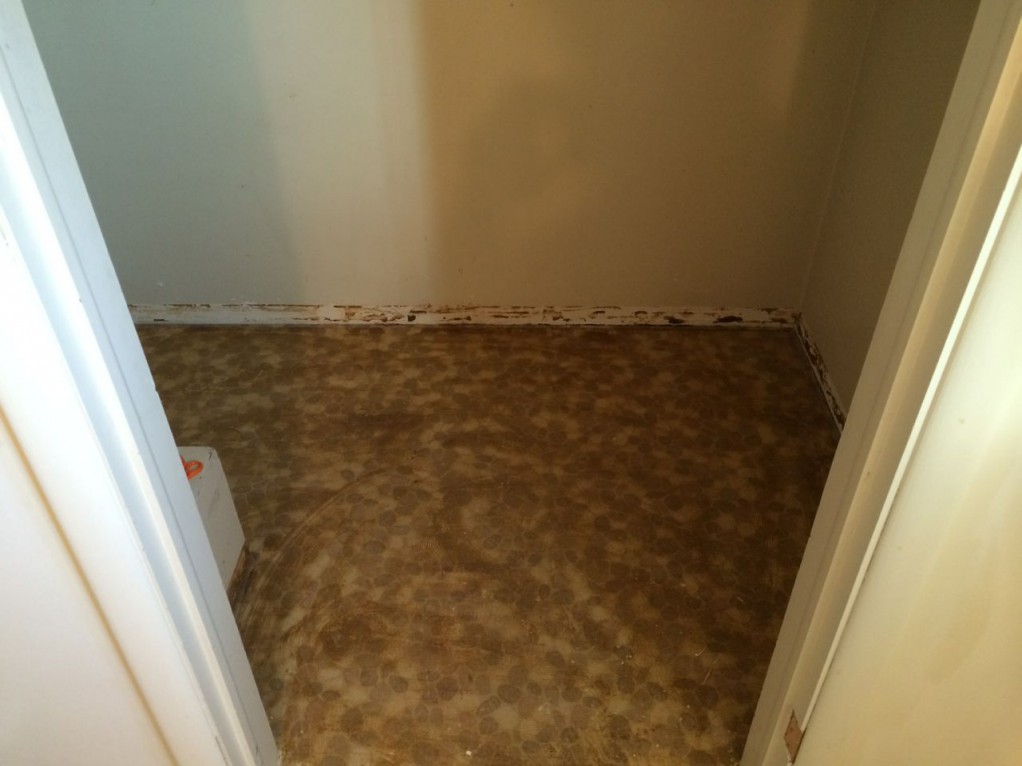
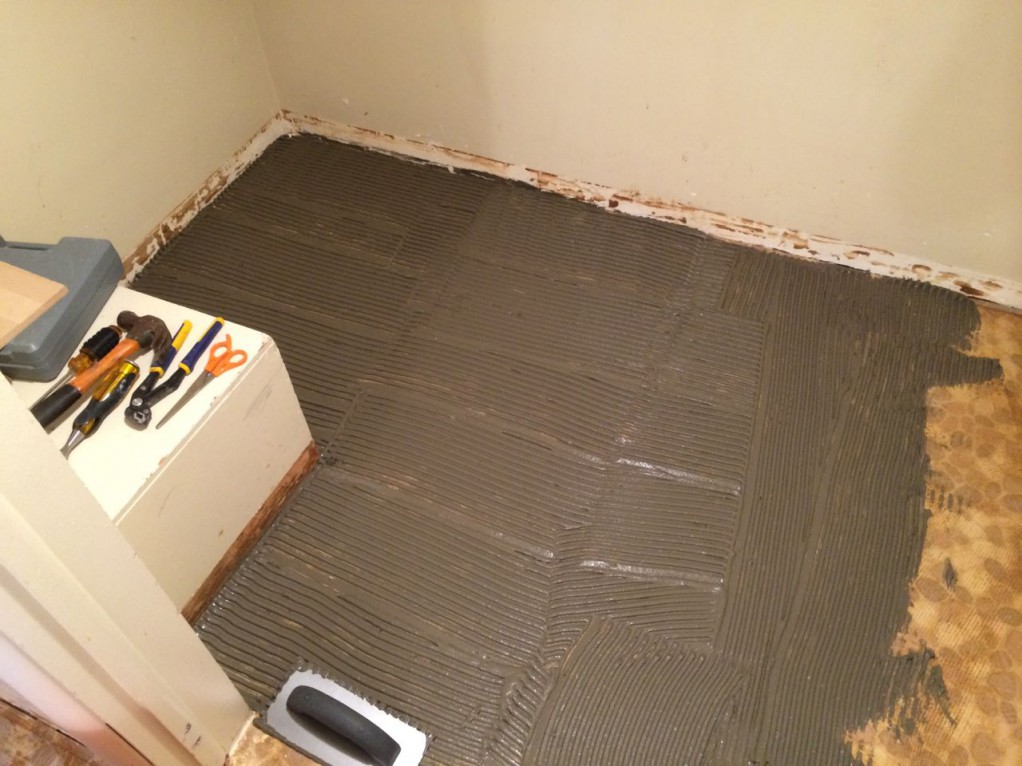
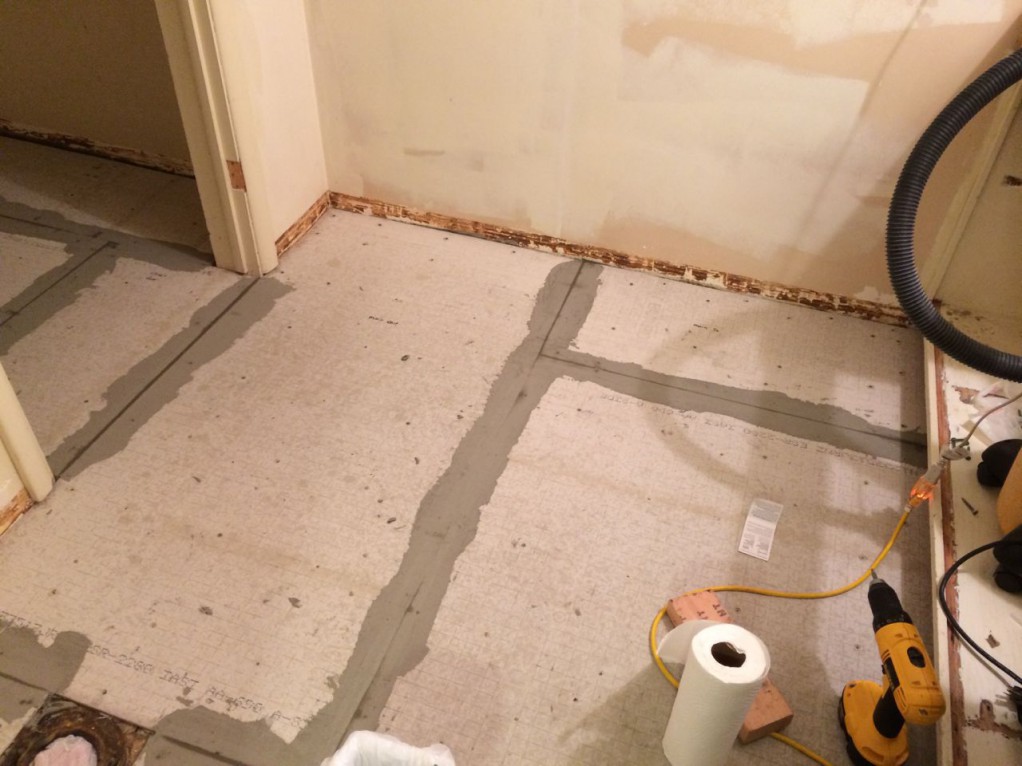
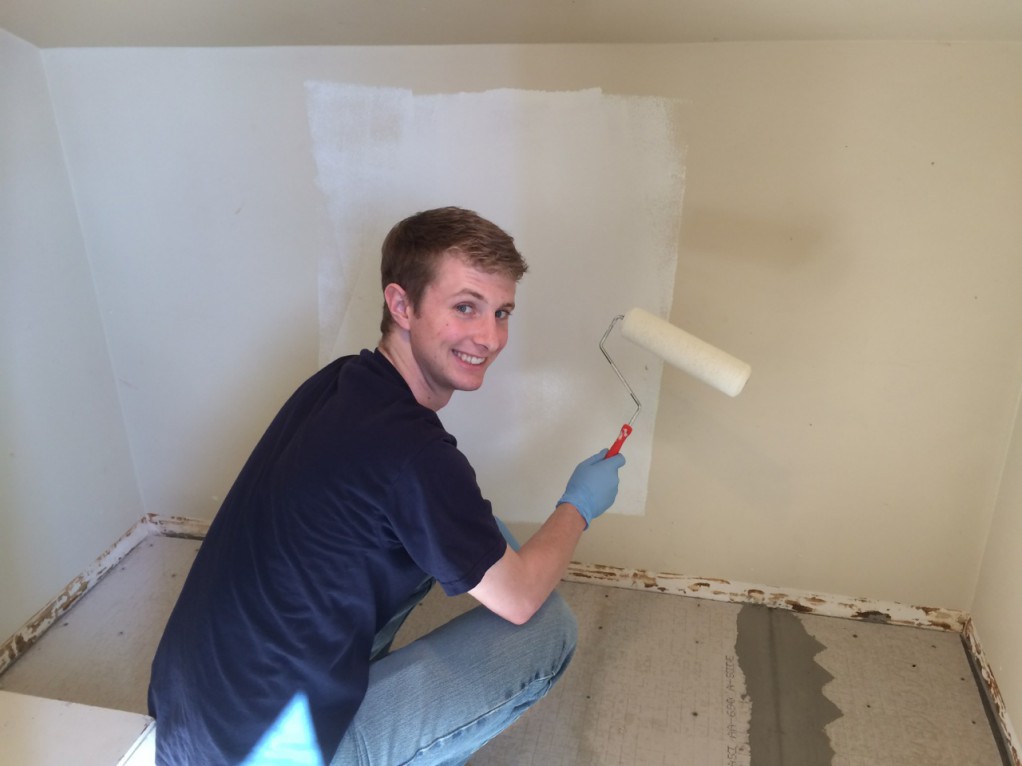
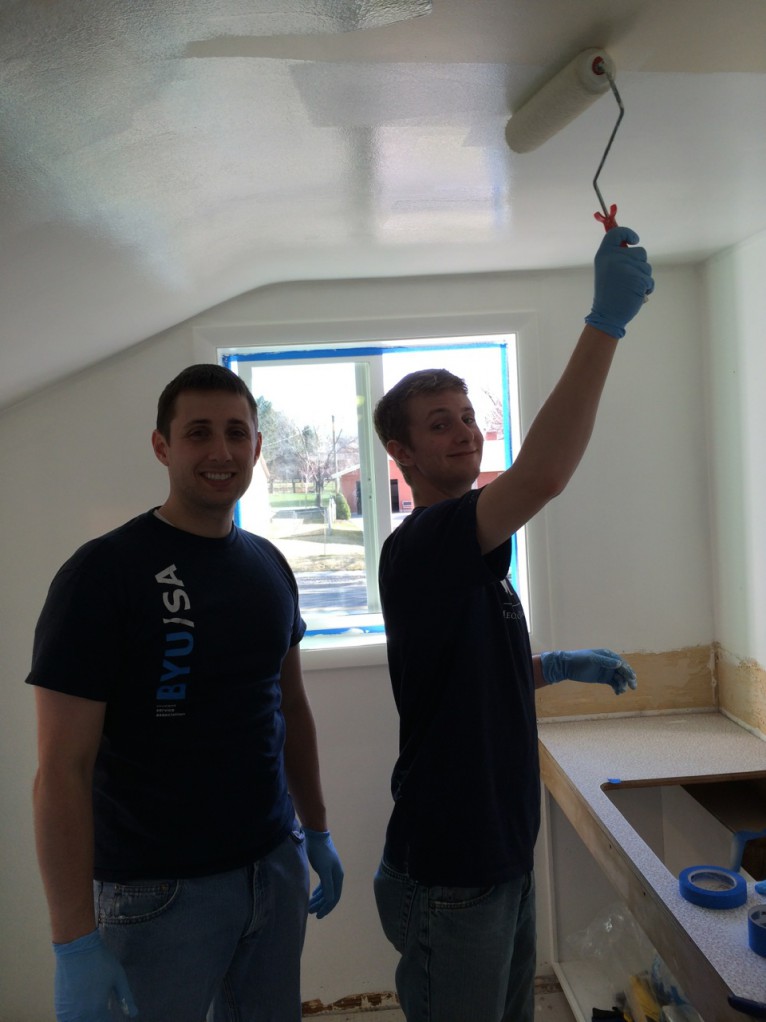
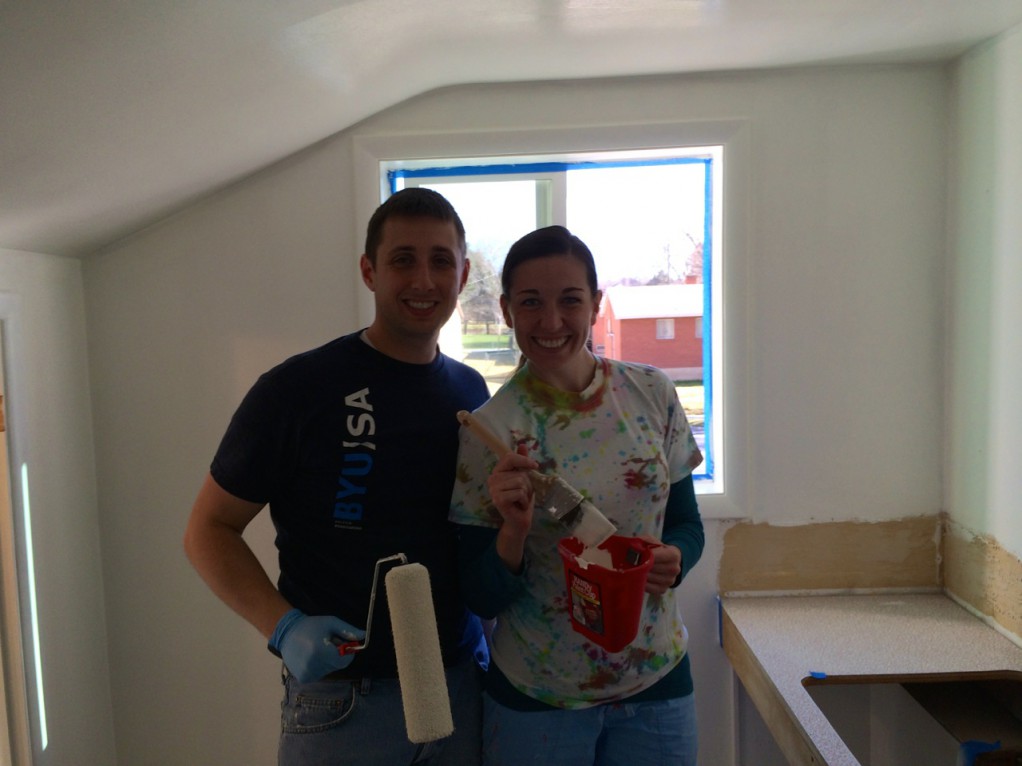
In addition to the floor, we got the sink out and worked on the countertop and got it all sanded and ready the new one here in the next while. Next up, caulking and painting. More to come as it comes.
