We have a laundry room! It’s amazing how much you can do when you have a goal you are committed to. Last week, we set a goal to get the washer and dryer moved over into the new room by this weekend. It was definitely a stretch goal. There were a lot of steps to accomplish. We worked really hard and got it done.
It was not an easy process getting them moved over. There were several steps that needed to be accomplished.
- Electric
- Install the basement subpanel
- Run the beefy 6-3 wire from the subpanel to the main panel
- Wire up the new outlets in the laundry room
- Water
- Run a new water line to feed the washer and the sink
- Insulate the hot water lines
- Get the 1″ sprinkler line installed that runs above the washer and dryer
- Vent
- Drill a 4 1/4″ hole in the steel coal chute door
- Plumb in the new vent line
- Drain
- Finish running the drain line
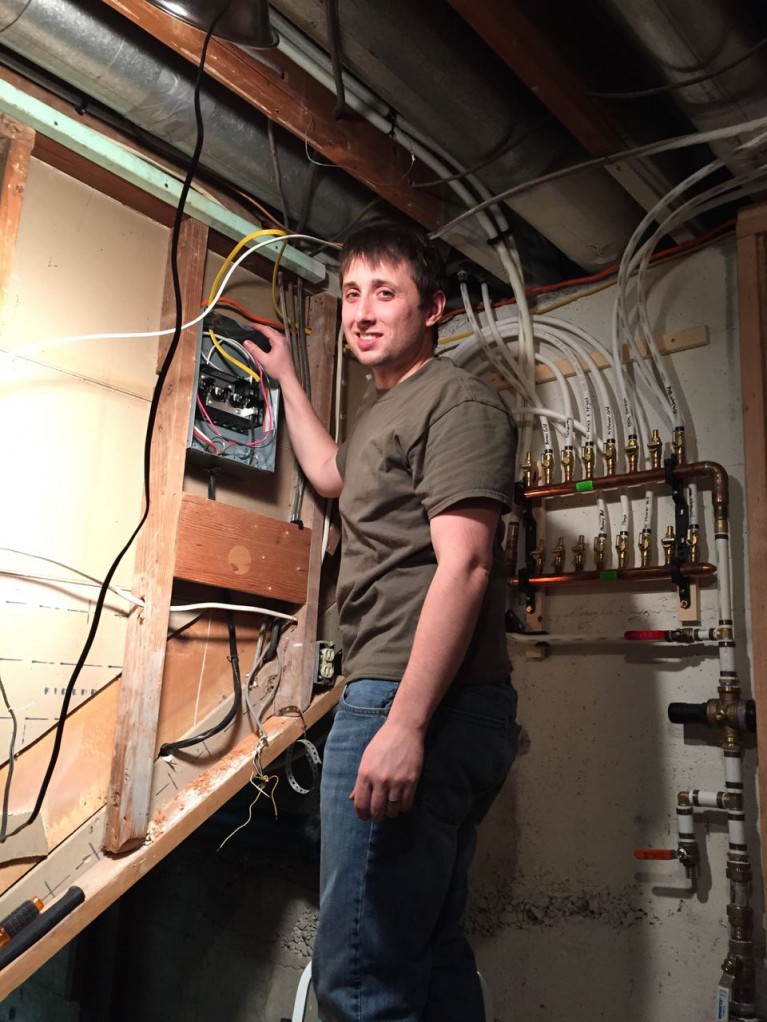
Here we are last week working on running the new wire to the subpanel. We had to cut some access holes in the wall to make the run. We pulled the new wire into this crazy junction box, which is the old circuit breaker panel and then into the main panel. The actual main panel is right behind this large box on the outside of the house.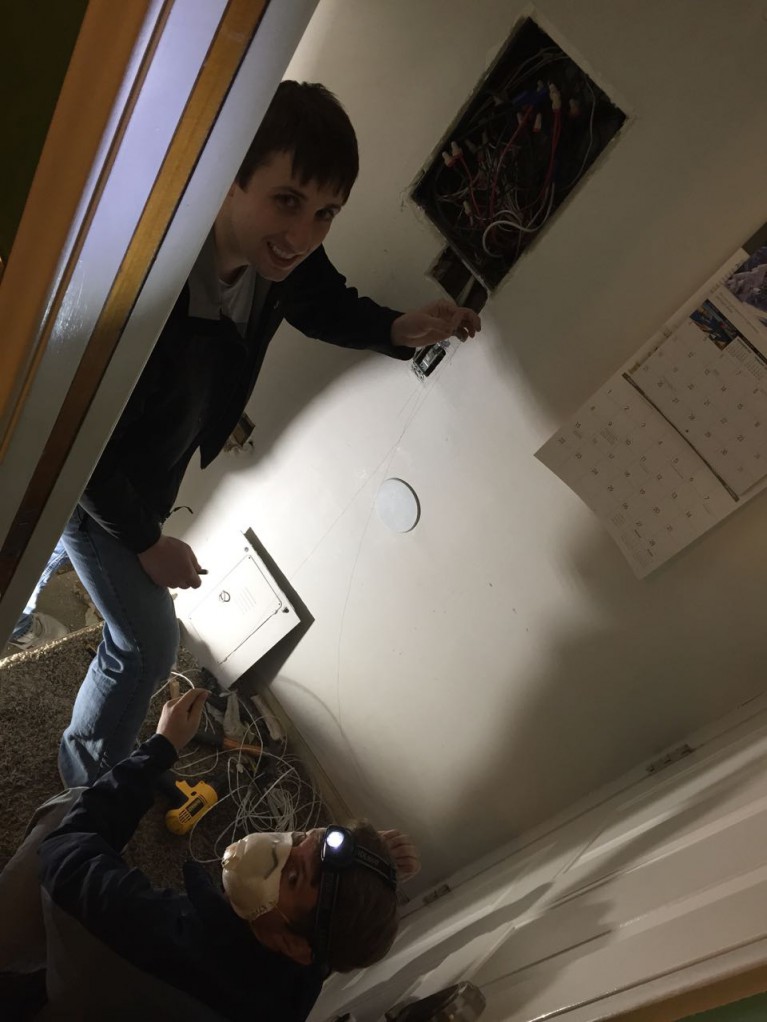
Heres what it looks like so far. We have a couple more circuits to put in when we do the bathroom.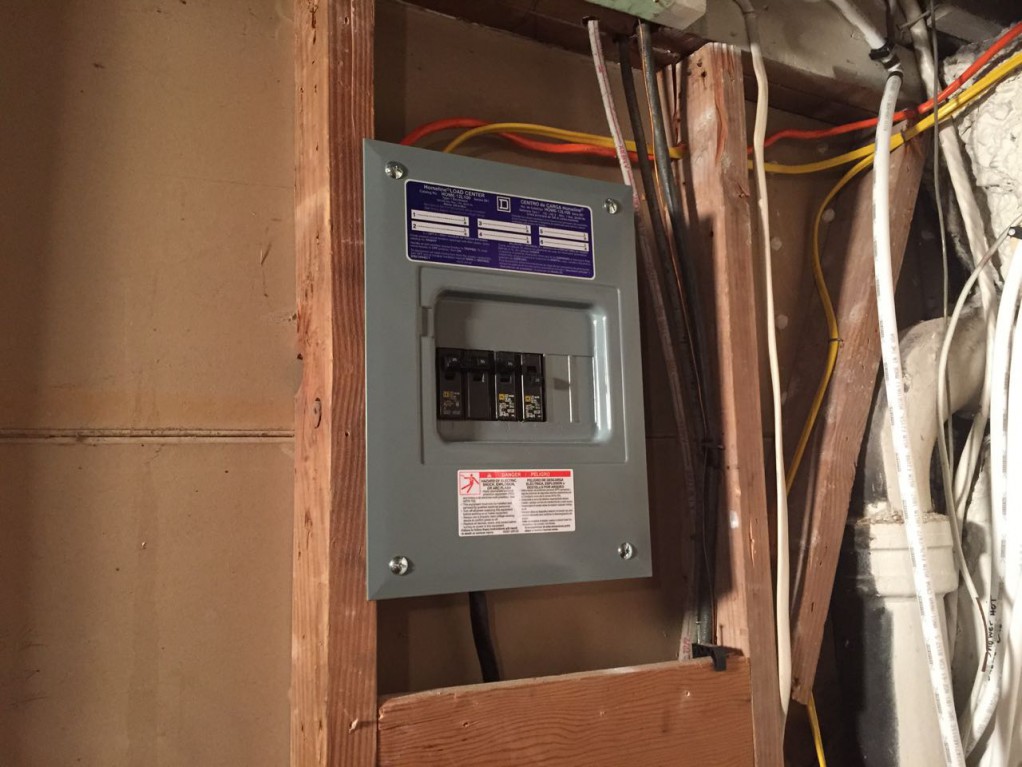
Getting the new dryer plug wired up and ready to go. I’m getting tired. This is 9pm on Friday.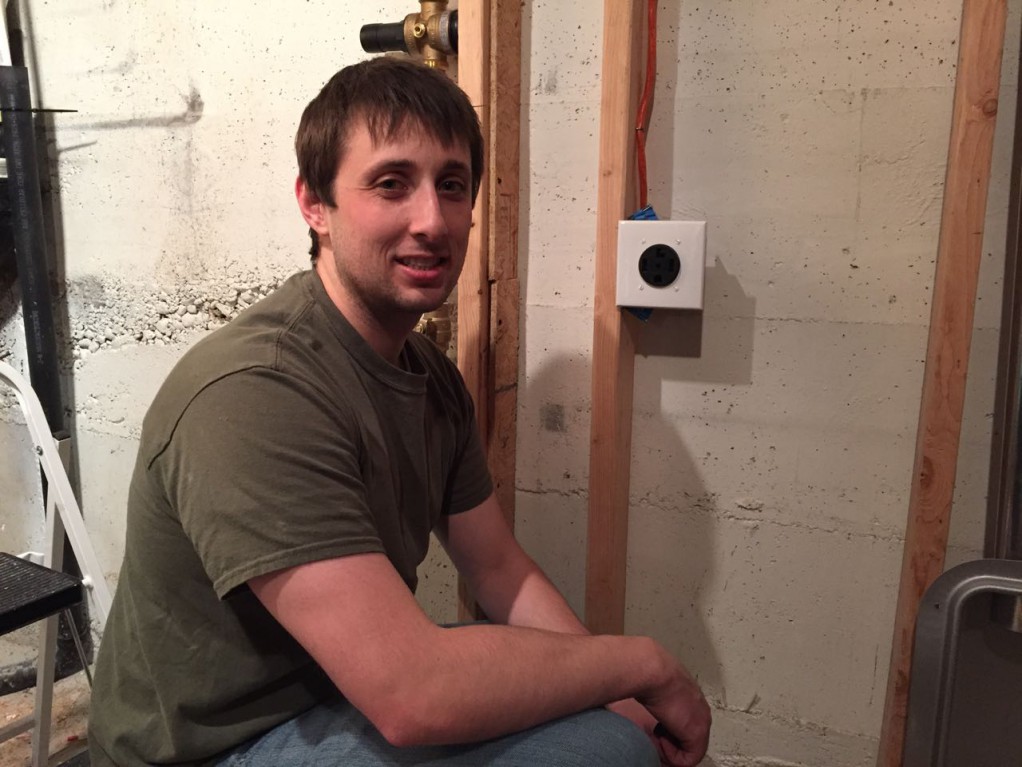
The drain line is now finished. Time to call it a night. 10pm Friday.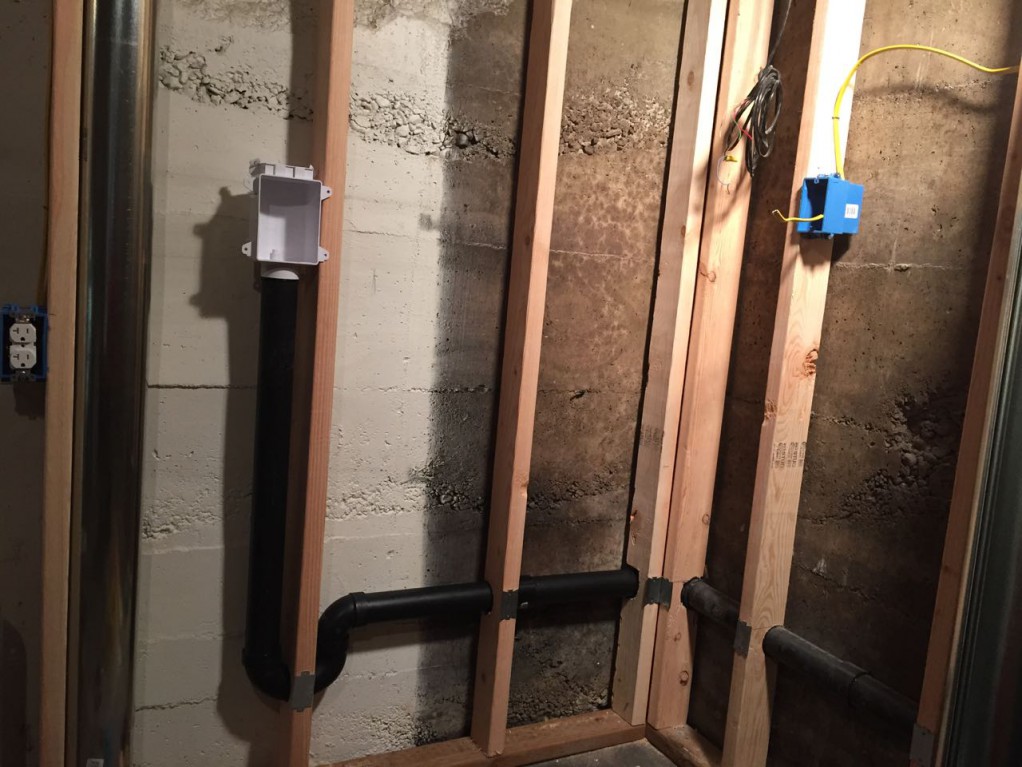
Saturday must be here. We both look rested and energetic. After a run to Home Depot for various supplies, we started working on cutting the hole in the old coal chute door. We’re using the coal chute space for our dryer vent. Kathryn is holding what used to be a hole saw, R.I.P. After figuring out where we needed the hole, I drilled the pilot hole. That went just fine. Then I touched the hole saw teeth down and they started to cut…for about 2 seconds. After the ~2 seconds, we stopped cutting the hole and started cutting away the teeth. This all happened even with cutting lube. This is a cheapo Harbor Freight hole saw that is supposed to be able to cut wood or metal. Am I surprised the saw failed? Not at all. It did make two other important holes for us, so it was worth the money we paid for it. Luckily we’ve accumulated a pretty good tool collection working on this old house and we got out our jig saw and it was able to make the cut in decent time.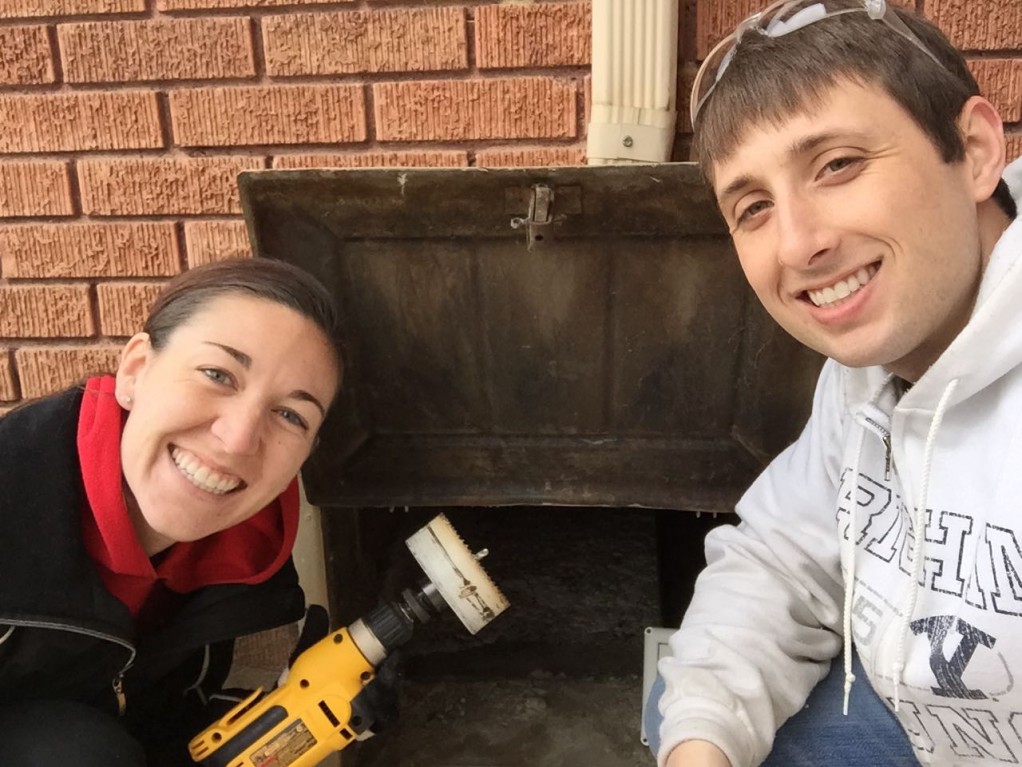
Prior to starting this basement project, we never once opened up the coal chute door. I guess we just assumed it was sealed shut. Once we got the idea of using it for the dryer vent, we pried it open to see if that would work. What we found was a straight shot right into our basement under the kitchen floor for about 5 feet. All that was keeping the bugs out was nothing. All that was keeping the heat in was an 1/8″ piece of steel. No wonder the floor under the kitchen table has always been a little chilly in the winter. Thus, the insulation we packed in around the dryer vent. This can do nothing but help make the house a little more comfortable and efficient.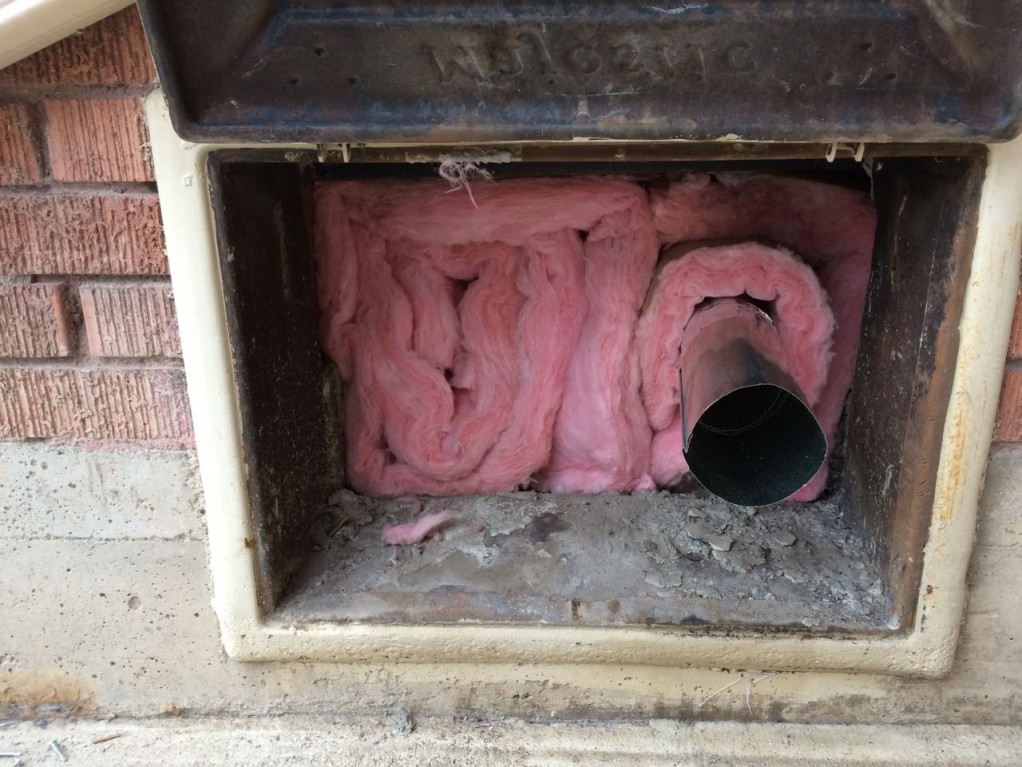
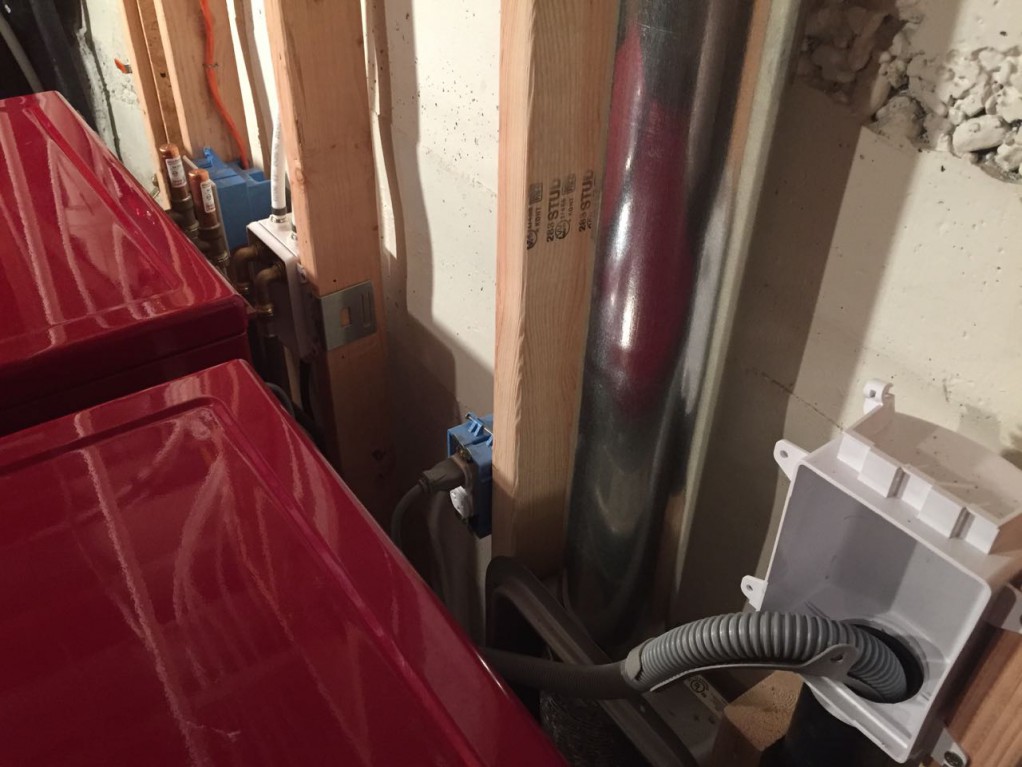
Here is a picture of the dryer vent all finished.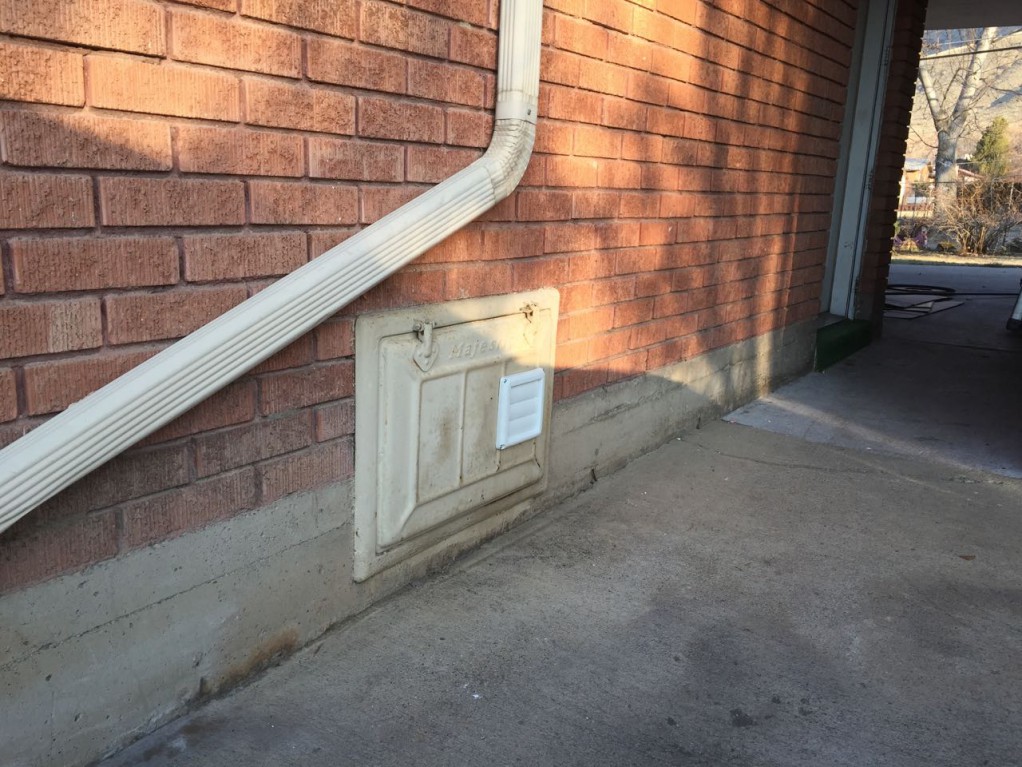
Kevin was great to come over Saturday evening and help drive us to victory. He helped me finish up a couple of the odds and ends jobs. Then he was part of the muscle of the operation. The dryer is pretty easy to move around, but the washer is quite heavy! Thankfully we didn’t have to do any stairs. Kathryn was feeling a little bad that we were doing all the heavy lifting while she was watching. I told her that there is more to an operation than just the muscle. “That’s good,” she said, “because I’d like to continue to be part of the operation.” 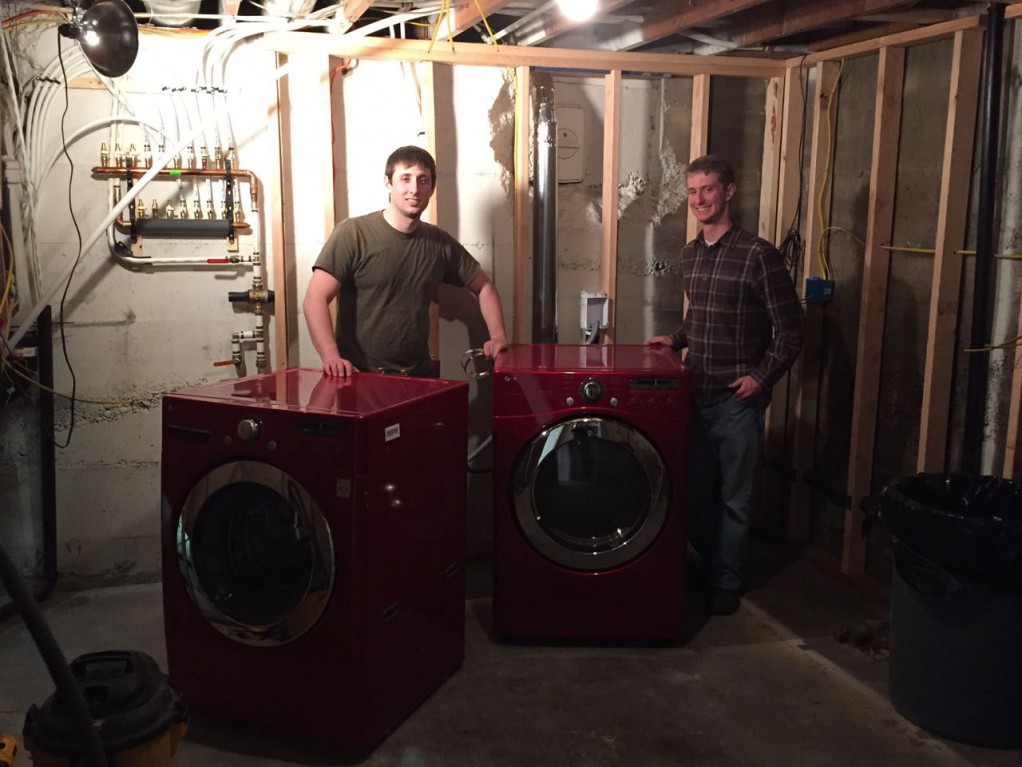
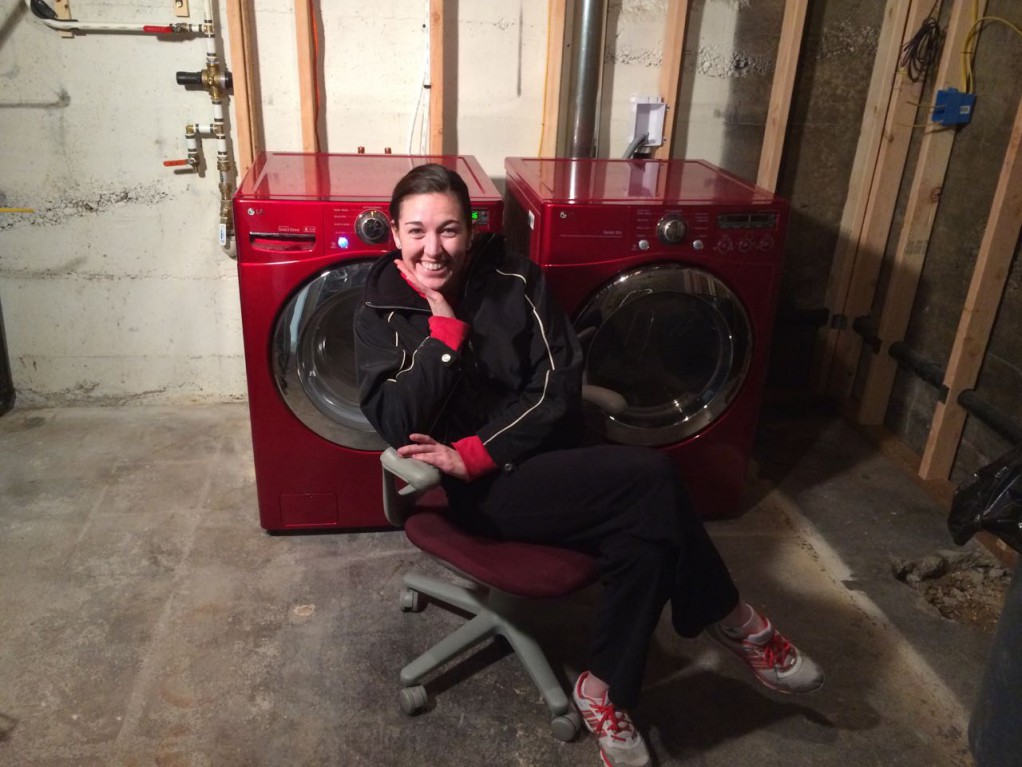
Here they are, fully operational.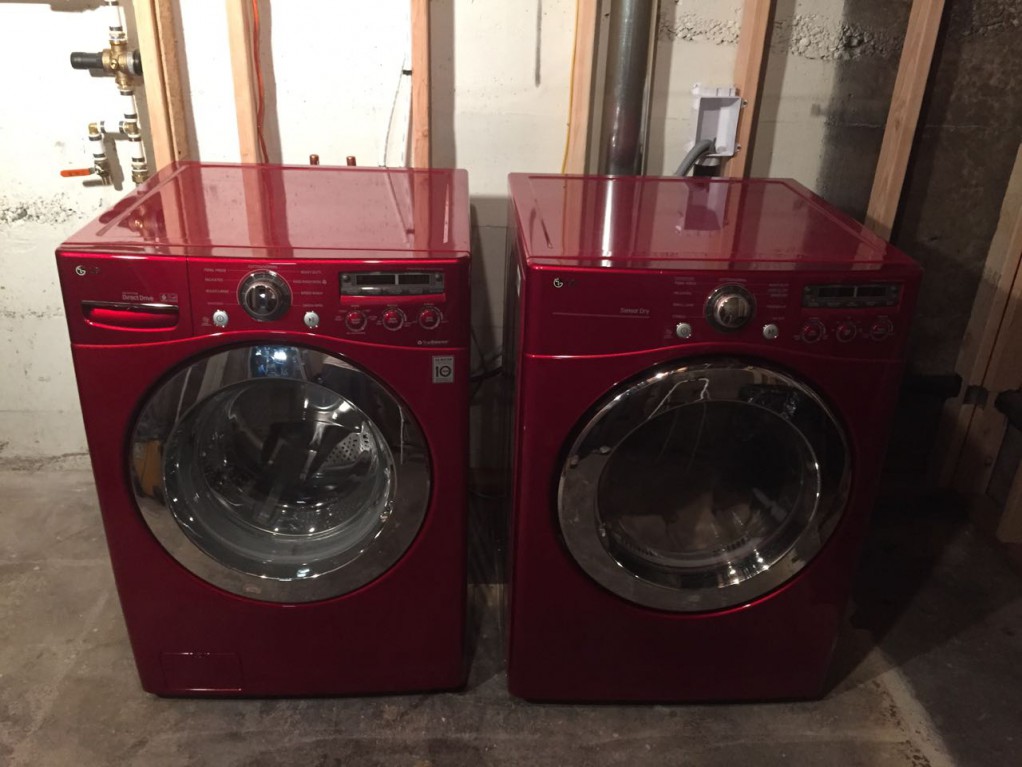
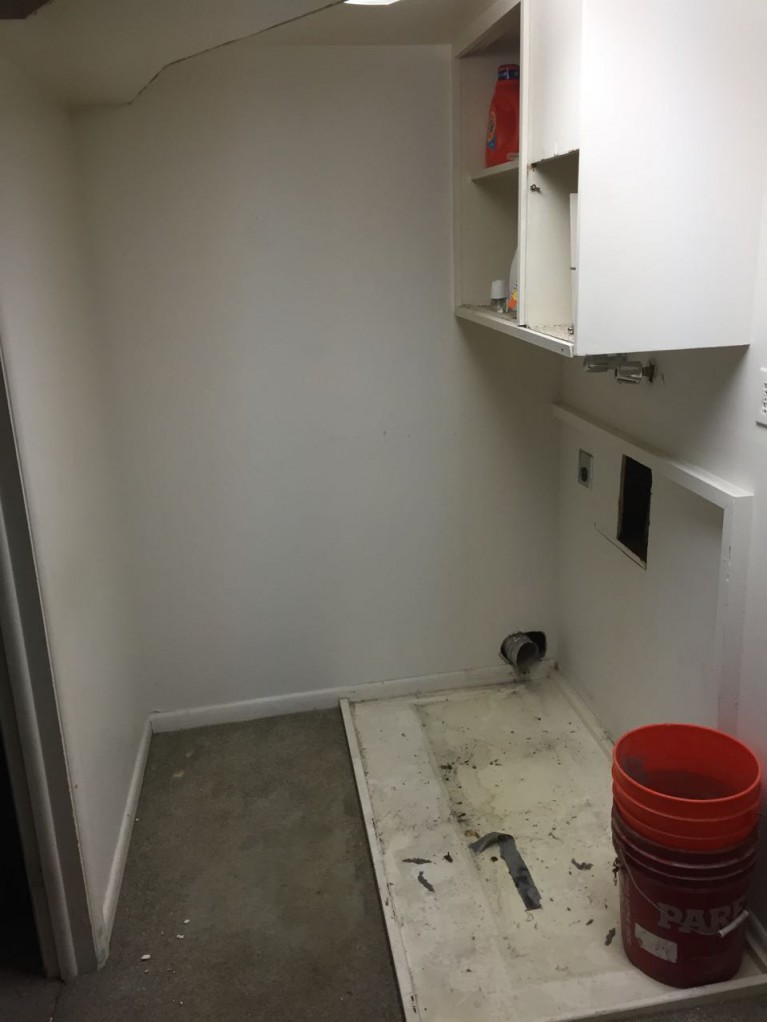
The old nook, soon to be morphed into the 2nd half of the new bathroom.