This post is about my trip to England. A little over a month ago, I was asked at work if I’d be willing to go to London for a work meeting. It wasn’t for sure yet, but likely that the trip would happen in December. I talked with Kathryn and we decided that I should go. We originally thought about making it a family trip of sorts, but with Eliza being so small still, we decided the time wasn’t right.
Things progressed along, and about a week before the trip was to be, we finally got the word that the trip was a go. We got our tickets and hotel, and started making the final preparations. In the end, we left on my birthday. It’s probably the only time I’ll ever be able to say I went to London for my birthday. In order to help minimize jet lag, I got up at 4:30 am. I had plenty of time to get some last minute packing done, pick up a book I left at work, and make our traditional German Pancake breakfast, all before heading out at 7:45 to head to the airport. It almost makes we want to get up early more often. Also, along the line of birthdays, Eliza turned three months old on the same day.

On our way. SLC to Atlanta.
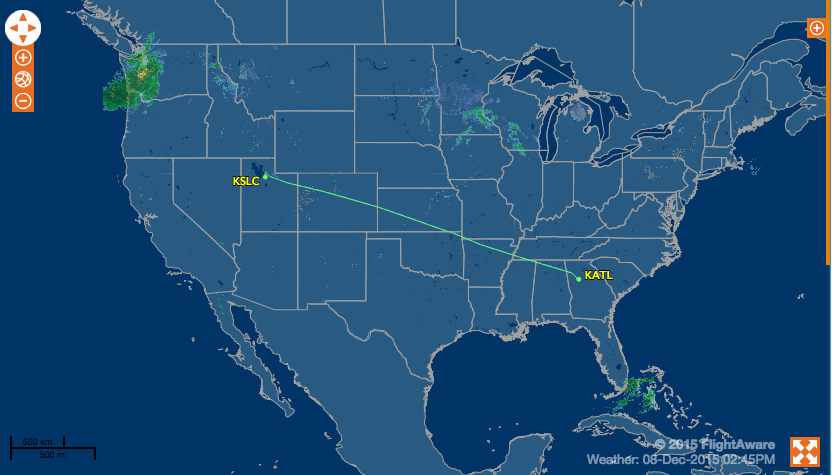
Atlanta to London Heathrow.

Day 2
I saw the sunrise on Tuesday morning, saw it set, and then rise again on Wednesday morning.

Approach into London Heathrow. You can see the Eye of London and other historic places if you look closely.

We landed around 8:30 am London time, or 1:30 am MST. I think I got about 3 hours of sleep on the plane. We caught a taxi ride to the hotel we were staying in, near the airport.

We were thrilled when we learned that our hotel room was ready, and we could do an early check in. My coworker and I decided it would be a good idea to take a quick nap before heading into London to see the sights. I set an alarm for 45 minutes. I had a bit of a hard time falling asleep, but once I did, I zonked out! Apparently, the alarm went off, waking my coworker, but not me. The alarm continued to sound until eventually it gave up and went silent. After a couple more minutes, my coworker started to say my name, but I was still out. Then he had to shake my arm to finally get me to wake up! I don’t know if I’ve ever been out that hard. I’m sure glad he woke up because we might have blown our whole day if it was just me.
I need to put a plug in here for Verizon. They have a great feature where you can pay $10 a day to have access to your regular phone plan while traveling abroad. This allowed me to use my phone like regular and have all the benefits of Google Maps at my fingertips. We made good use of it navigating the public transportation and the city. We made our way into London with buses and the Tube, or Underground. The Tube was impressive. It was also very clean.

Kathryn had done a great job of helping me prepare for the trip. She put together a To-Do list for me. Here is it:
London To-Do-for-Babe List…
?Buckingham Palace (watch change of guards or try to get guard to laugh ?)
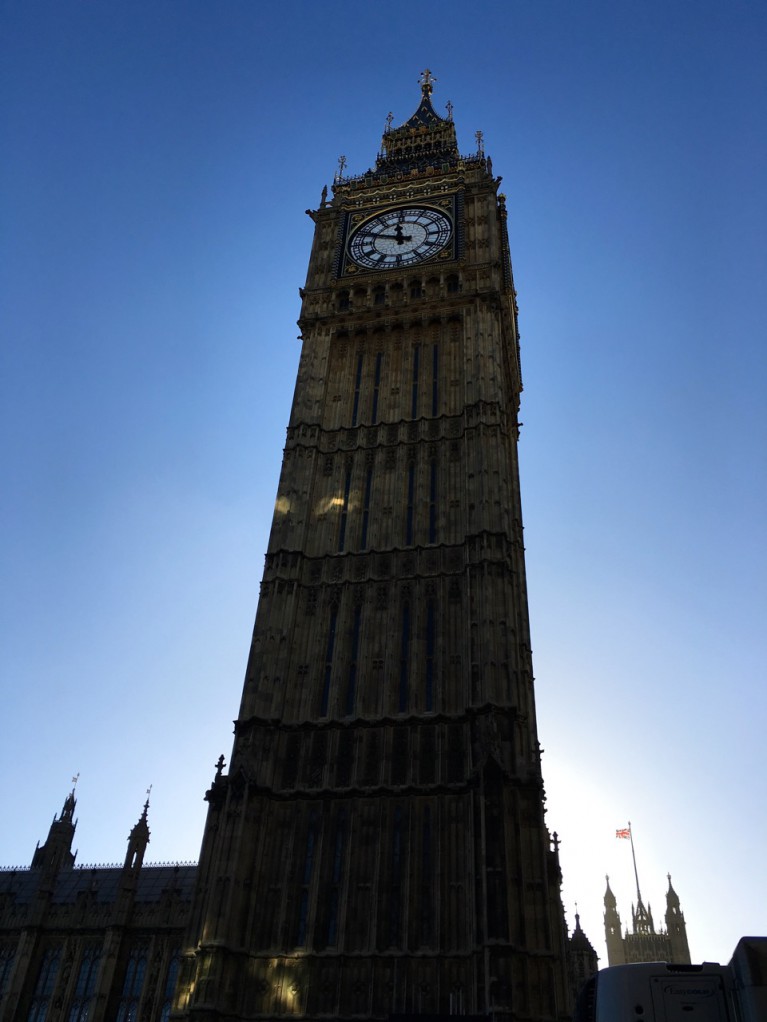
?Take a pic “chillin” by Big Ben
?Fish and chips
?Trafalgar square
?Drive by Royal Opera House
?British Museum
?National Gallery
?Science museum
?Tour the Tower of London
?Check out a red phone booth
?See a double decker bus
?Visit Hamleys (toy store)
?St. Pauls Cathedral
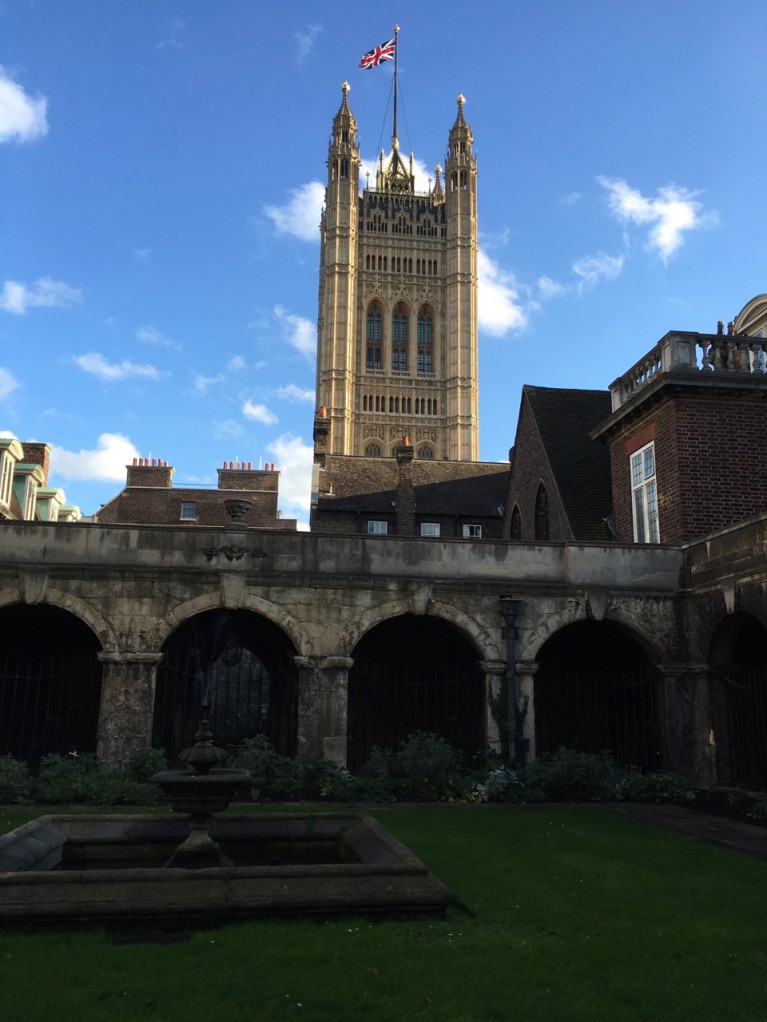
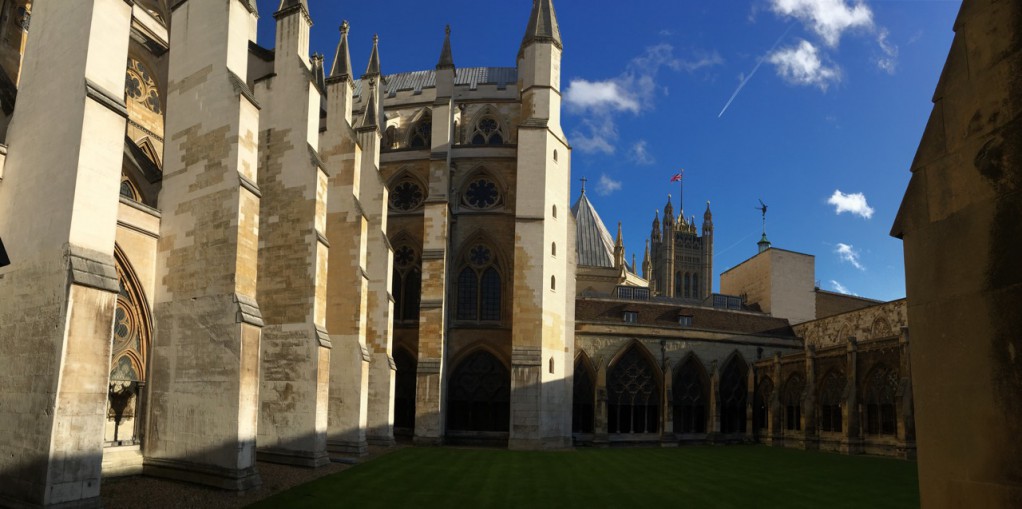
We decided to begin our sightseeing at Westminster Abbey. There we were able to see Big Ben, the London Eye, the Palace of Westminster, etc. You can see from Google Earth that this is a popular place to take pictures!



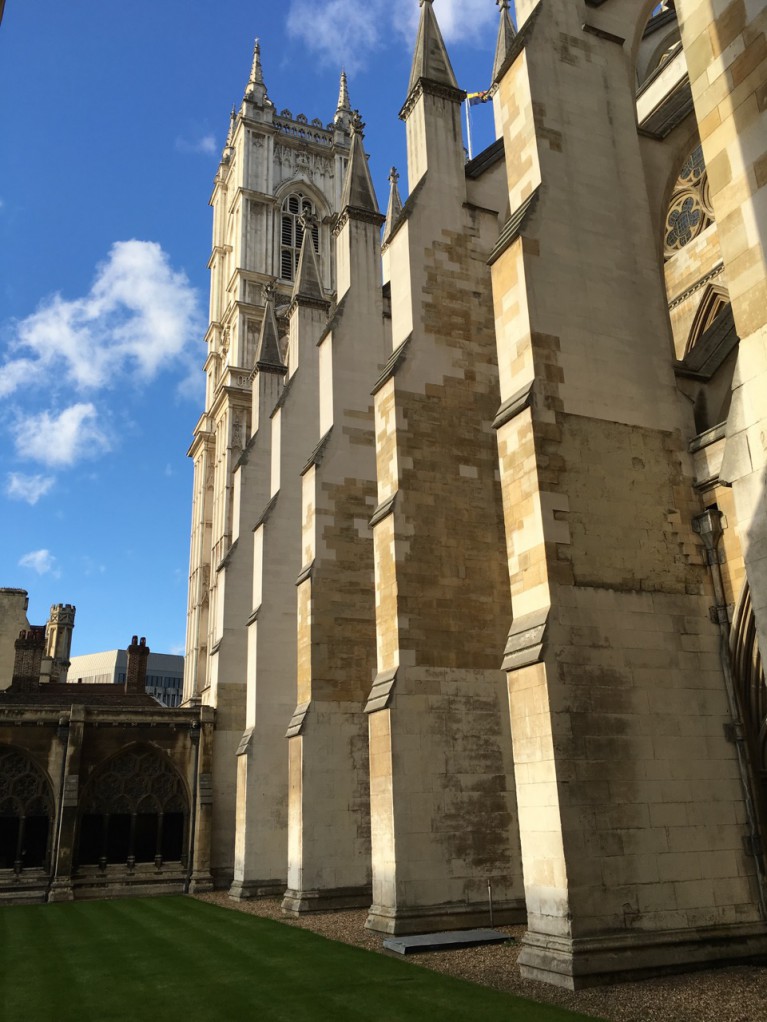
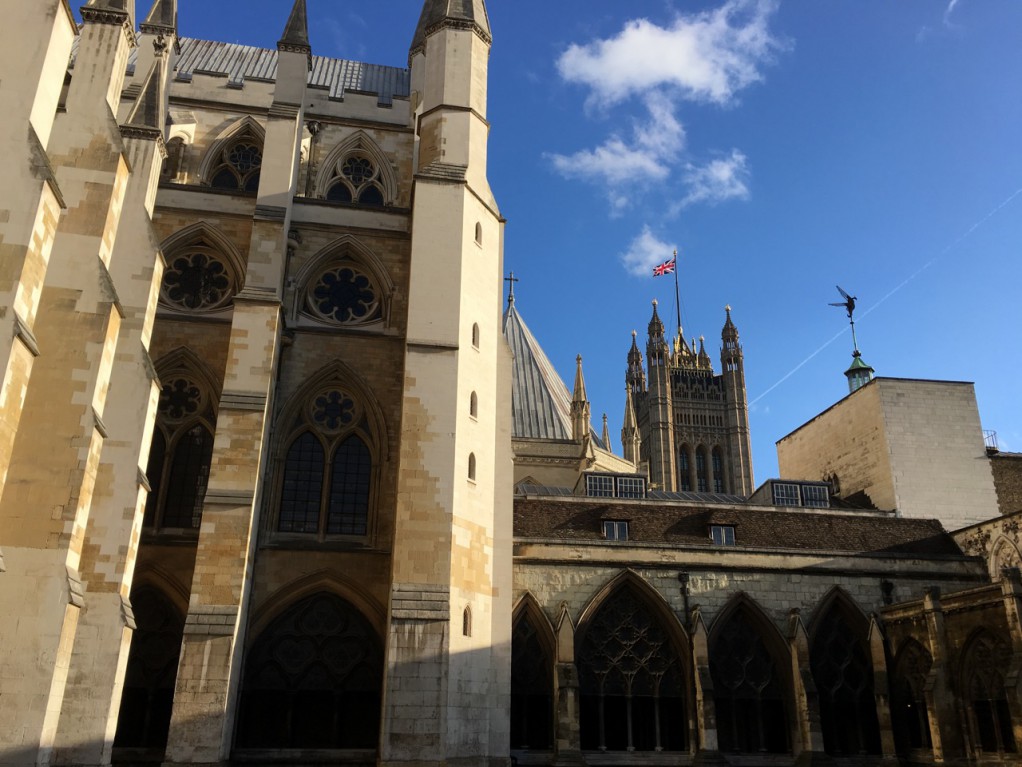
This is the side door to Westminster Abbey. Impressive flying buttresses! So Gothic. I thought that the rest of the building was prettier than this side.
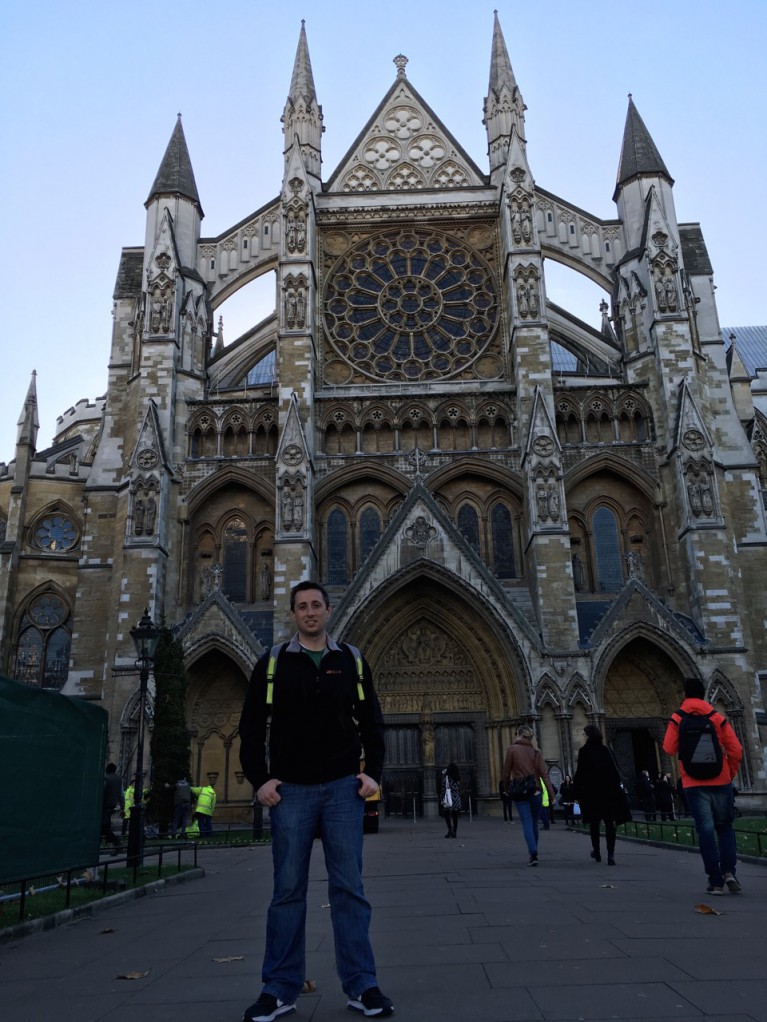


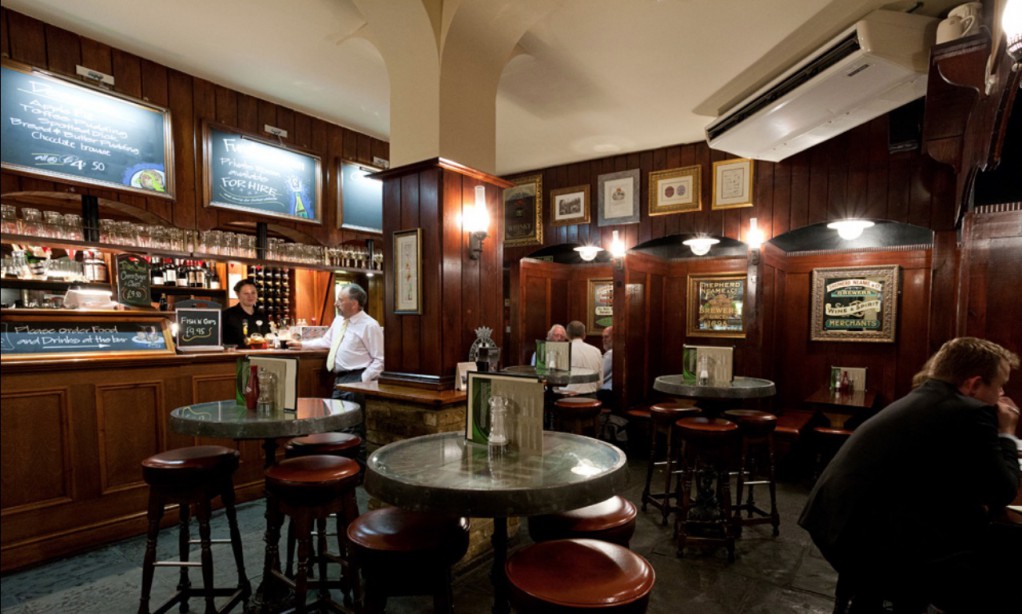
We decided to make our next major destination St. Paul’s Cathedral, and to walk there from Westminster. On the way, we walked by the restaurant Westminster Arms – Shepherd Neame. It looked like a good local’s place. It didn’t disappoint. I got the Traditional Cod & Chips with creamed peas. I tried out the malt vinegar as suggested by Tim. It didn’t come out on newspaper, but it was still amazing.
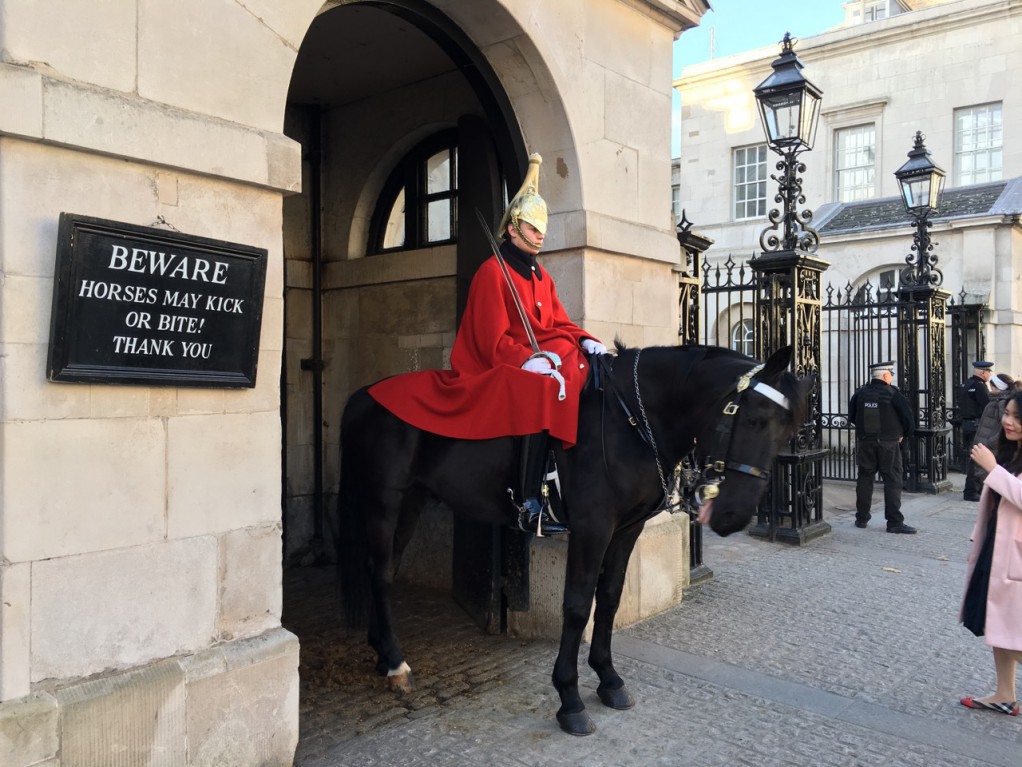
Palace Guards
Really old, classic double decker bus that was in service.

Trafalgar Square where General Nelson is celebrated for his victory over Napoleon in the Battle of Trafalgar. The cool part about this is I actually knew something about this event. Several of us at work recently read the book “Team of Teams” by General Stanley McChrystal. In it he talked about how General Nelson cultivated an environment of trust and empowerment with his fleet’s captains. Instead of following the rank and file traditional rules of naval engagement, he instructed his captains to think on their own. The ensuing chaos gave the British the upper hand and allowed them to secure a stunning victory over the superior Franco-Spanish fleet. I wish I knew something like this about more of the monuments, but alas.

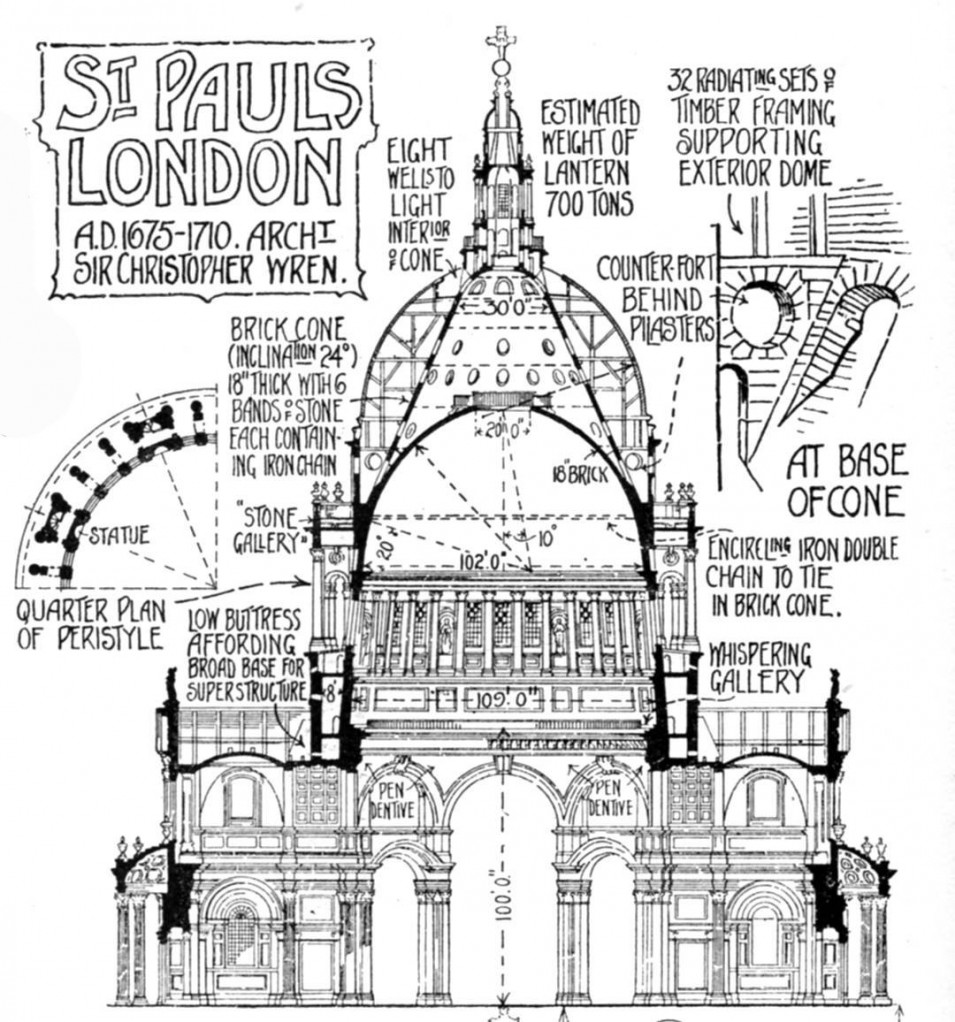
Here we are at St. Paul’s Cathedral. It was stunning.


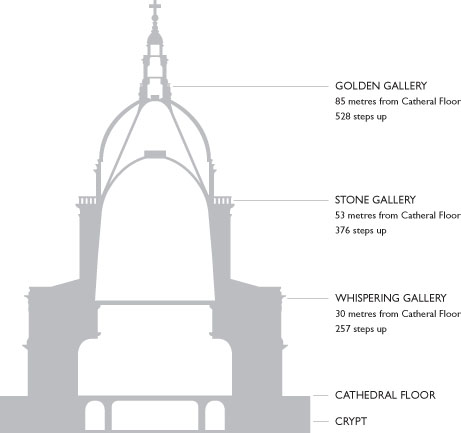
One of the coolest parts about visiting St. Paul’s Cathedral is that they allow you to climb up to the top of the dome. The first climb is to the Whispering Gallery, then to the Stone Gallery, then to the Golden Gallery.
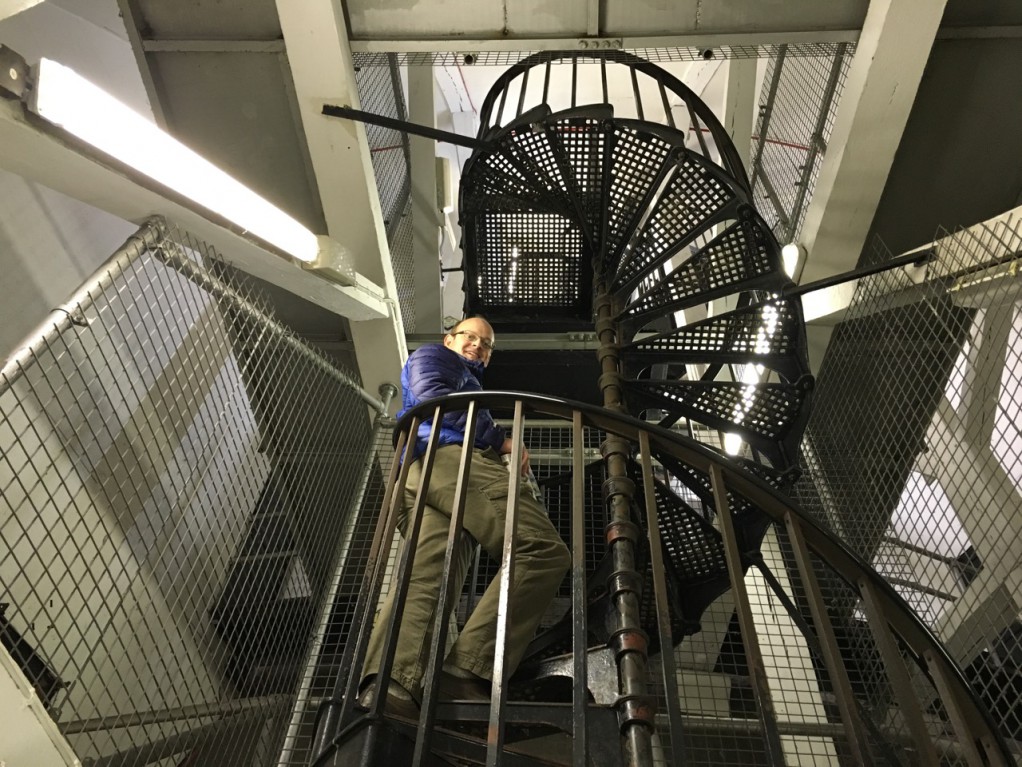
These are the stairs in the dome going up to the Golden Gallery.
The view from the top was breathtaking. We were there right at sunset.


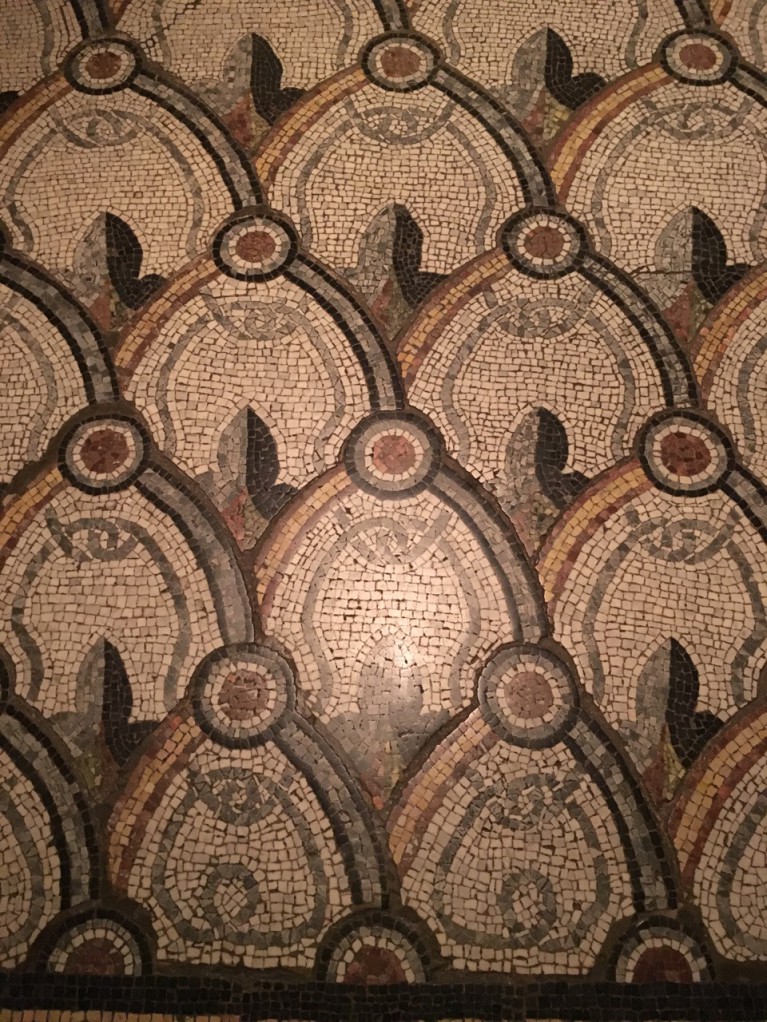
Down in the Crypt of St Paul’s Cathedral, they had some of this incredible tile work. I should have put my pen down for scale, but each one of the little stones is 1/4″ to 1/2″ in size.
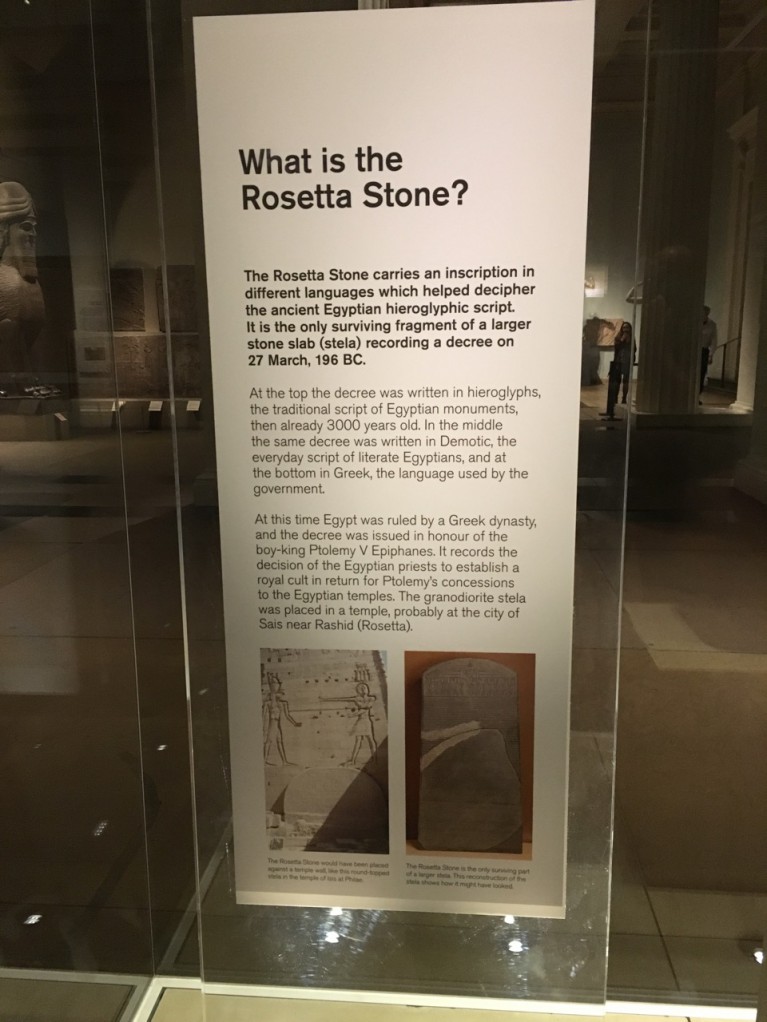
We left St. Paul’s Cathedral around 4:30. We decided to hurry over to the British Museum. With only 1 hour, we didn’t even scratch the surface. But we still had fun looking around.

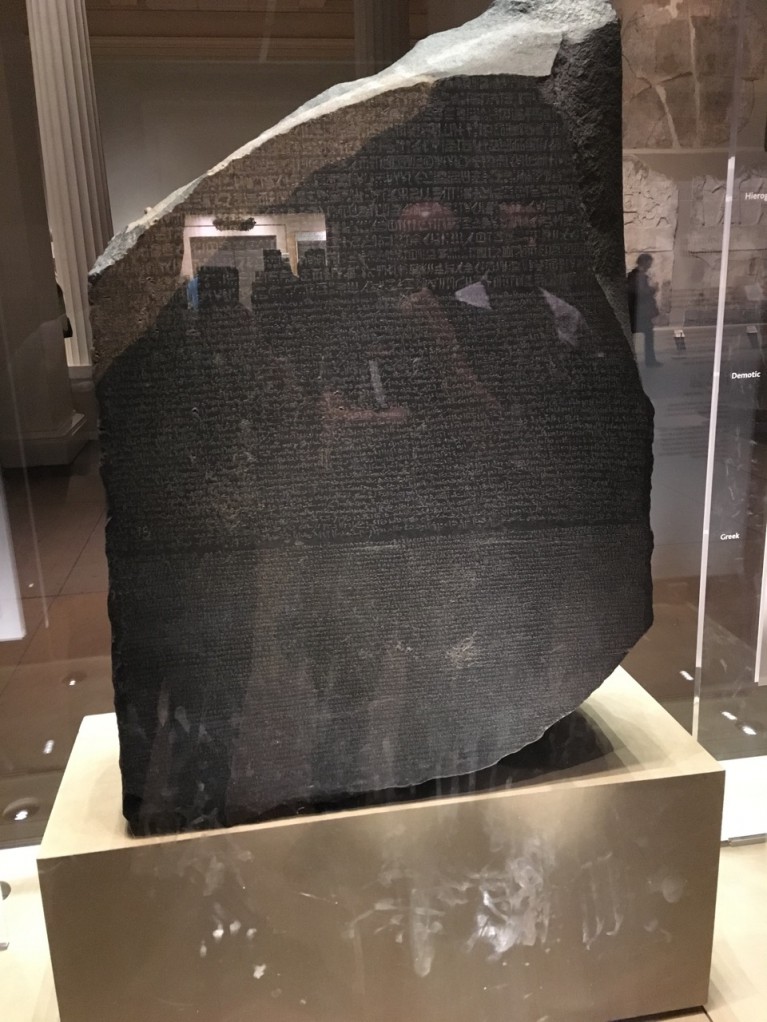
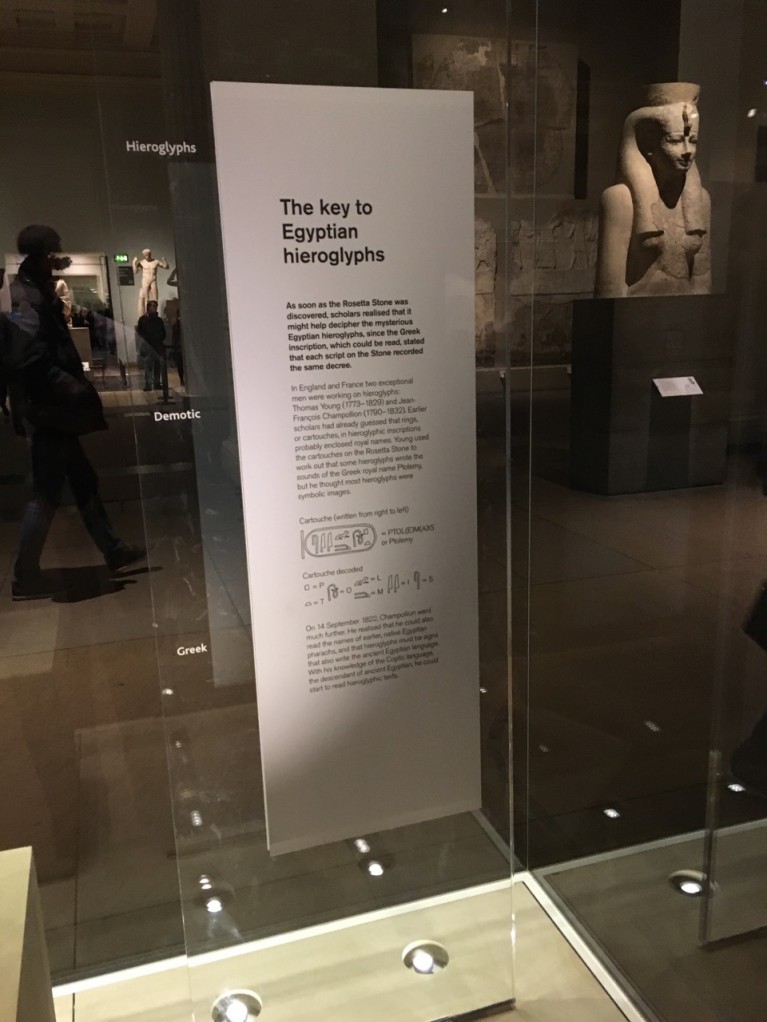
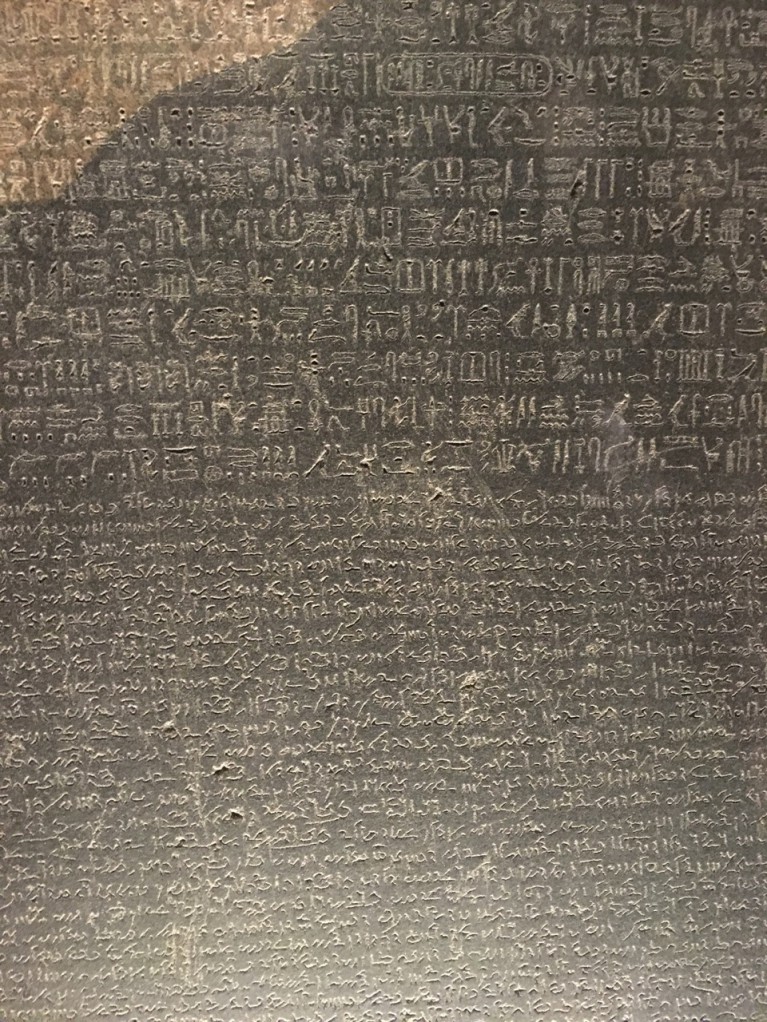
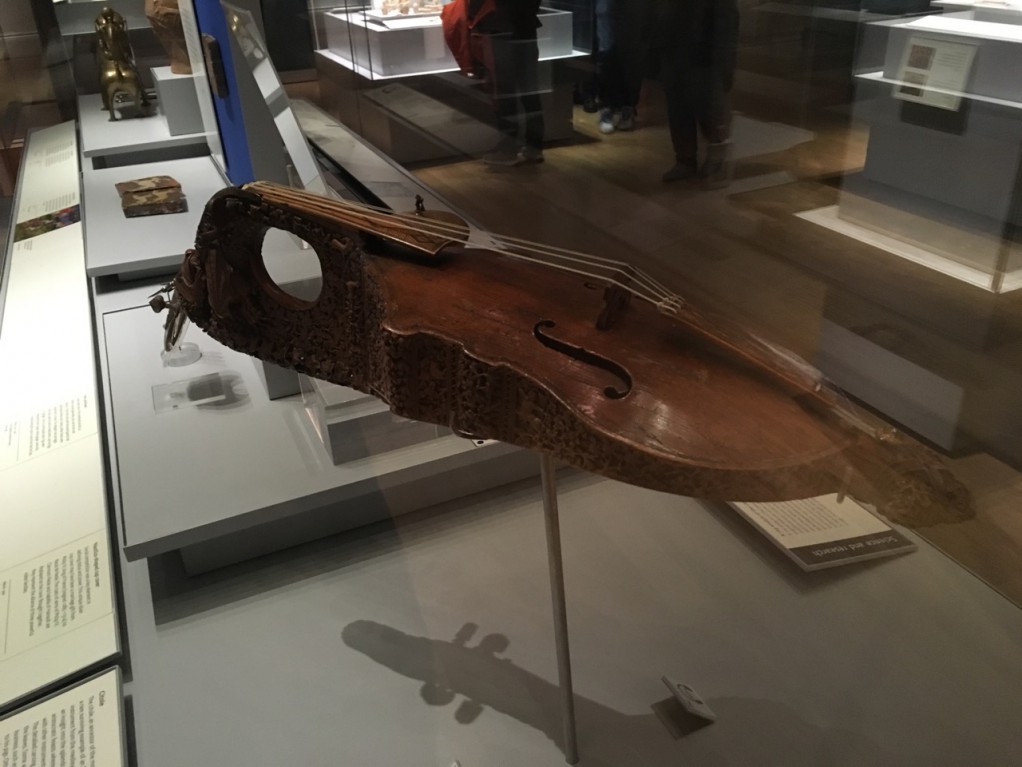
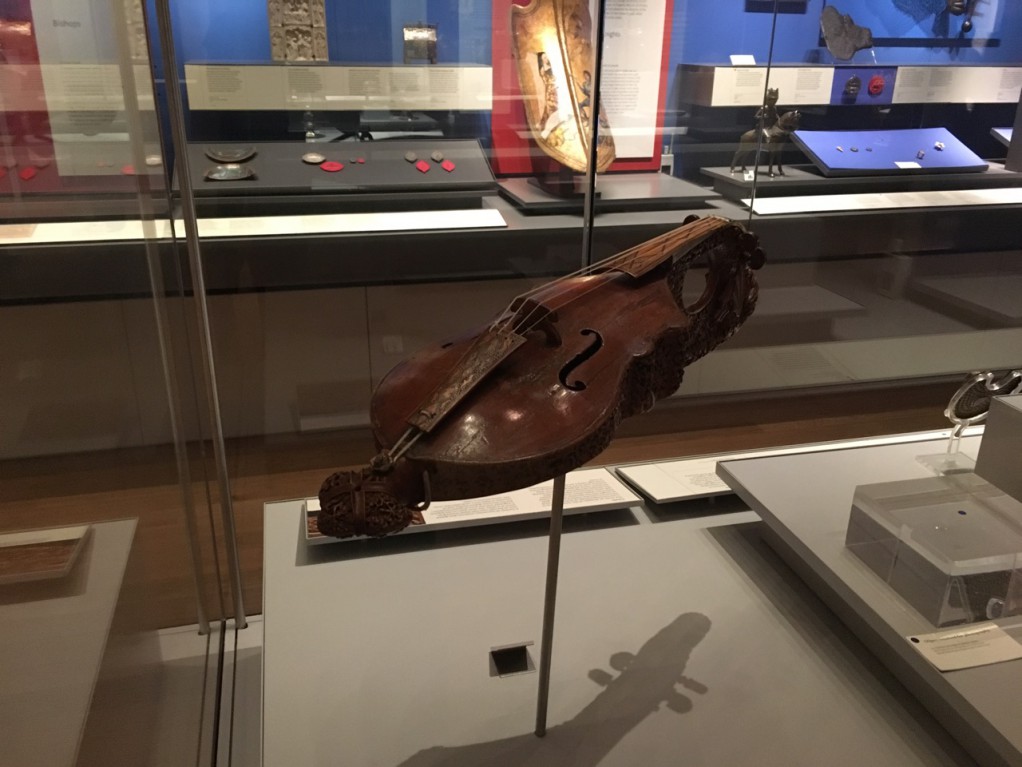
As we were being shooed out by the Museum workers, I saw this violin looking thing and snapped a quick picture. I did a little looking around and I found this out about it:
Housed in the British Museum is one of the most extraordinary extant medieval instruments. Dating from the early fourteenth century, this is the only surviving citole, a type of plucked instrument. Its edges are covered with intricate carvings depicting woodland scenes with real and imaginary creatures. This particular instrument was modified in the sixteenth century, and turned into a violin for Queen Elizabeth I. Thus the soundboard, fingerboard, and other fittings all postdate the Middle Ages. The body, however, is original and remarkably unscathed.
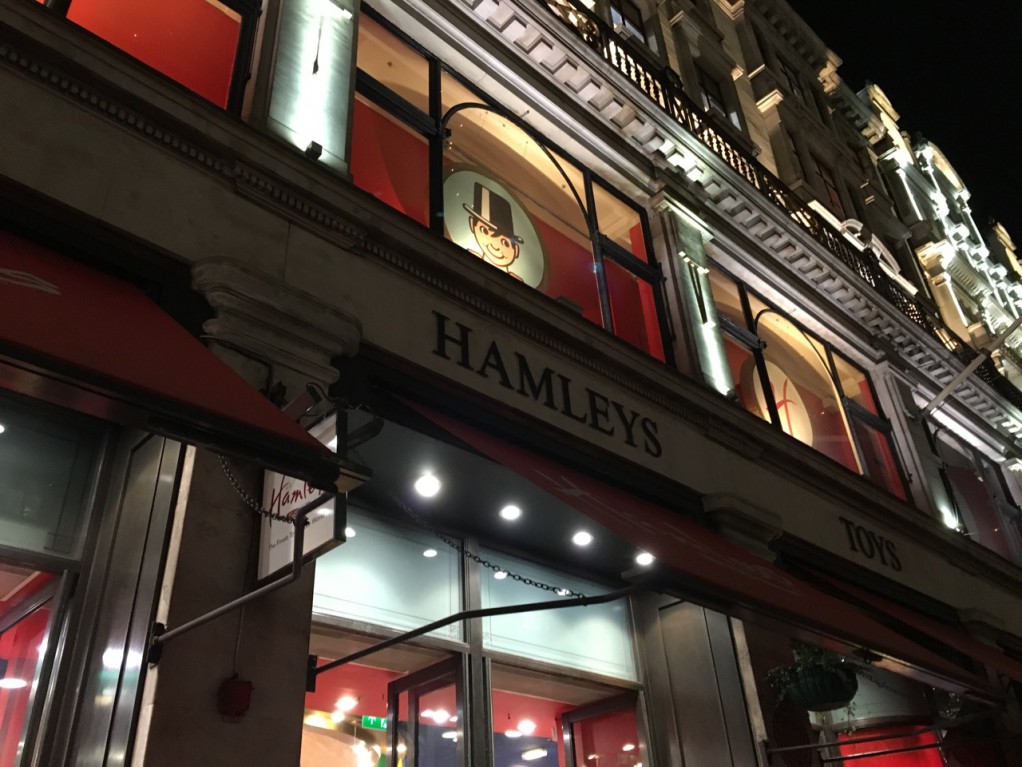
Taking a look at our list from Kathryn, we decided we should head to Hamleys. It was one of the few things that would be open. The streets were very pretty with their Christmas decorations. Looking at this picture, I don’t think it does it justice at all.

Hamleys was awesome! All six or seven floors of it. We walked through them all. With Christmas right around the corner, it gave us a great excuse to get some fun gifts.
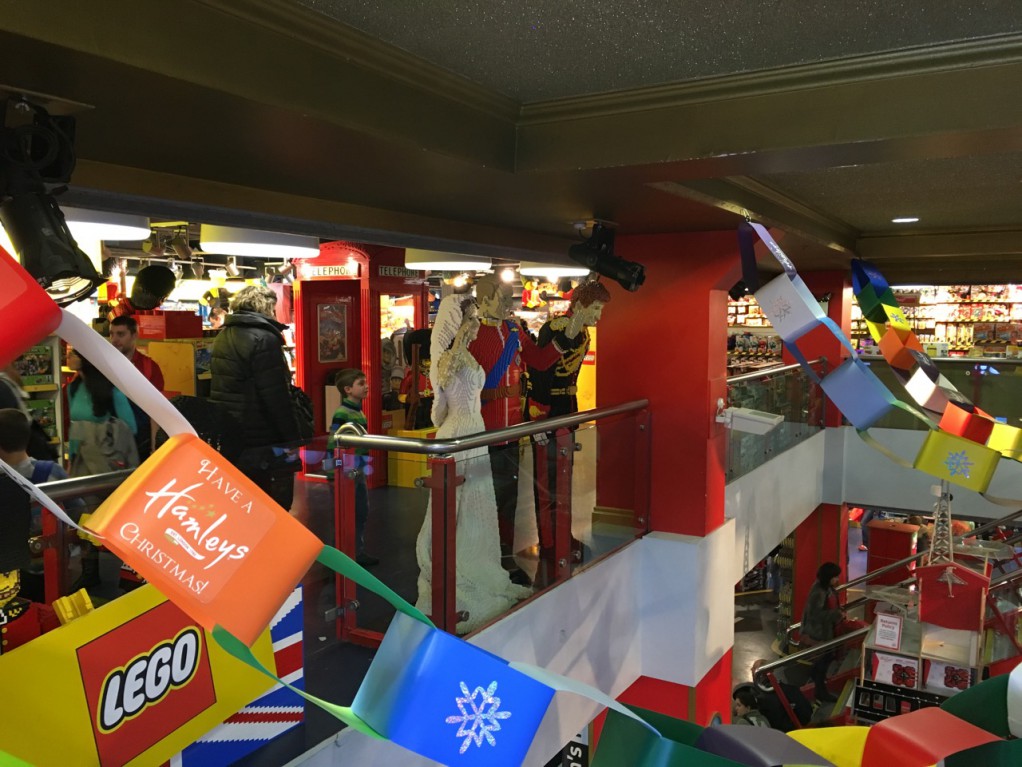
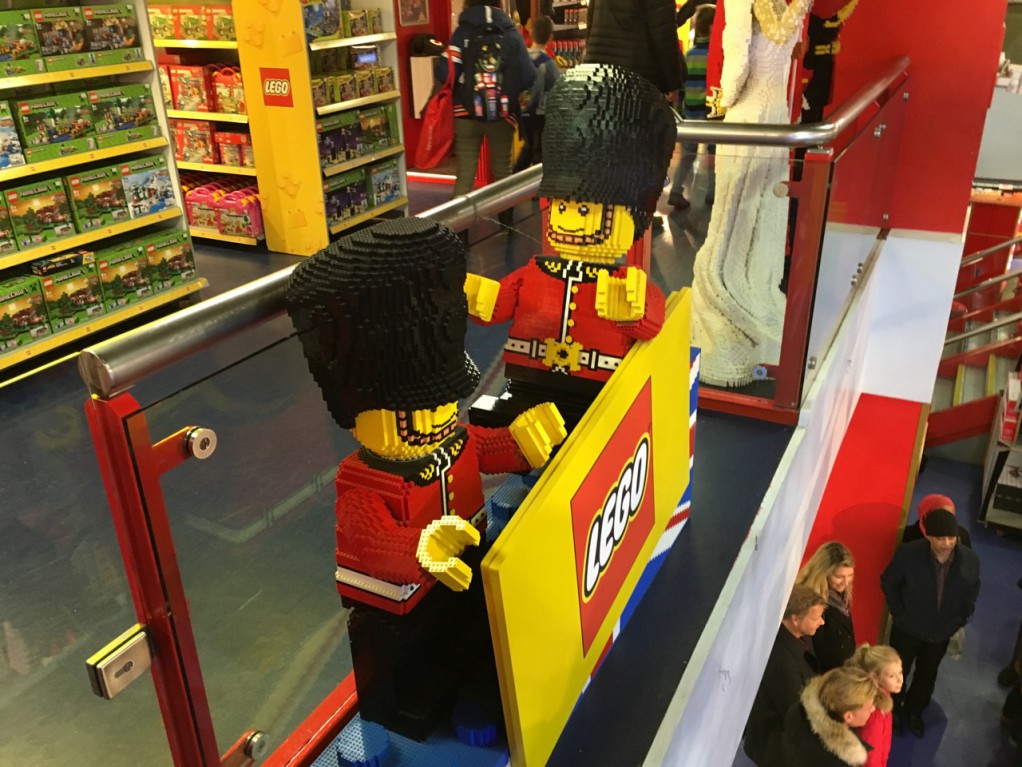
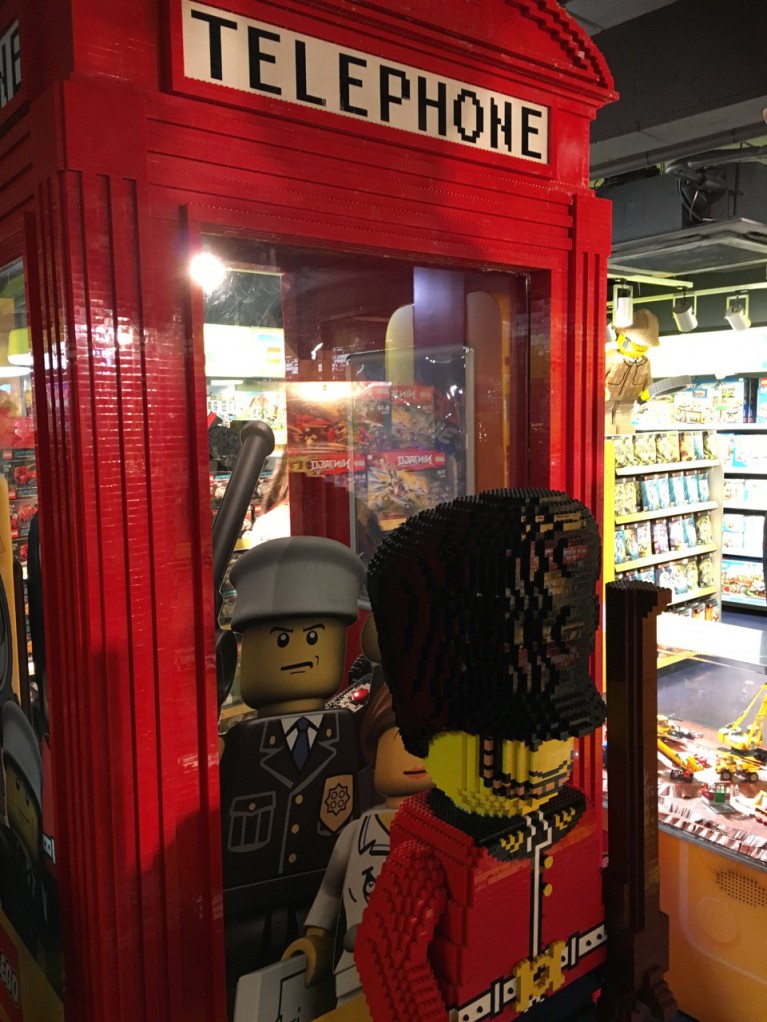
Phew, we made it back to the hotel. After taking care of some emails and talking with Kathryn and the girls, I hit the sack around 11 pm.
Day 3
Up and at ’em. On the road by 8 am. Local bus to the bus station. Express bus to the train station, and then on the train to the final destination, Farnsborough. It was about and hour and a half to get out there by the time we arrived. It was lots of fun to travel out through the countryside and get to see what England looks like.
Huge, beautify pastures with sheep and clydesdales horses.
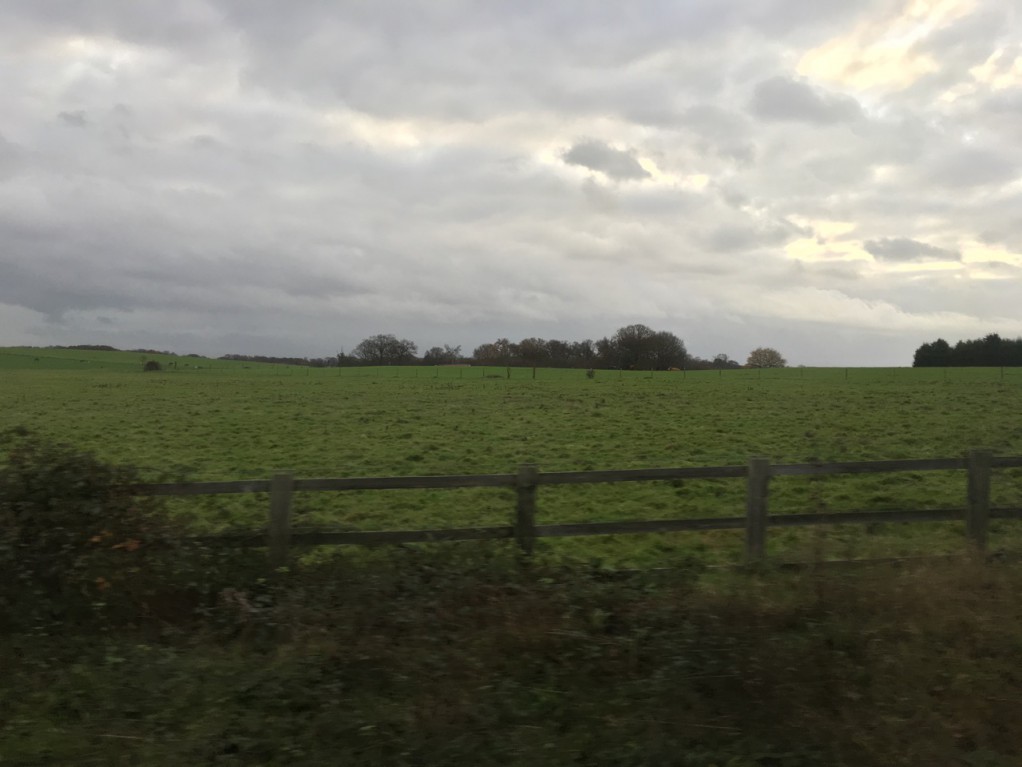
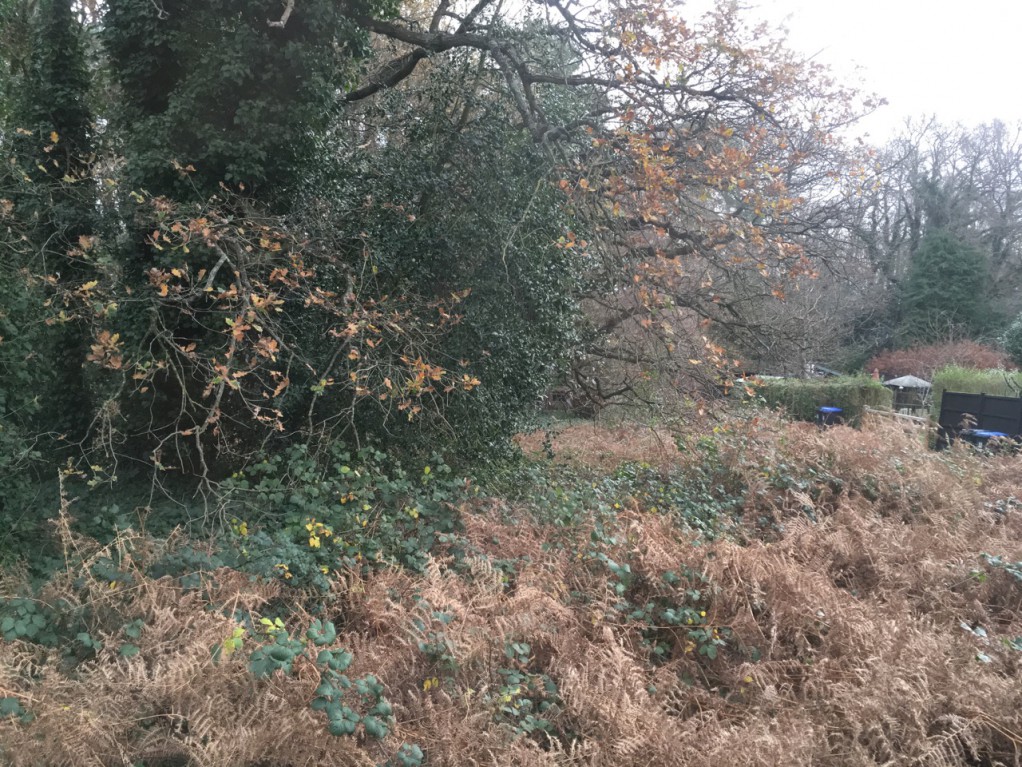
Wooded areas

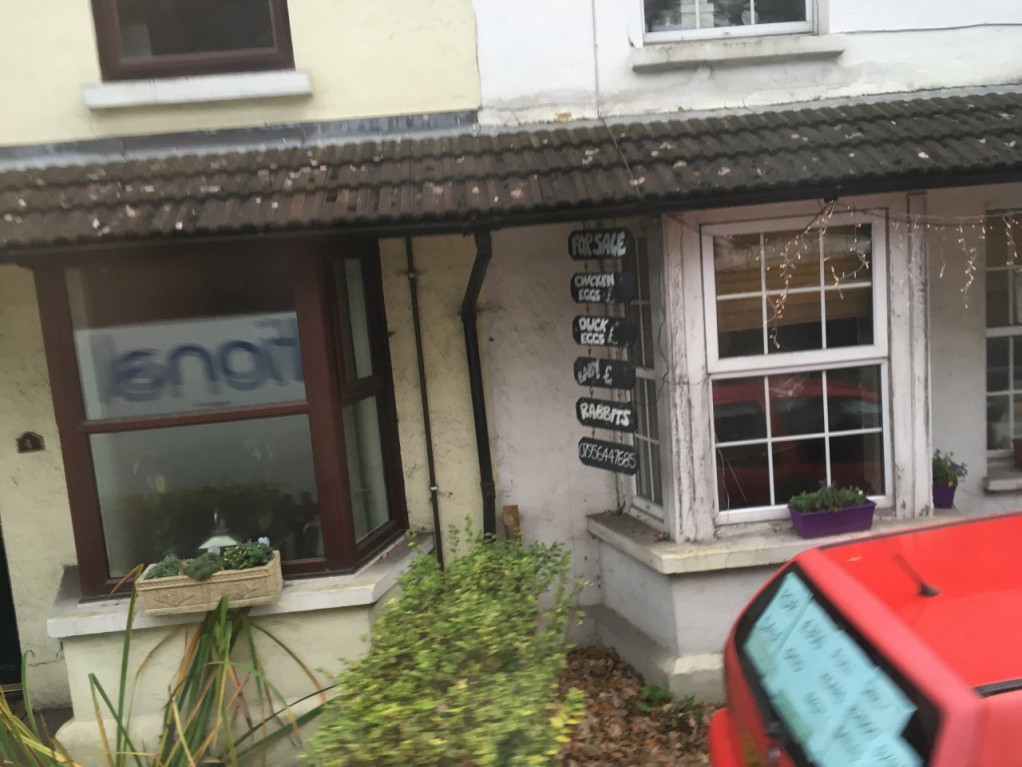
A fun little local business selling chicken eggs, duck eggs, baby somethings, and rabbits.
The meetings went well and took the better part of the day.
Once they were done, we took the train all the way back into London. Later on, we were to meet up with some of the other people for dinner. With a little time to kill, we decided to head over to Harrods. Wow, it was expensive, and I’ve never seen so many purses in my life! I’m typically a J.C. Penny kind of guy. Once I walked in Nordstroms looking for shoes. When I asked if they had anything under $50, an older, proper looking lady laughed at me. With that in mind, J.C. Penny is to Nordstrom as Nordstrom is to Harrods. For example, my coworker asked me to guess the price of a nice looking pair of shoes he had just picked up. Thinking i’d be plenty high, I guessed 300£ ($450). Nope, closer to 800£ ($1200). As another example, there was a nice looking leather jacket on a regular rack along with probably another 5 of them. List price was 2000£ ( $3000)! We ended up getting a couple of Christmas ornaments. I got a little bear dressed as a Beefeater. They were still very expensive, but at least we were able to get something.

This picture was in Harrods. It made me laugh out loud. This is not what I aspire to. Looks too hot.

It was time to head out to meet up with the other guys for dinner. We walked over to their hotel to meet up with them. Along the way, we passed the Victoria and Albert Museum, and the National History Museum. Someday it would be fun to get to go in and take a look.
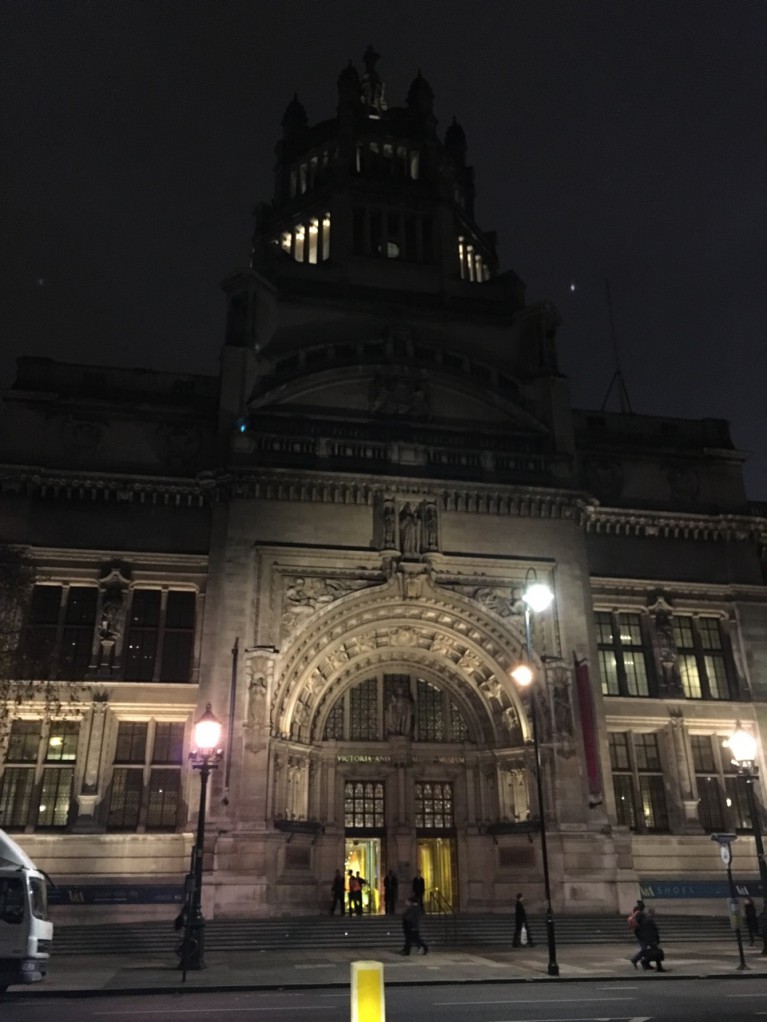
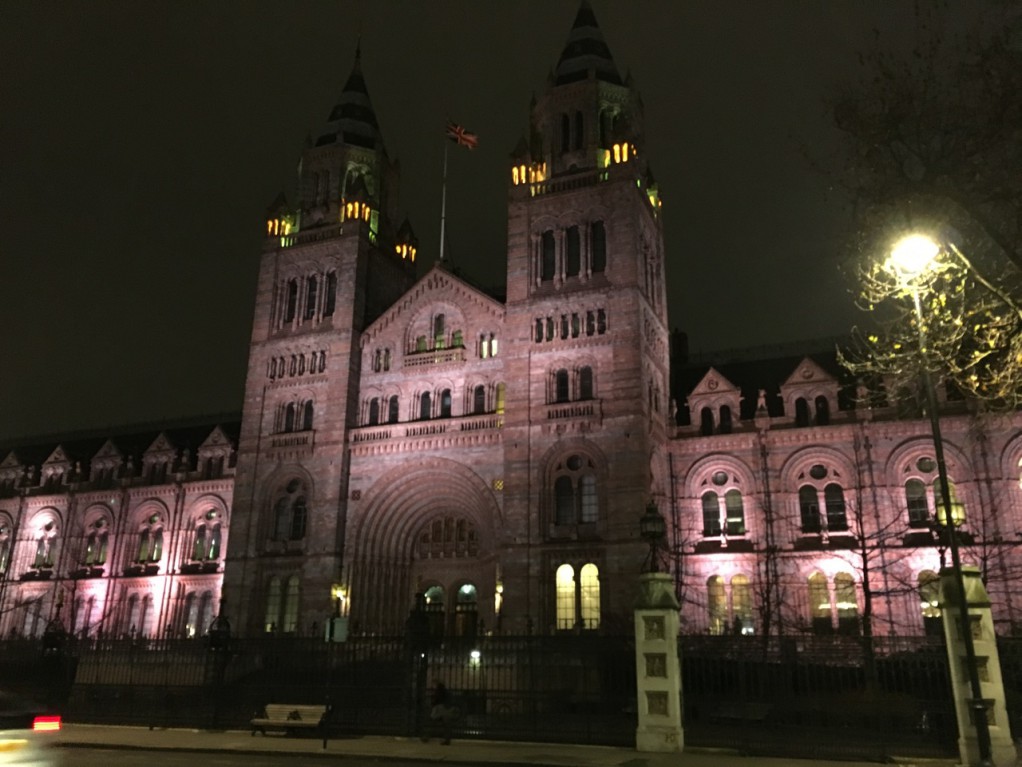
The folks we went out to dinner with were both of Asian Heritage. They wanted to go get Chinese food and had found a good place the night before that they wanted to return to. So we made the quick hop over to London China Town. We went to the Four Seasons, known for their roast duck, which of course we got, along with 3 other entrees. We ate family style. I ate the entire meal with chopsticks, and tried everything. It was a good cultural experience.
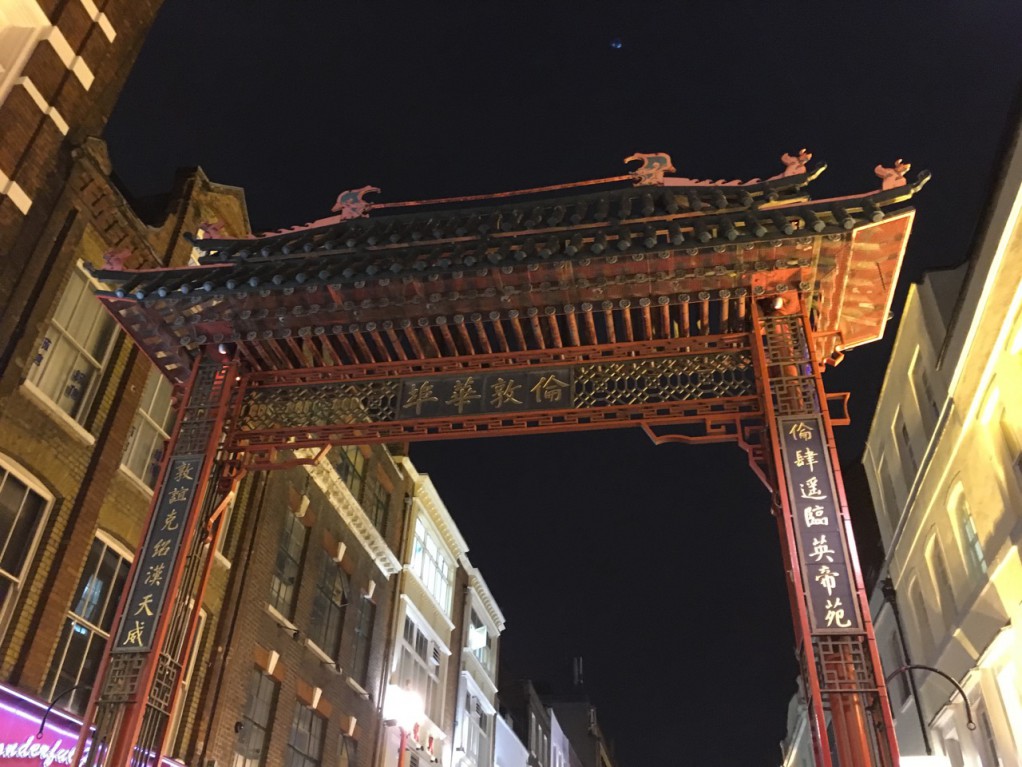

After dinner, when made the hour long hop back to the hotel. We packed, and got things ready to go for the trip out. I finally hit the sack a little past midnight.
Day 4
This was basically another 18 hour travel day. We were out at the bus stop a little before 5 am. We had breakfast in the airport at an Italian restaurant, with a Polish waitress. Then we flew to France. Unfortunately it was overcast, and the airport is pretty far outside of Paris, so there was nothing to see.
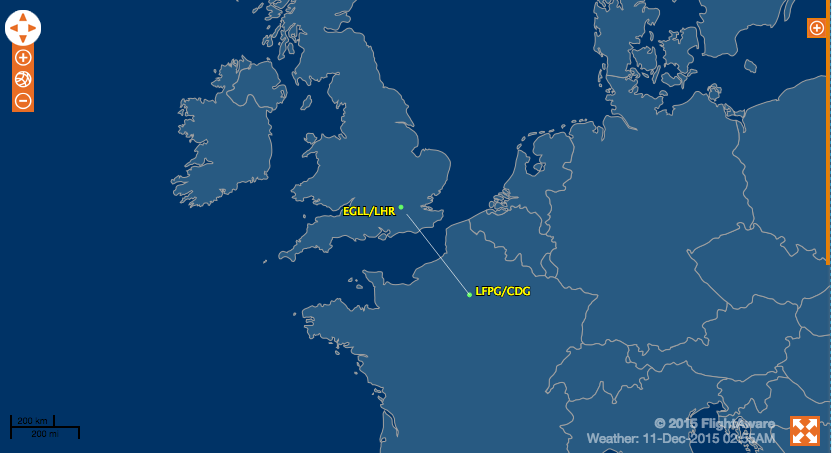
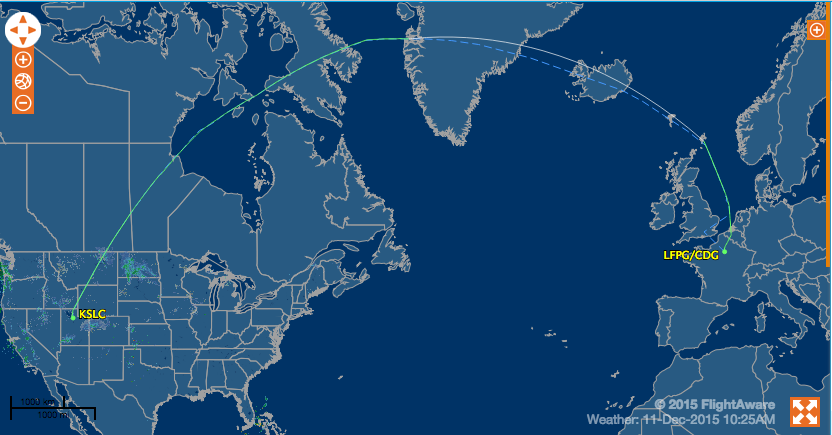
From France direct to Salt Lake City. Seeing this route reminds you that the earth is not a flat like the map suggests. The Google Earth view below makes much more sense as to the route.

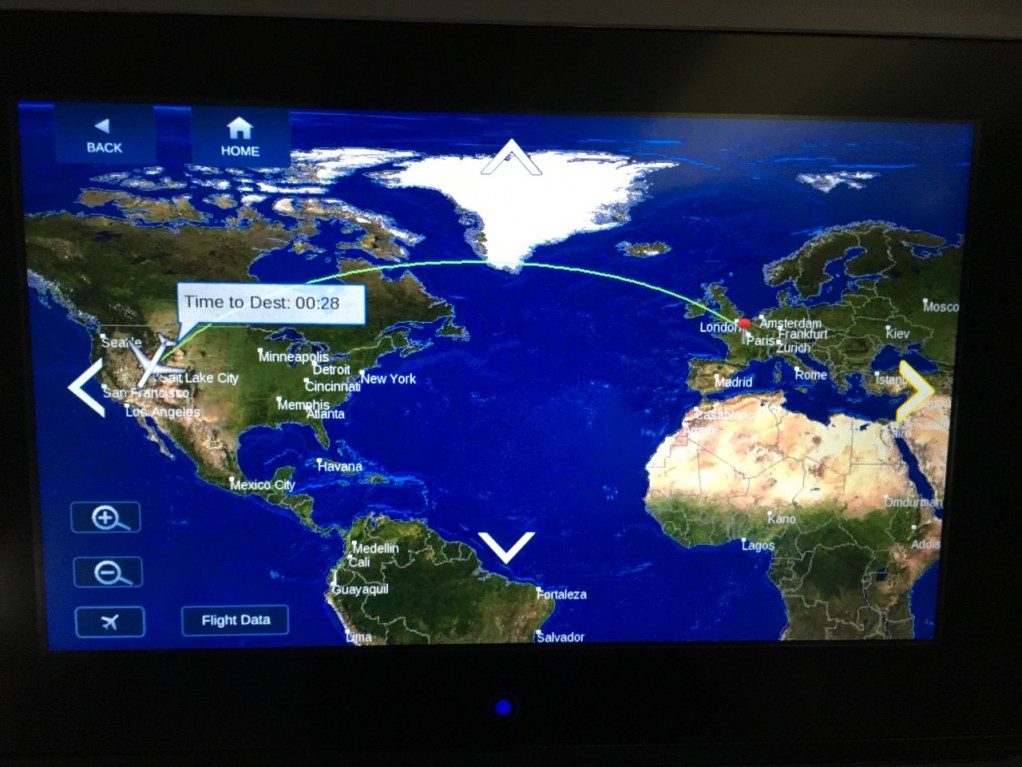
This was over Greenland. We chased the sun the whole way, making up the 7 hour time difference between London and Salt Lake City.

Wahoo, almost home!
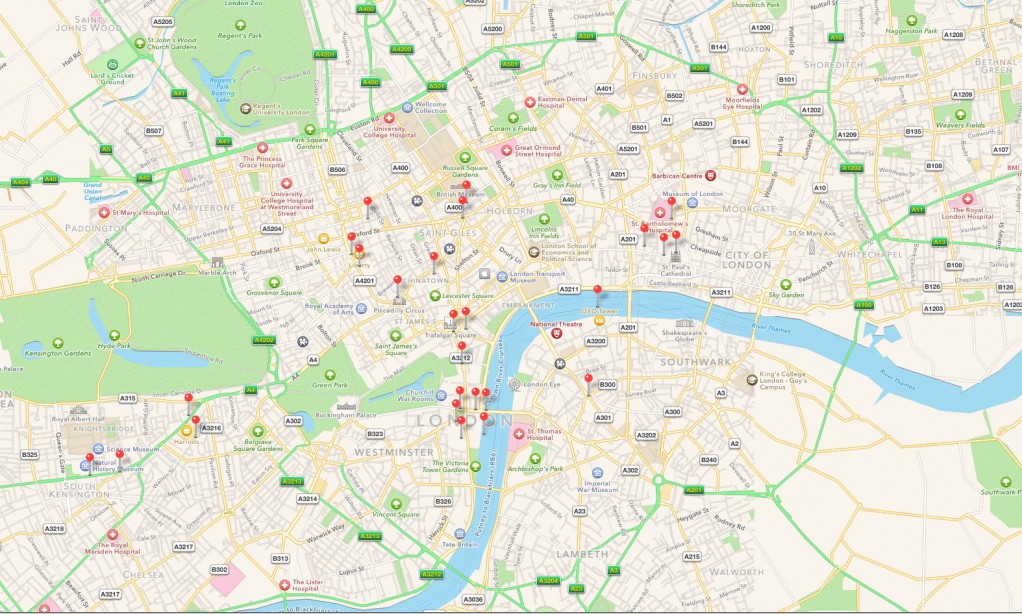
So how’d we do on the list Kathryn gave me? Here is a view of where we made it. Pretty good for about a good day’s worth of sightseeing. Still plenty left to see on another trip.
London To-Do-for-Babe List…
?Buckingham Palace (watch change of guards or try to get guard to laugh ?)
✅Take a pic “chillin” by Big Ben
✅Fish and chips
✅Trafalgar square
?Drive by Royal Opera House
✅British Museum
?National Gallery
?Science museum
?Tour the Tower of London
✅Check out a red phone booth
✅See a double decker bus
✅Visit Hamleys (toy store)
✅St. Pauls Cathedral
That was a whirlwind trip! Gone for less than 4 days, 36 hours of traveling, and an average of 4 hours of sleep for 5 straight days.
