Tag Archives: basement

Basement Remodel Part 9, Final Chapter

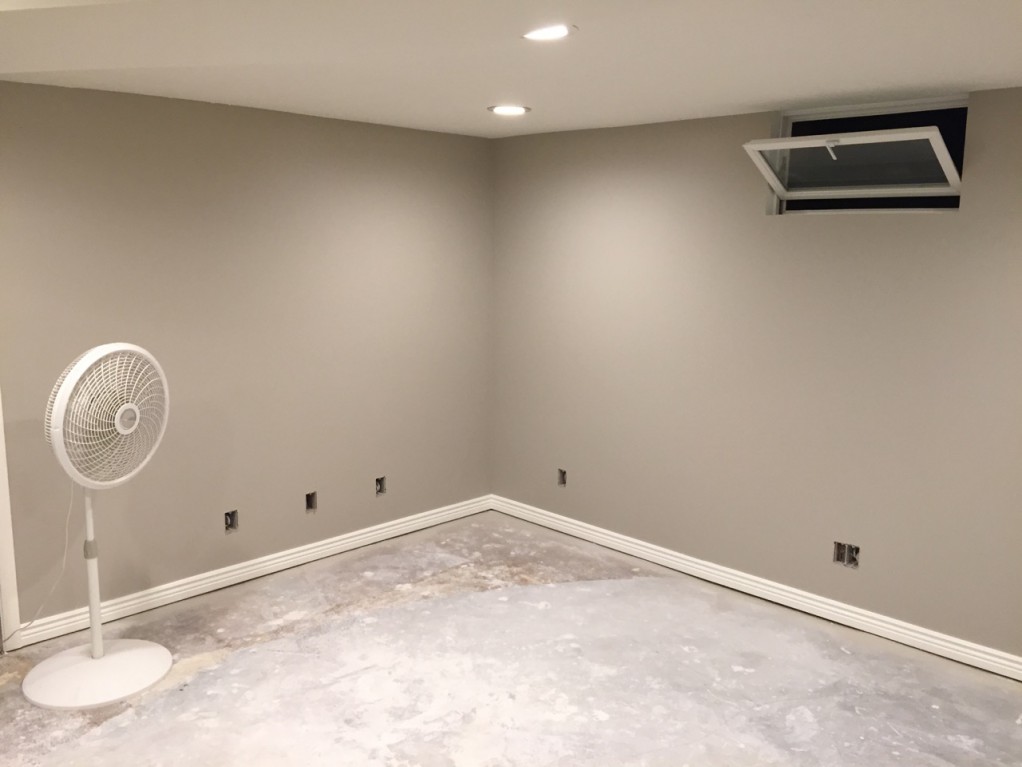
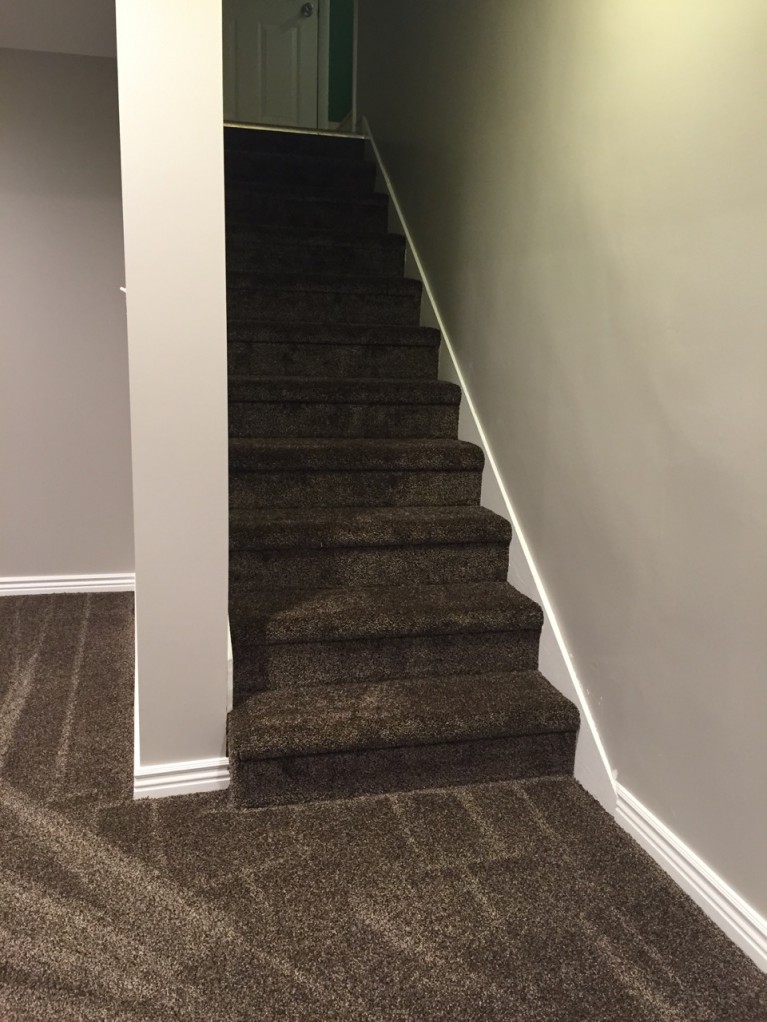
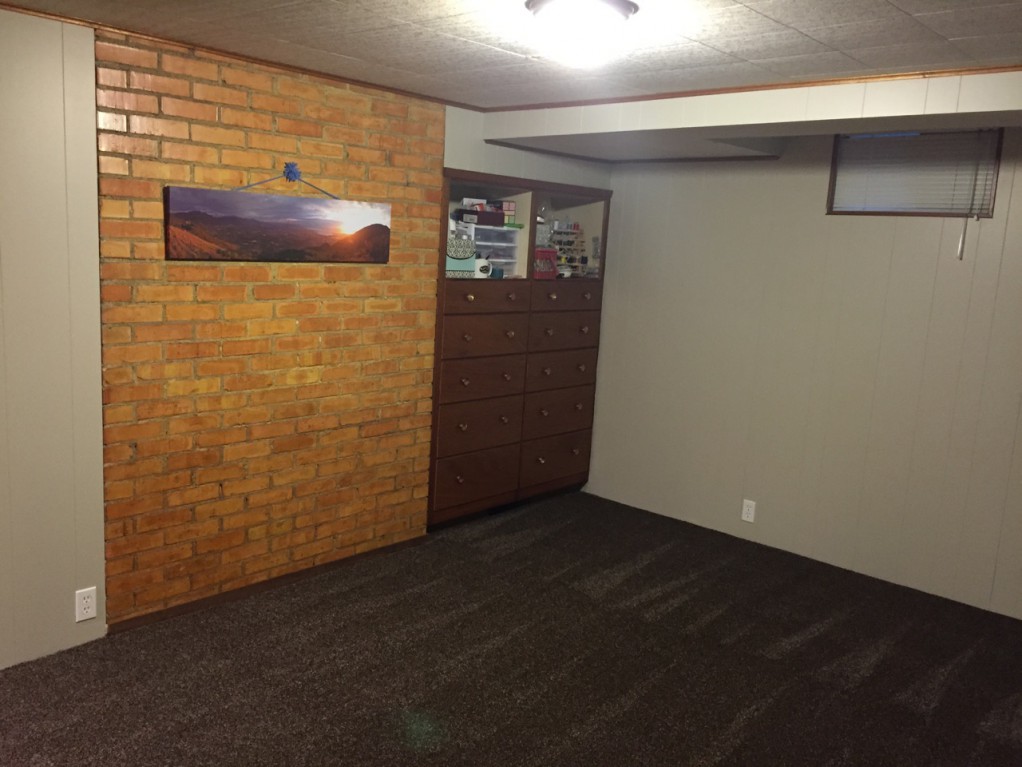
It’s official!  We are officially done with our basement remodel project!  It took about a year from start to official finish, even though we’ve been barely working on it for the last several months.  Here are some of the final jobs to put a bow on this project.

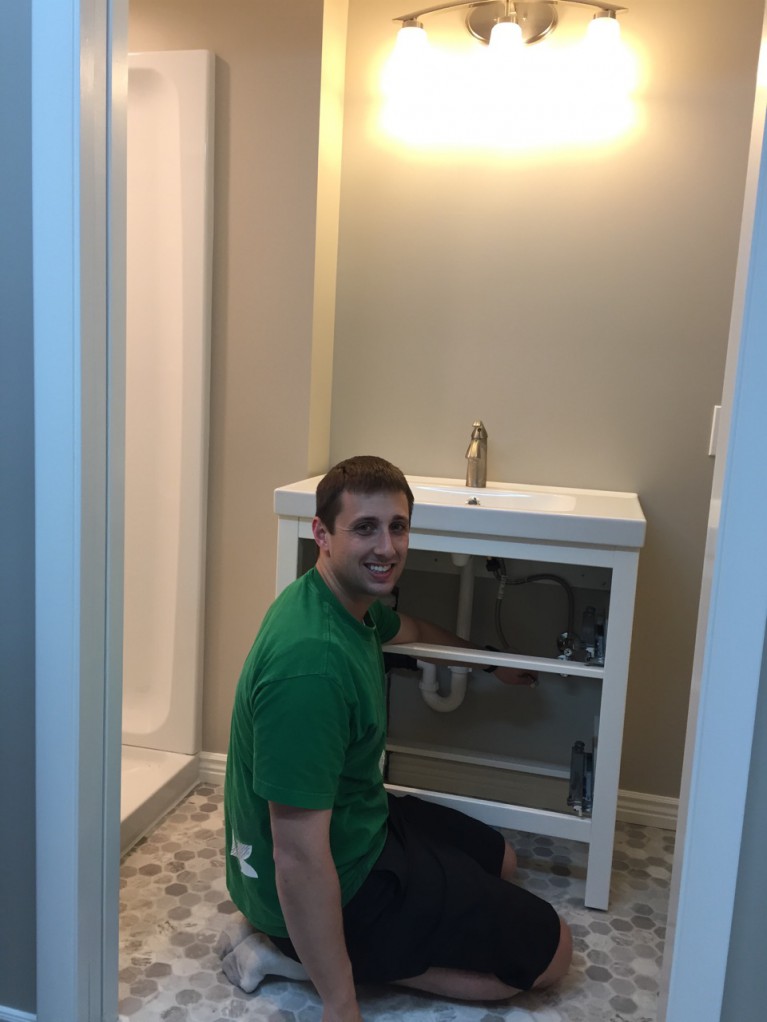
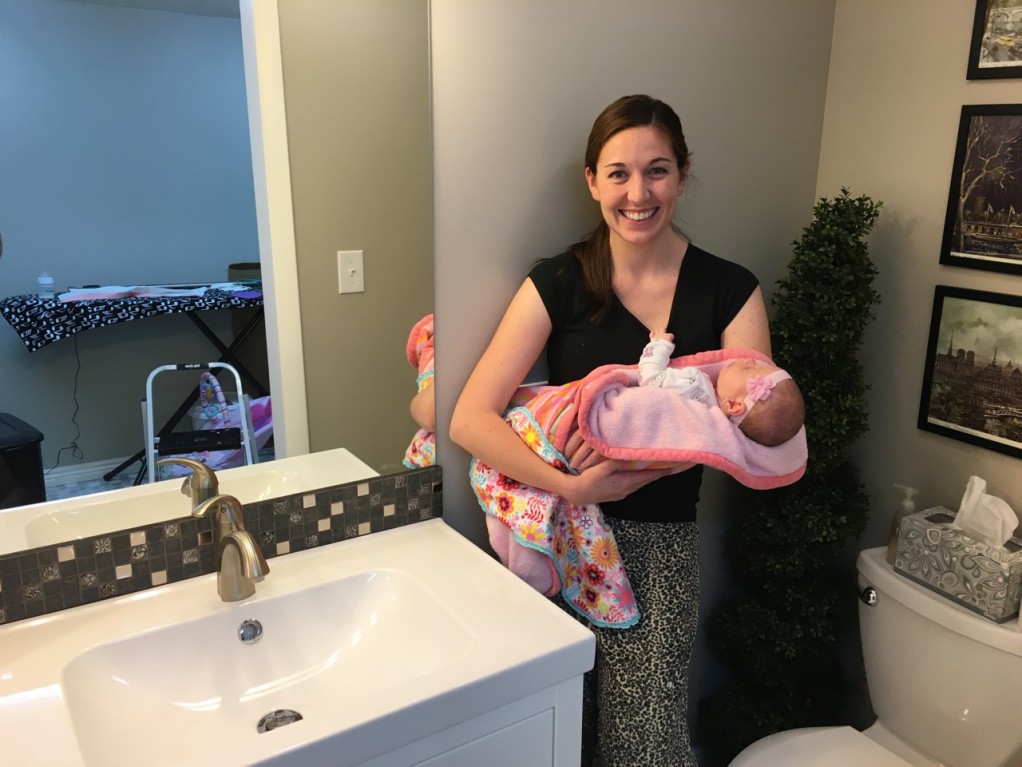
Finishing up the bathroom.  Plumbing the sink.

BR Part 9.01

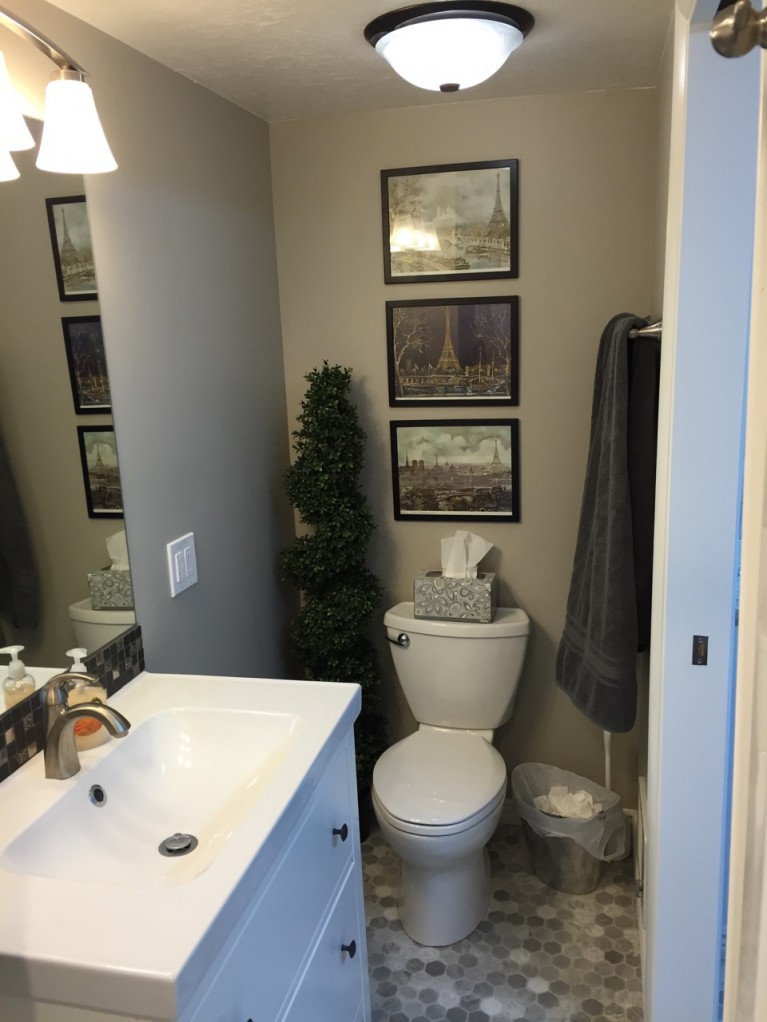
Backsplash and mirror are up.  Well done Kathryn on the design!
BR Part 9.02

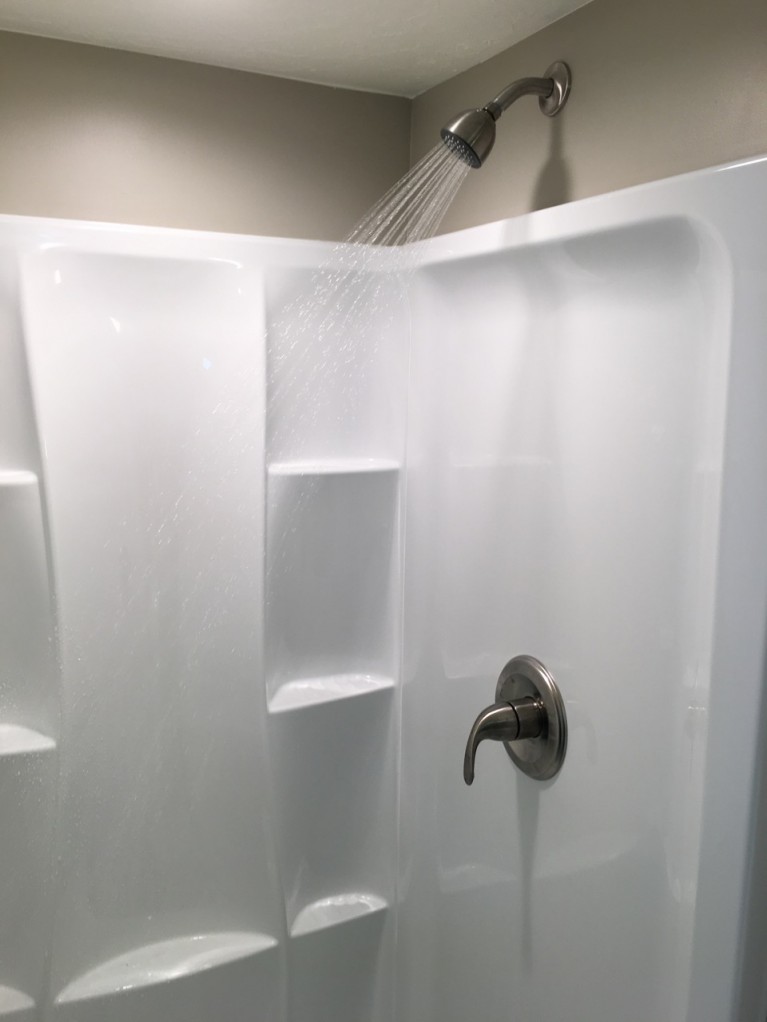
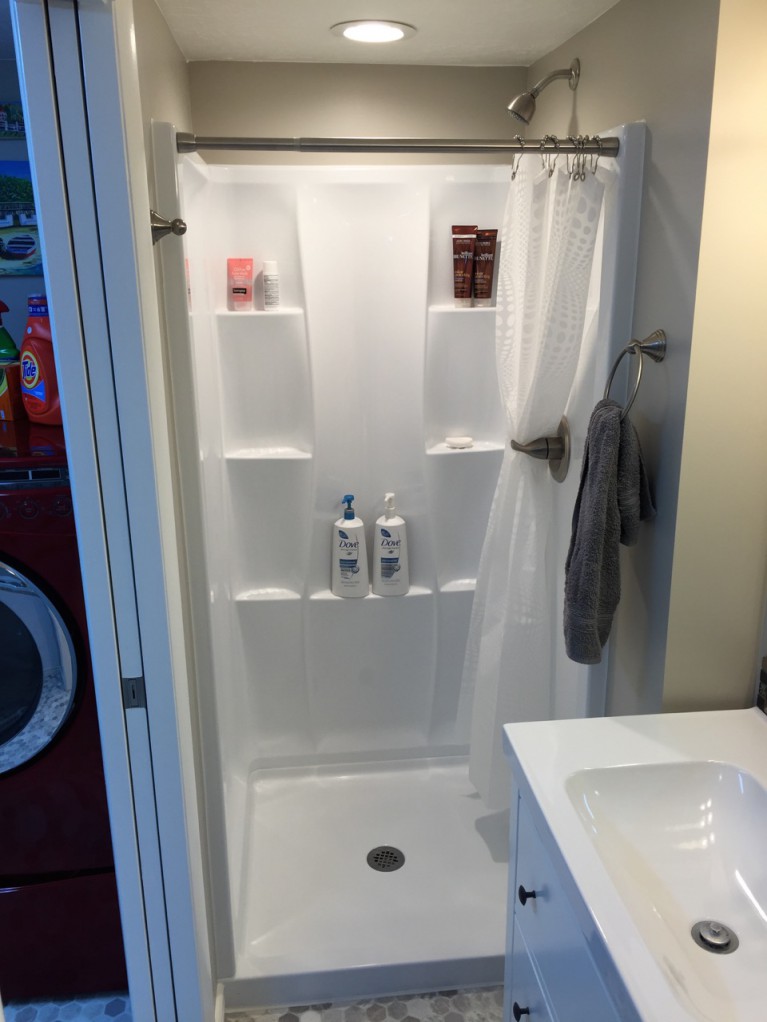
Shower is fully functional.
BR Part 9.03

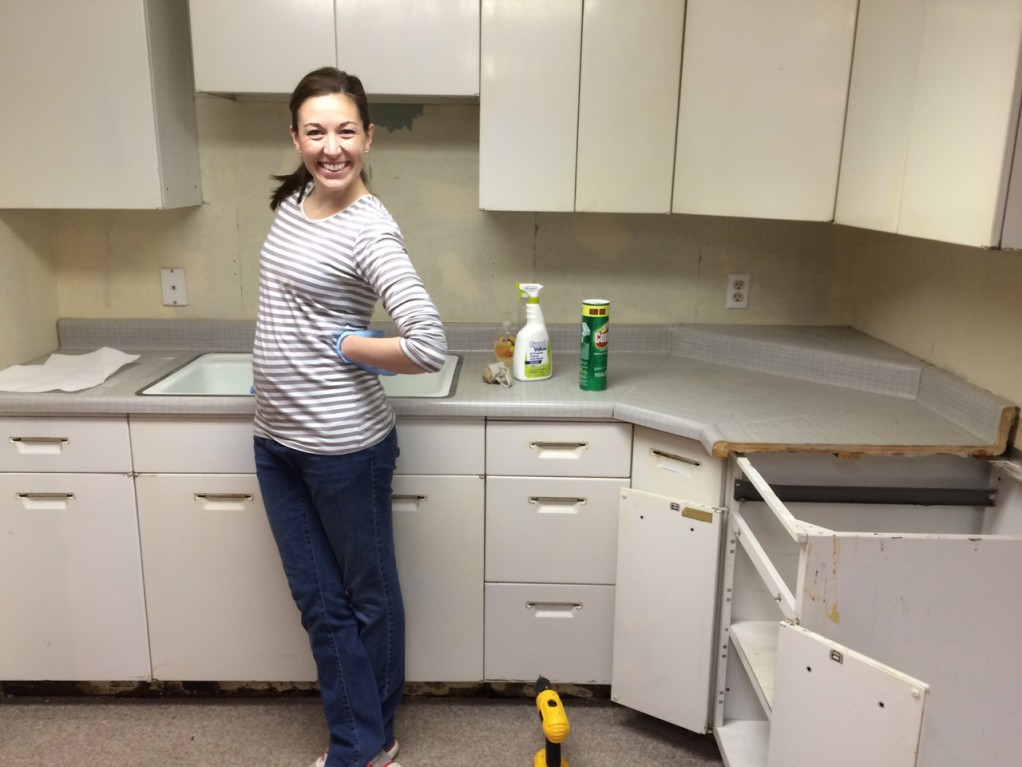
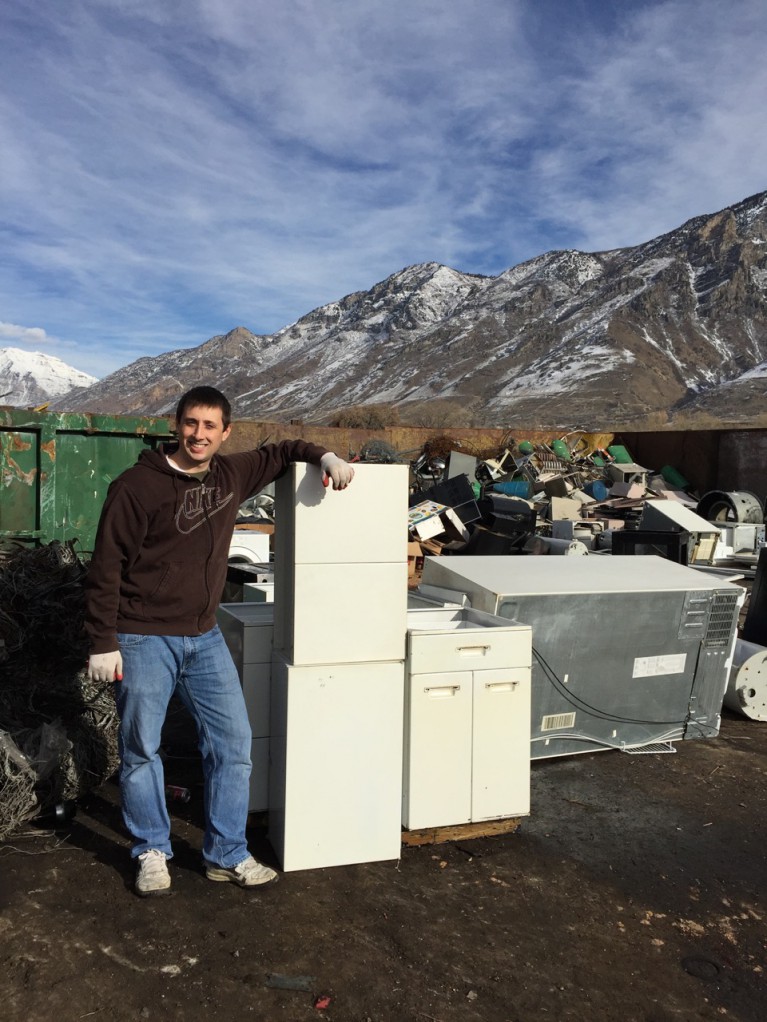
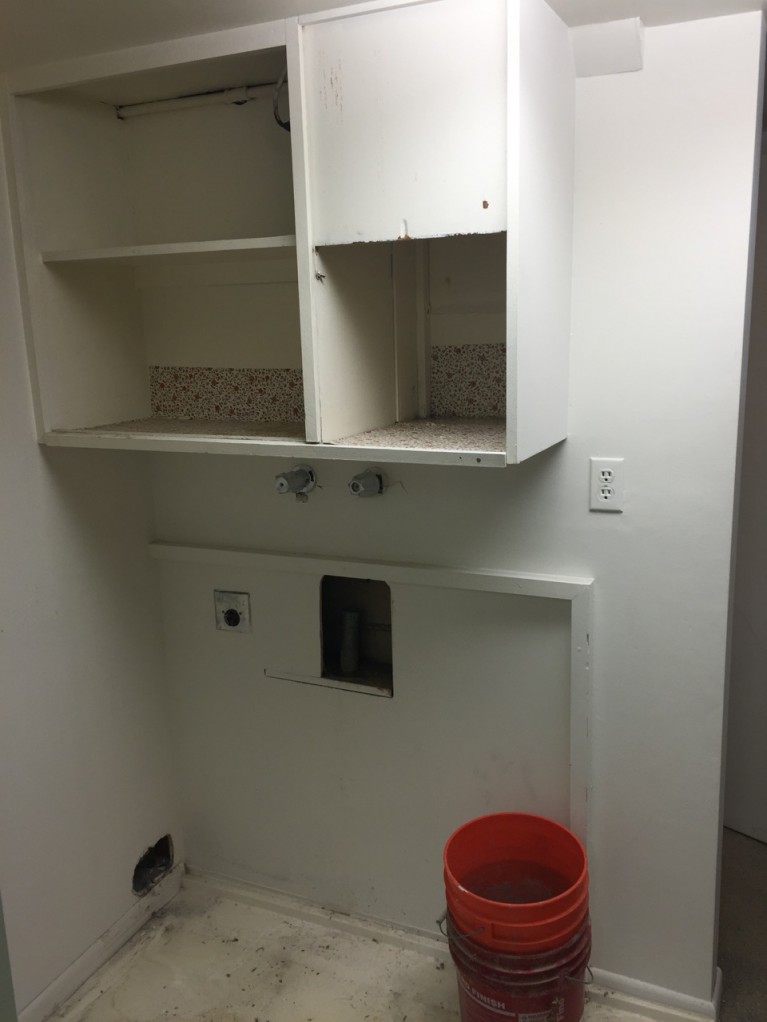
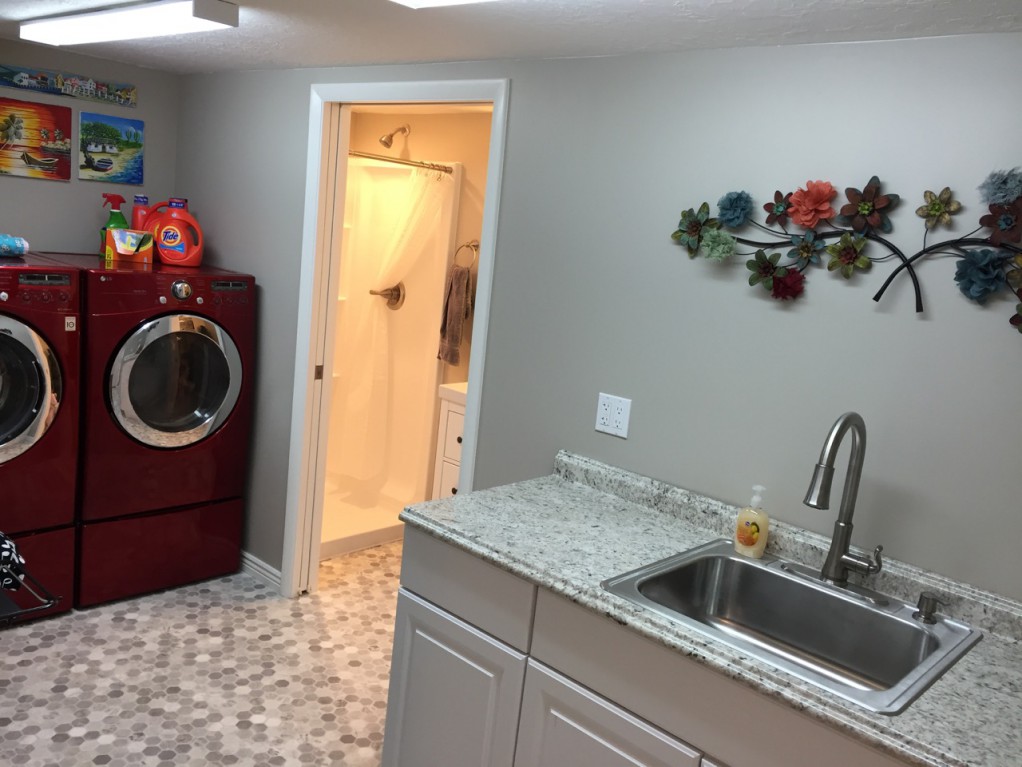
Next up, the laundry room cabinets and sink.  We had original aspirations to reuse the old steel cabinets and create a retro themed laundry room, complete with a black and white floor.  However, as time progressed, that idea fell out of favor for a more modern, clean look that matched the style of the rest of the basement.  So the last remaining steel cabinets were taken to the recycle and new ones were purchased instead.

old cabinets1

BR Part 9.05

We also decided for a new sink as opposed to the old cast iron sink.  Just a note, we really love the other cast iron sinks in the house and would have no hesitation putting a new one in a future kitchen.

BR Part 9.04

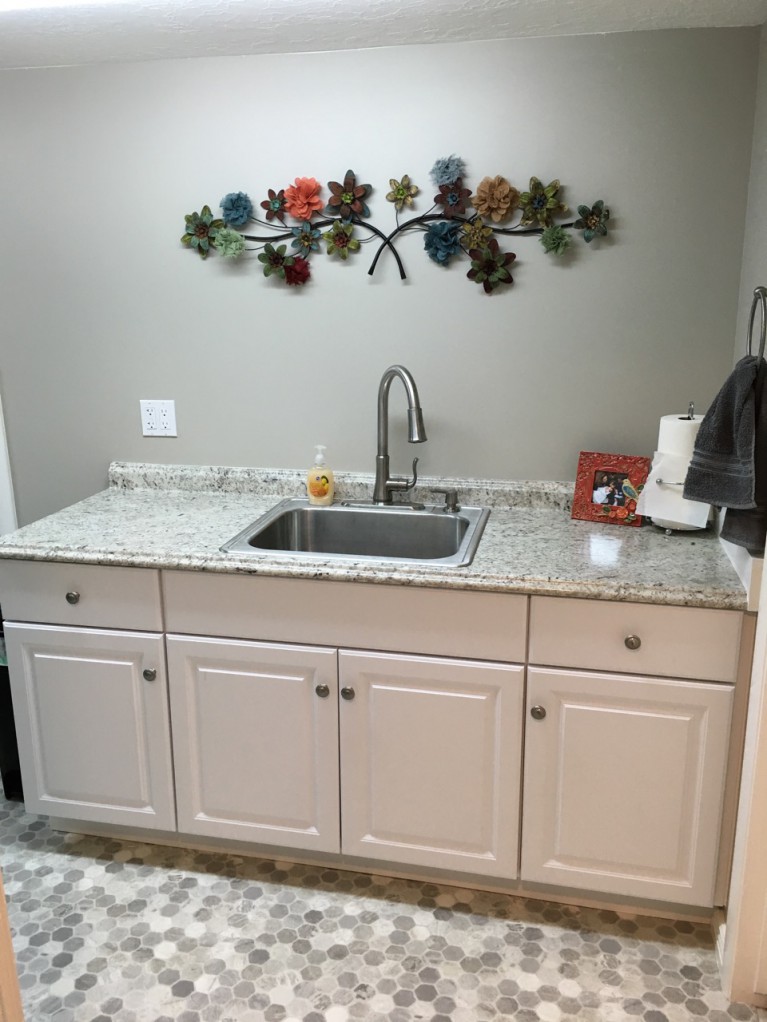
After lots of carpentry, plumbing, and other odd jobs, the laundry room sink and cabinets are done!  Here they are.  BR Part 9.1.2

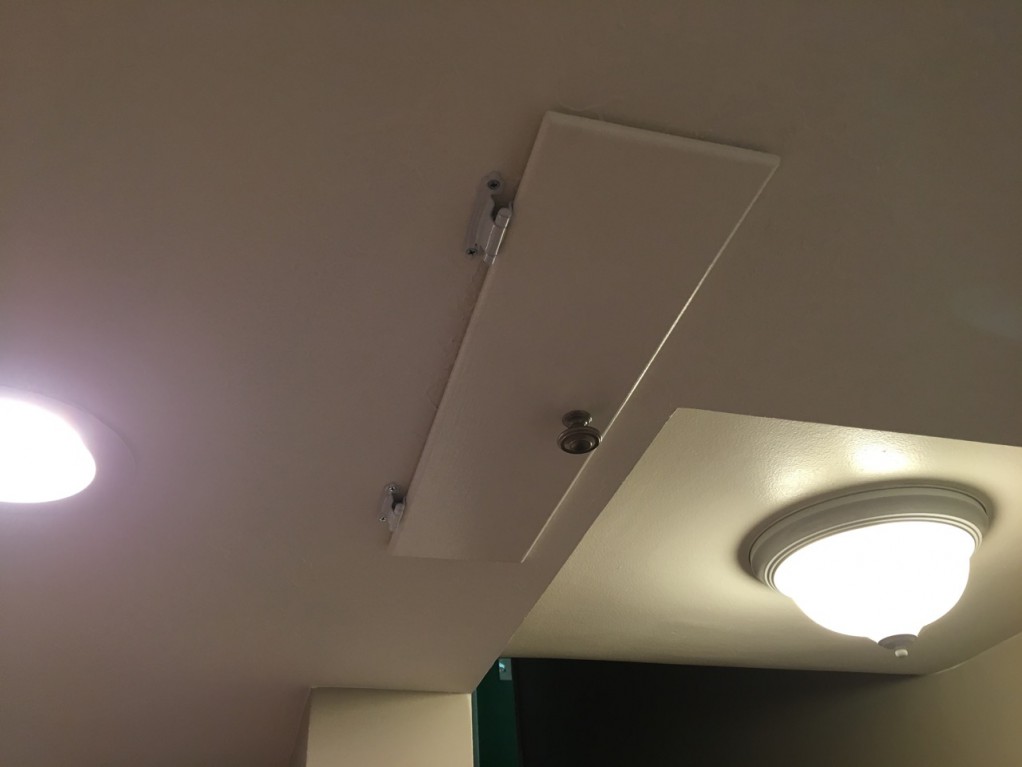
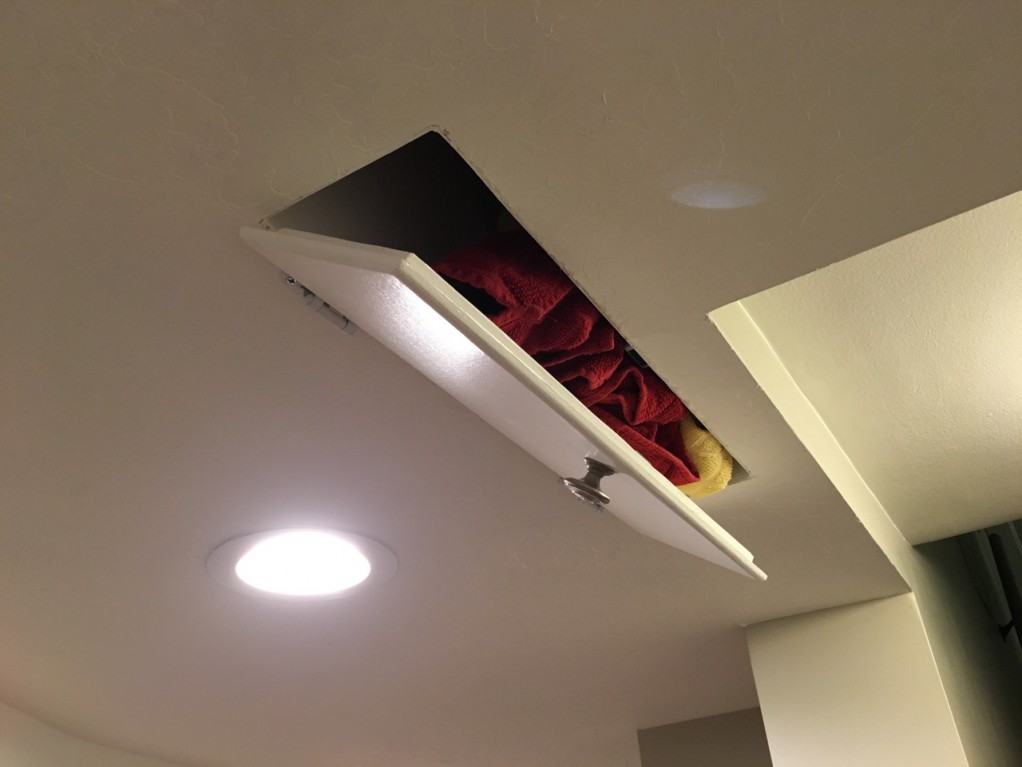
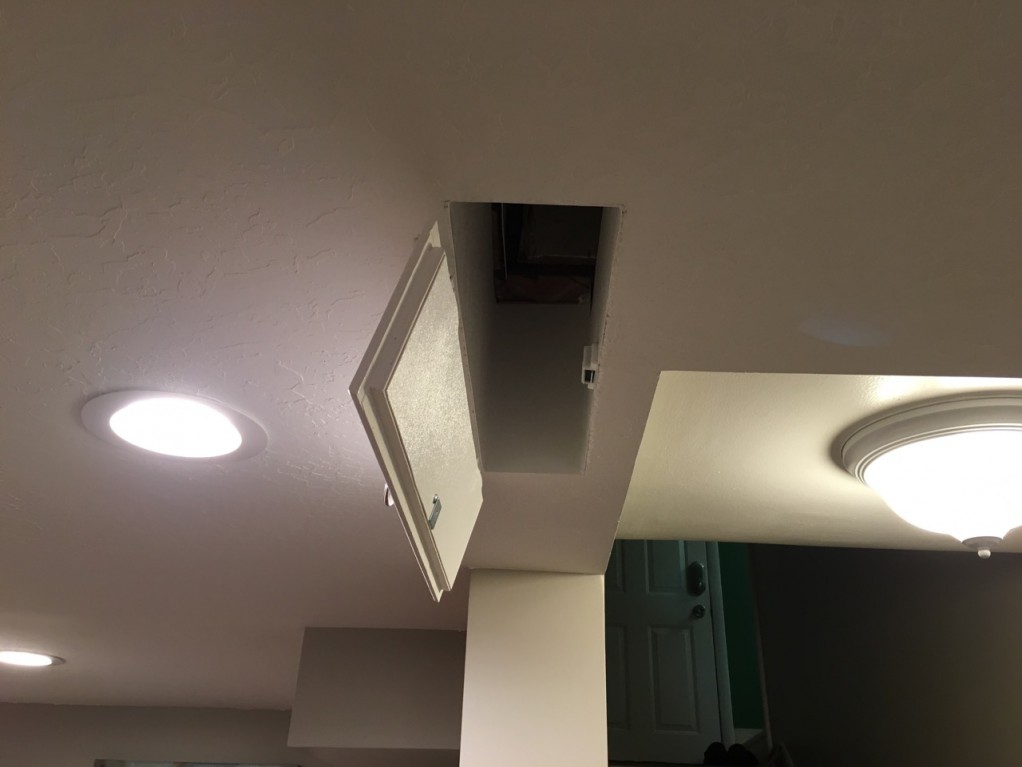
The laundry chute was another fun project.  The laundry chute existed pre basement remodel.  It dumped into the rightmost cabinet.  We really liked having the chute, the only problem was we deleted the portion of the wall where the chute dumped out.  So, we came up with a way to put a little door on the ceiling.  Pictures are worth a thousand words here.
old chute1

BR Part 9.1.6

BR Part 9.1.5

BR Part 9.1.4

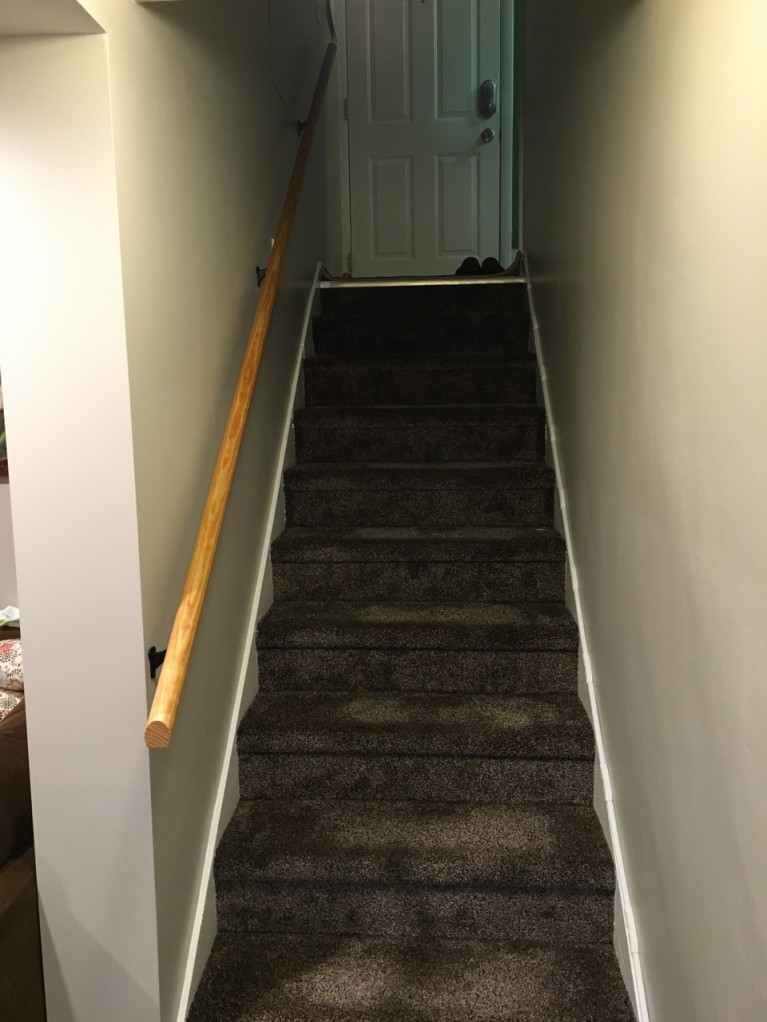
Last, but not least, the handrail had to go back up.

BR Part 9.1.1

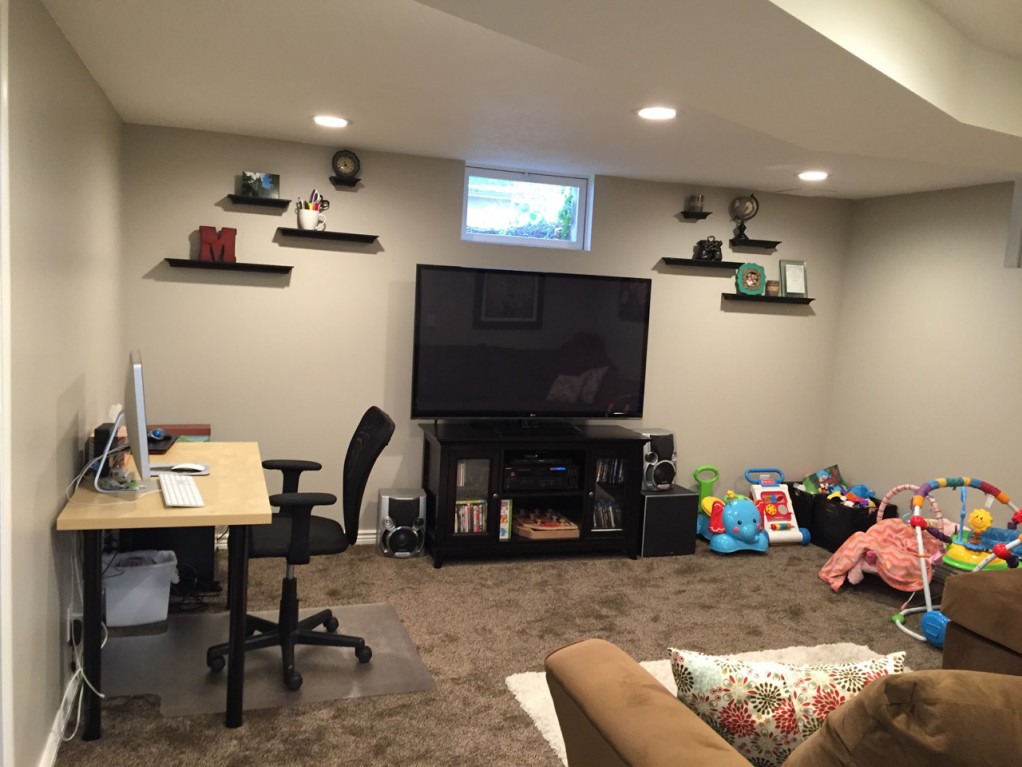
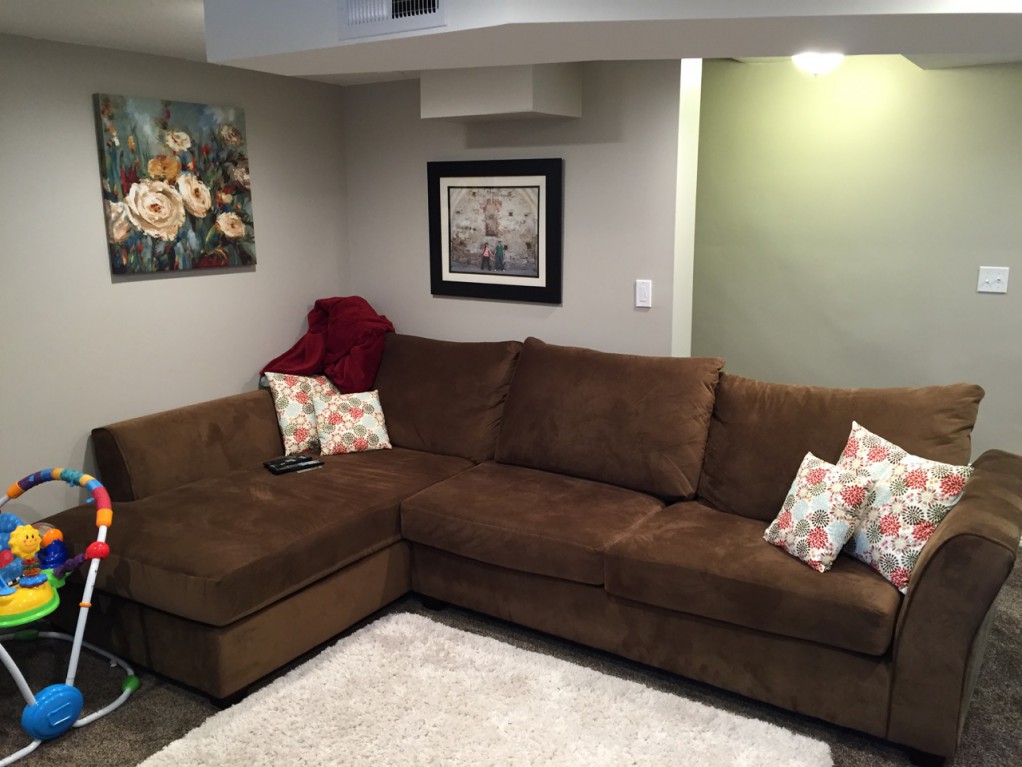
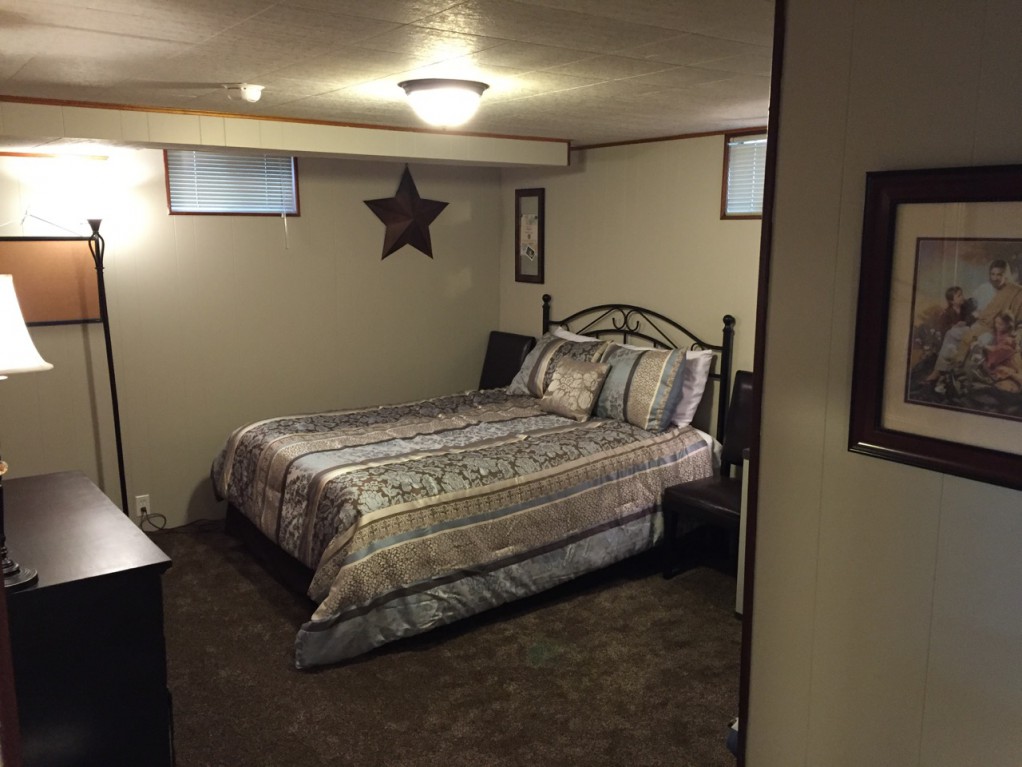
Yeah yeah yeah!  Here is a quick tour of the finished basement project.  Thanks so much to all the people who helped with the project.  Especially Kevin!  We couldn’t have done it without you.

BR Part 9.12

BR Part 9.11

BR Part 9.10

BR Part 9.09

BR Part 9.07

BR Part 9.06

Basement Remodel Part 8, written from the basement!

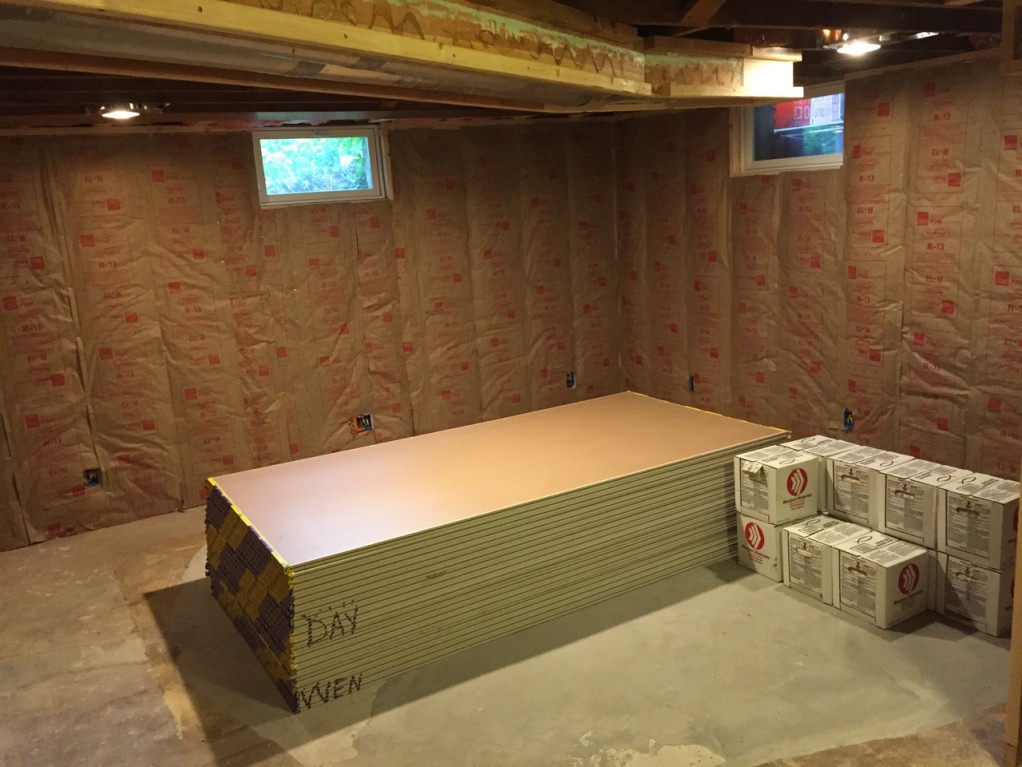
This is a huge update!  A lot has happened in the last 5 weeks!  In fact, I’m writing this post from our basement!  On part 7, we passed our 4 way inspection and the next step was drywall.  Here we go with the drywall getting delivered.
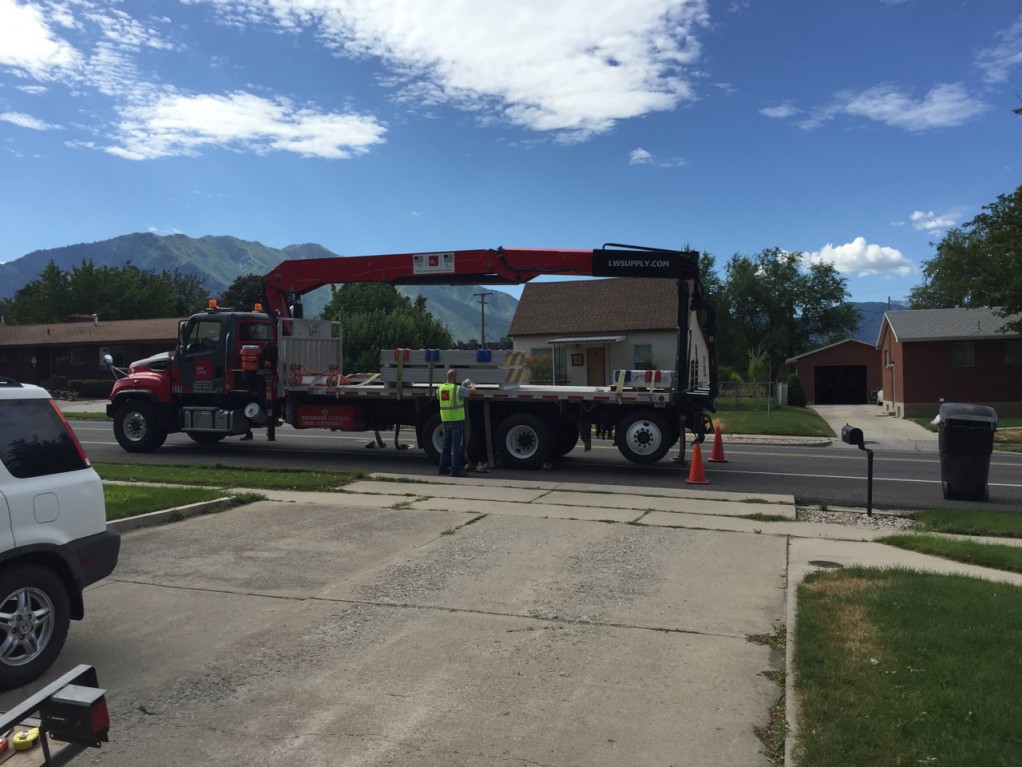
BR8. - 1

BR8. - 2

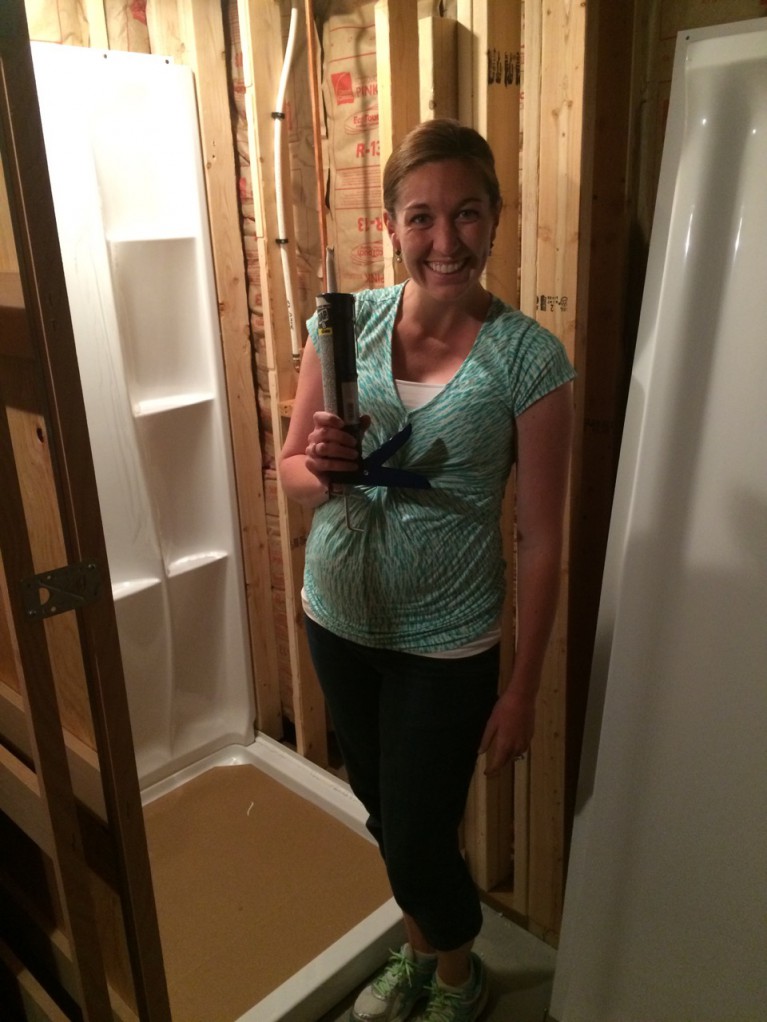
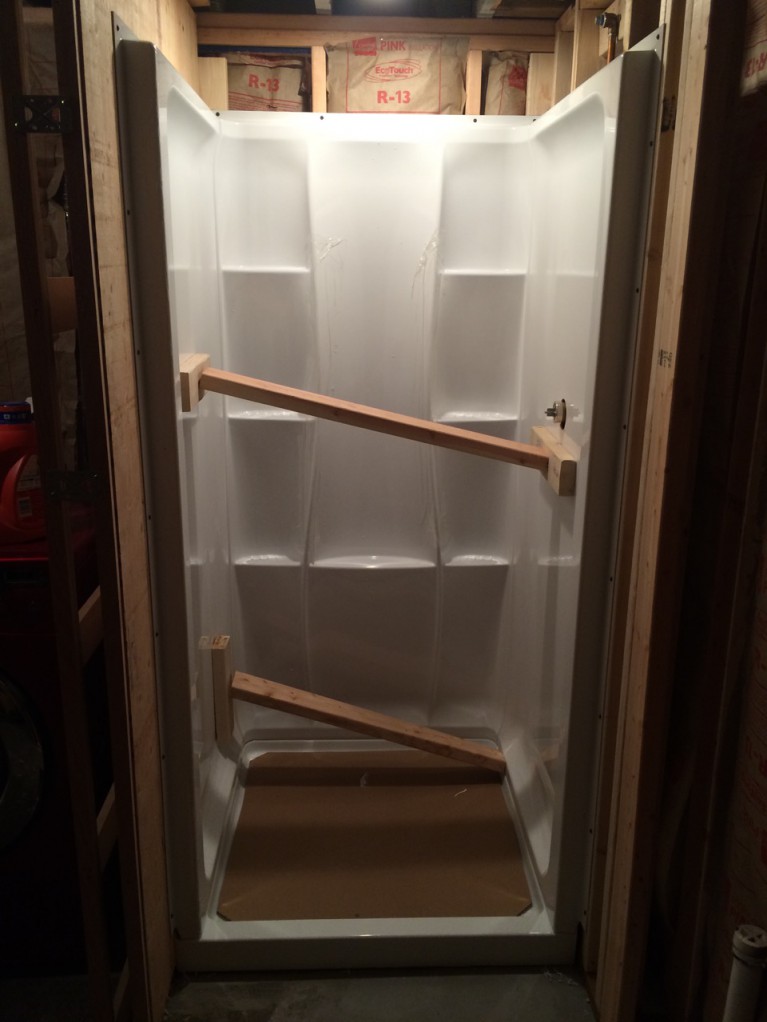
The drywall was delivered, and the next day the installers were scheduled to come hang it.  However, we weren’t quite ready.  We still had to put in the shower.  It turned out to be quite a bit of work and take us until late into the night.  Even though the basement framing is new, things aren’t perfectly square and that made getting the shower in tricky.  We’ll blame it on lack of experience.  With some careful shimming, we were able to get the pan and walls in and secured.
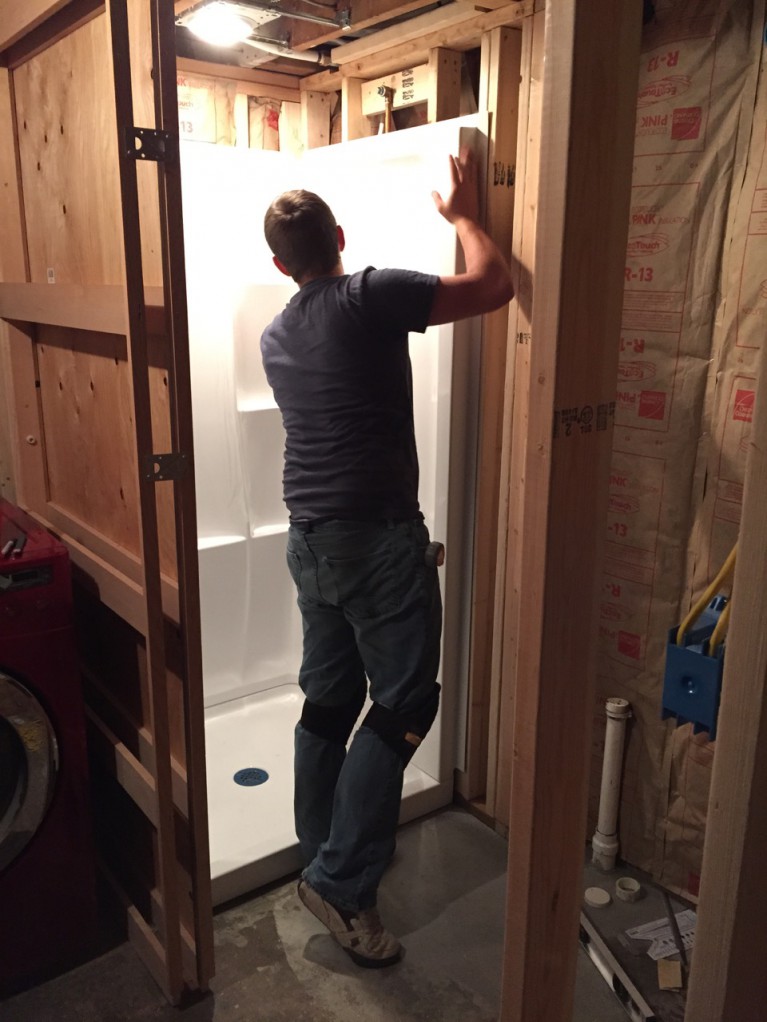
BR8. - 3

BR8. - 4

BR8. - 5

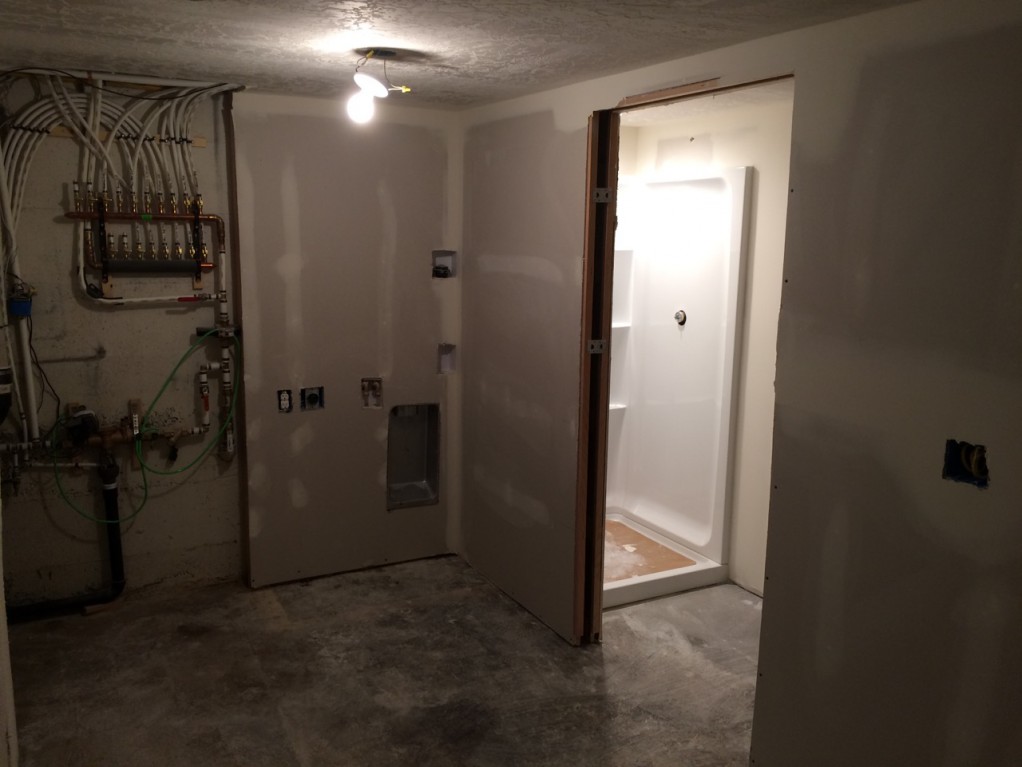
Now we’re ready for the drywall.  These guys came and made amazingly quick work of the job.  And within a couple of days the place was also taped and mudded.  So cool!
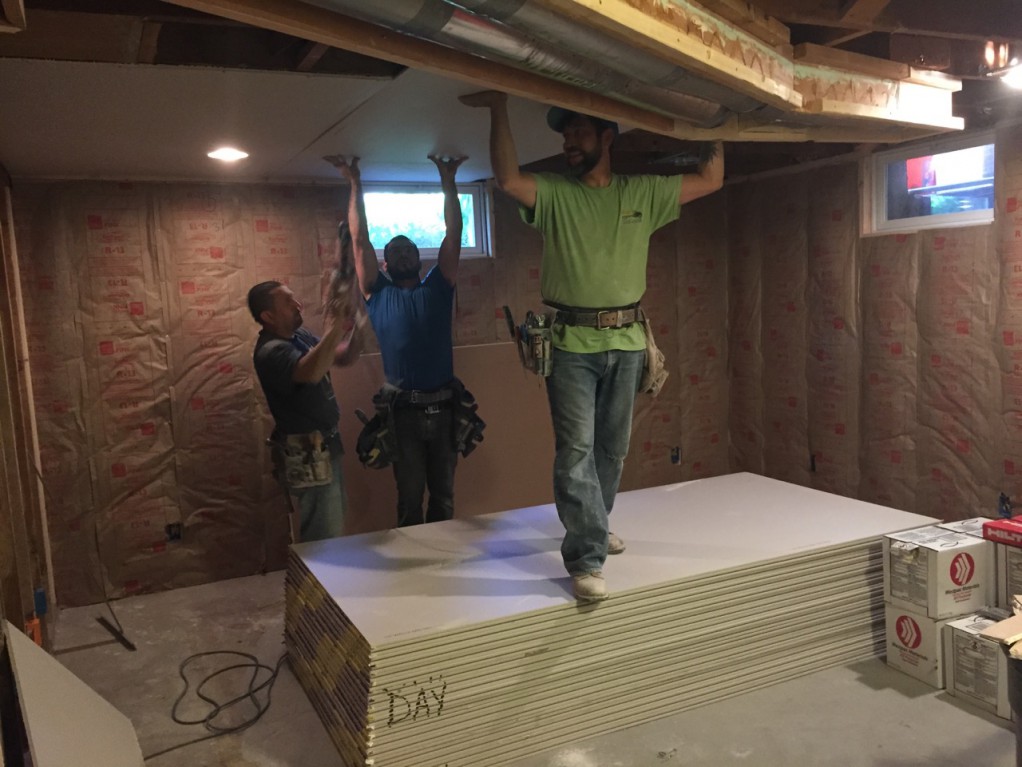
BR8. - 6

BR8. - 7

About this time, we made a final decision on the carpet.  We called the carpet company and made a down payment and scheduled the installation day for August 11th, about two weeks away.  This was an aggressive goal considering all that needed to happen before the carpet could go in, but hey, we have a baby on the way.  There’s really no way to slip that schedule to give us more time, so carpet, here we come.

Painting time.  We borrowed the paint sprayer from mom and dad and used it to spray the primer and the wall coat.  It was really quick to use and helped get a nice even coat of paint on the walls.  I got the cool picture with the paint gun, but Kathryn was the real super hero when it came to the painting department.  She did an amazing job painting the ceilings and the trim and in general being amazing.  We also jumped in and painted the guest bedroom.  Suzanne and Sam came down one day and helped tackle that job.  Thanks so much for the help!
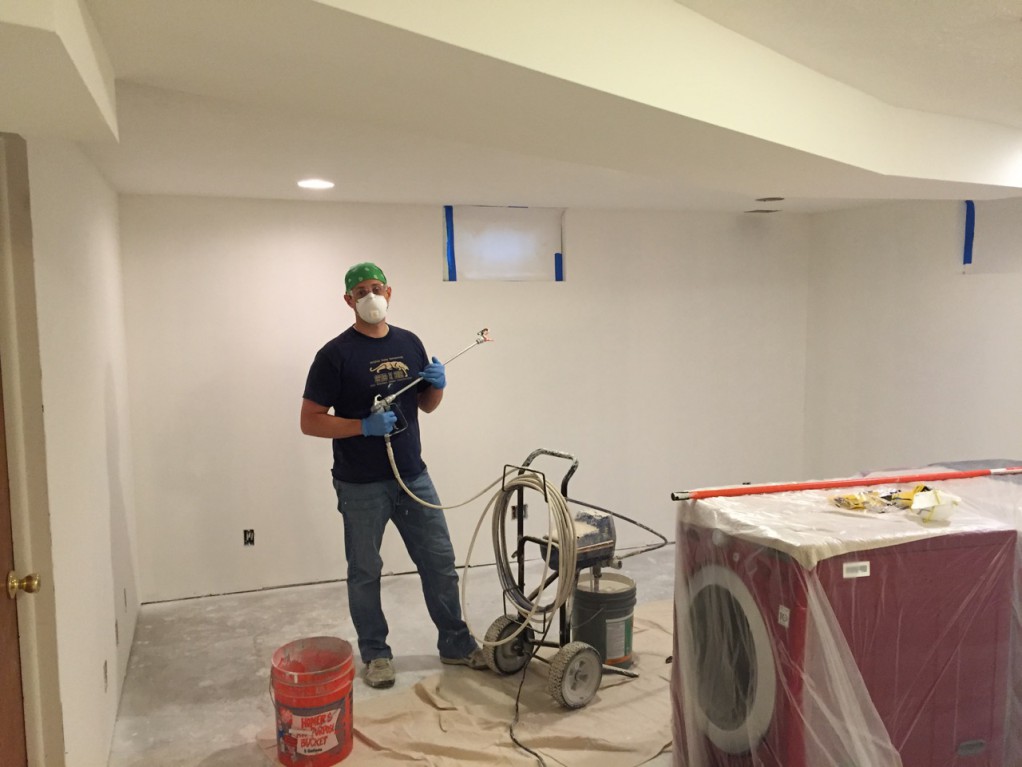
BR8. - 9

BR8. - 8

IMG_8652

Kathryn really wanted to get the linoleum put in the laundry room.  I thought it was going to be too much work we should put it off until later.  We were four working days away from the carpet going in, and we still needed to finish the baseboards and trim and get them painted.  Tim and Suzanne came down near us for a wedding reception and they offered to help us for an evening if we could put them to work.  Okay okay, we can put the linoleum in.

We took a whole bunch of careful measurements, cross measurements, and diagonal measurements of the laundry room and the attached bathroom.  Then we cleared off a section of the driveway, swept it, vacuumed it, put down a piece of plastic, and finally rolled out the linoleum upside down.  It was a little tricky to keep straight in your mind, but we proceeded to map out all of the measurements onto the back of the linoleum.  (The idea is to cut the sheet so it’s a couple of inches wide on all sides, and then take it down in the room and do the final cuts.)  As we were getting very close to having them all down, we started to realize that we weren’t going to be able to make all the measurements agree.  A square room is easy.  If it’s a parallelogram shape, you can deal with it by using the cross measurements.  However, if the room is a 4 sided polygon, you really aren’t able to define it without using angles.  We discovered that our room fell into that category.  So, we decided to just roll the sheet up, take the whole thing, uncut downstairs and go for it.  We weren’t sure if it’d work out, but we went for it anyway.

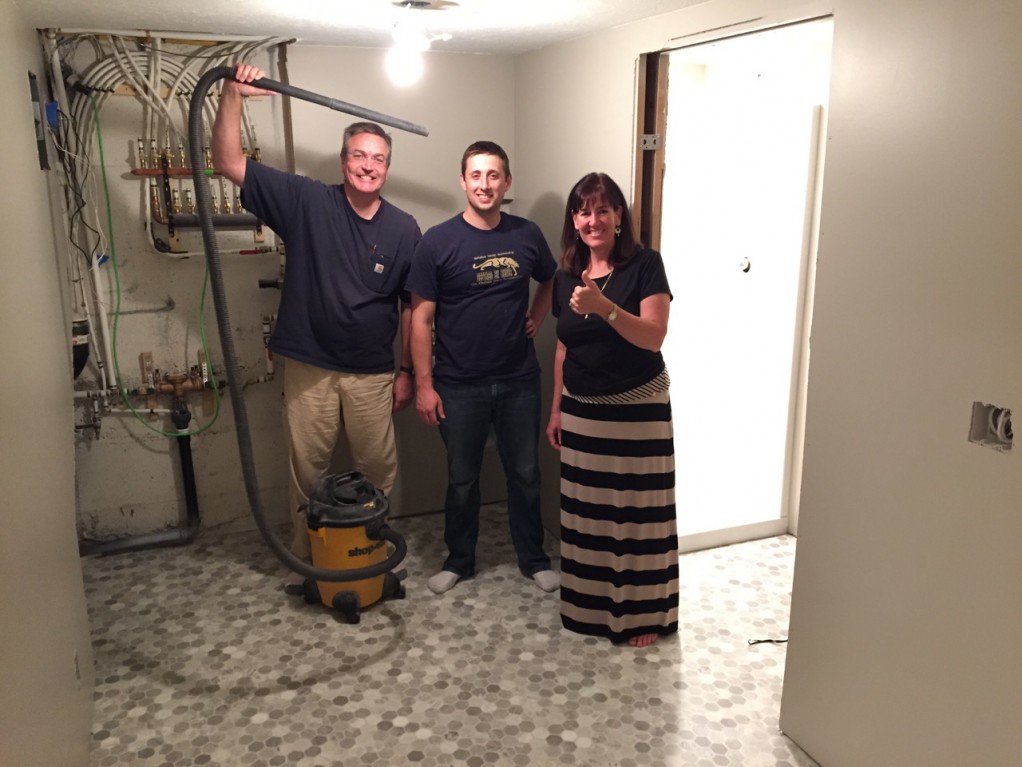
I’ll admit it was pretty awkward to try and maneuver that big sheet down there.  The thing that really complicated it was we wanted a seamless floor between the laundry room and the bathroom.  In the end, all of our measurements weren’t in vain.  They helped us position the sheet knowing that we’d have enough material to get to all the edges of the room.  In the end, it worked out great.  It went down well and we love the floor.

Tim, as promised, you made the blog!  Thanks so much for all the help!
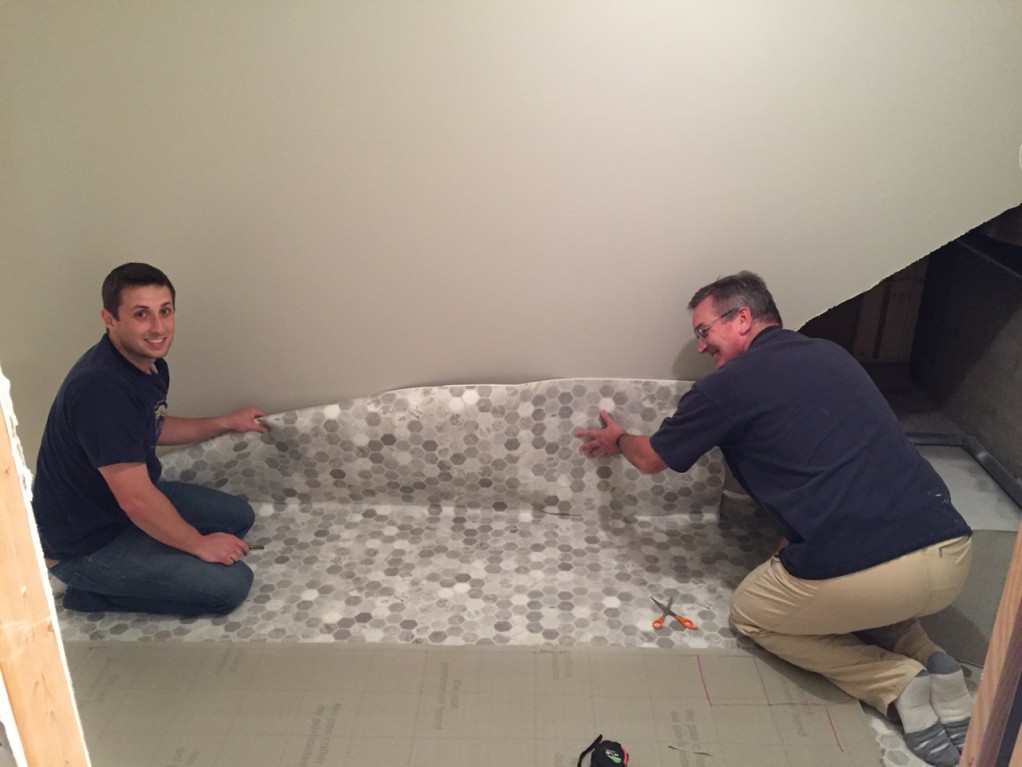
BR8. - 10

BR8. - 11

T minus 3 working days till the carpet goes in.  Date night activity: Home Depot molding run.  Things went longer than Ashley liked and I had to buy her off with some overpriced Home Depot candy.

I wanted to include this picture to illustrate the amazing project manager that Kathryn is.  She really takes care of us and makes these projects possible.
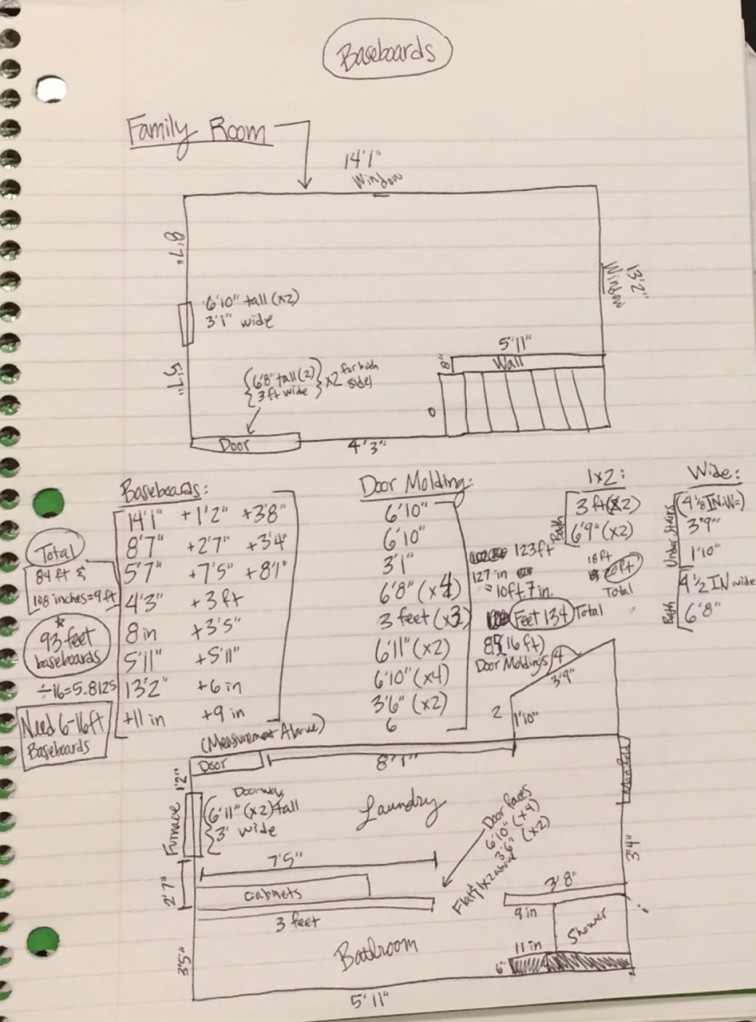
BR8. - 12

T minus 2 days.  We seem to have neglected to get any pictures of the molding going in, but here it is installed.
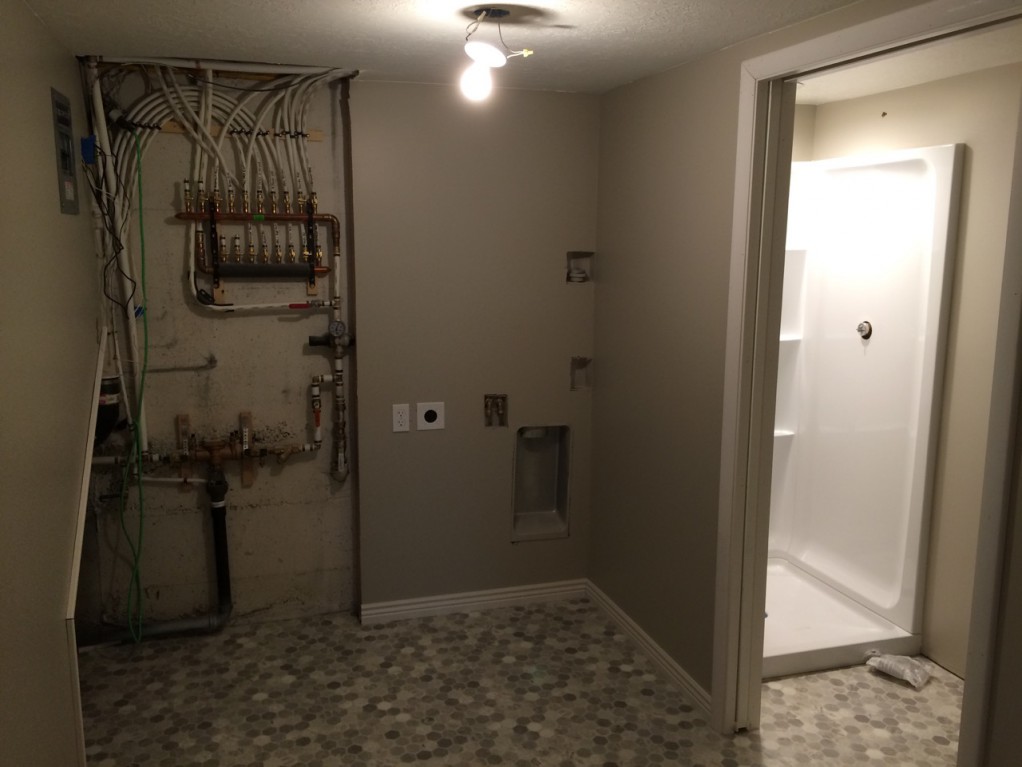
BR8. - 13

BR8. - 14

T minus 1 day.  Kathryn is incredibly amazing and caulked all the baseboards in the family room and painted them.  I told her it’s like she’s not even pregnant with all the amazing things she does.  She described her motivation this way: having the basement finished is her “nesting carrot”.

We thoroughly swept and vacuumed the floor in preparation for carpet coming tomorrow!
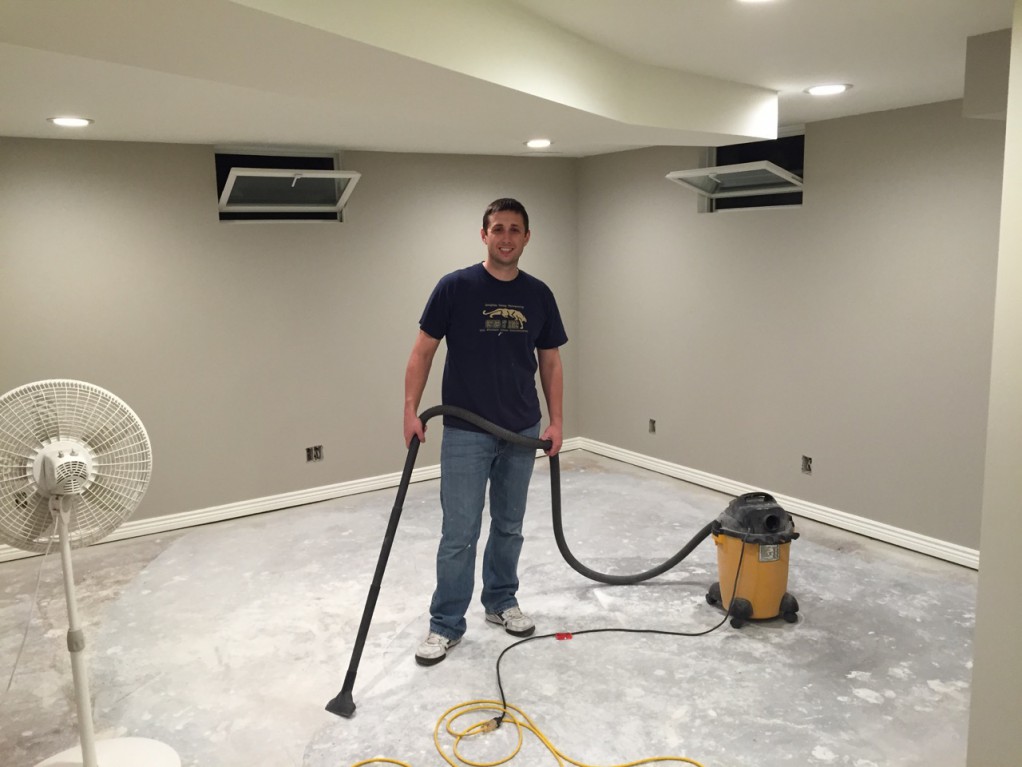
BR8. - 15

BR8. - 16

BR8. - 17

BR8. - 18

BR8. - 19

CARPET IS IN!  I’m not even here to see it.  I went on my last business trip before this baby comes.
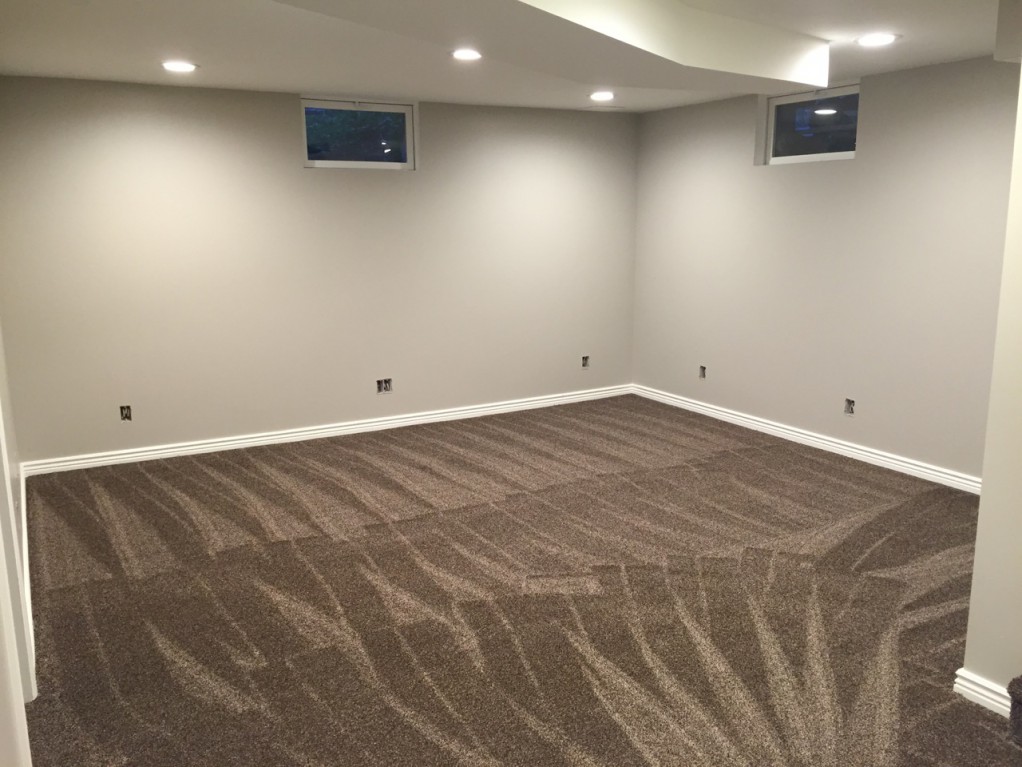
BR8. - 20

BR8. - 21

BR8. - 22

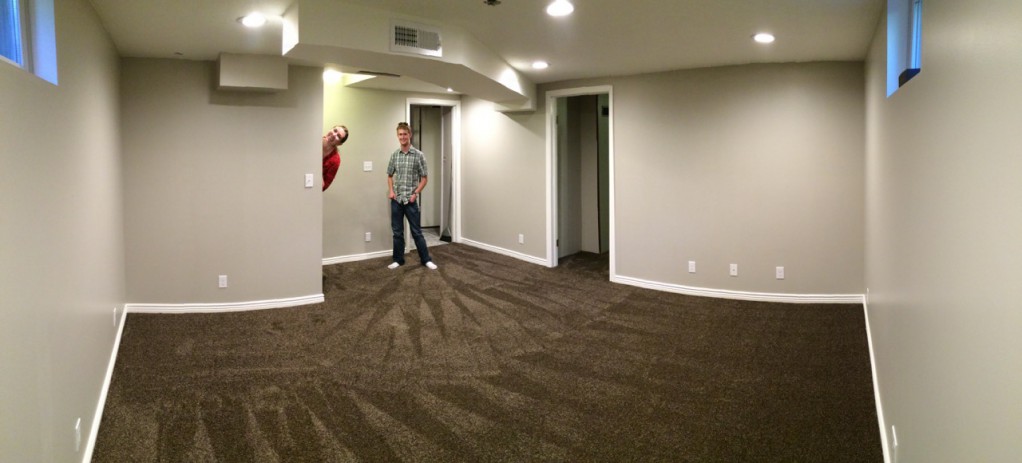
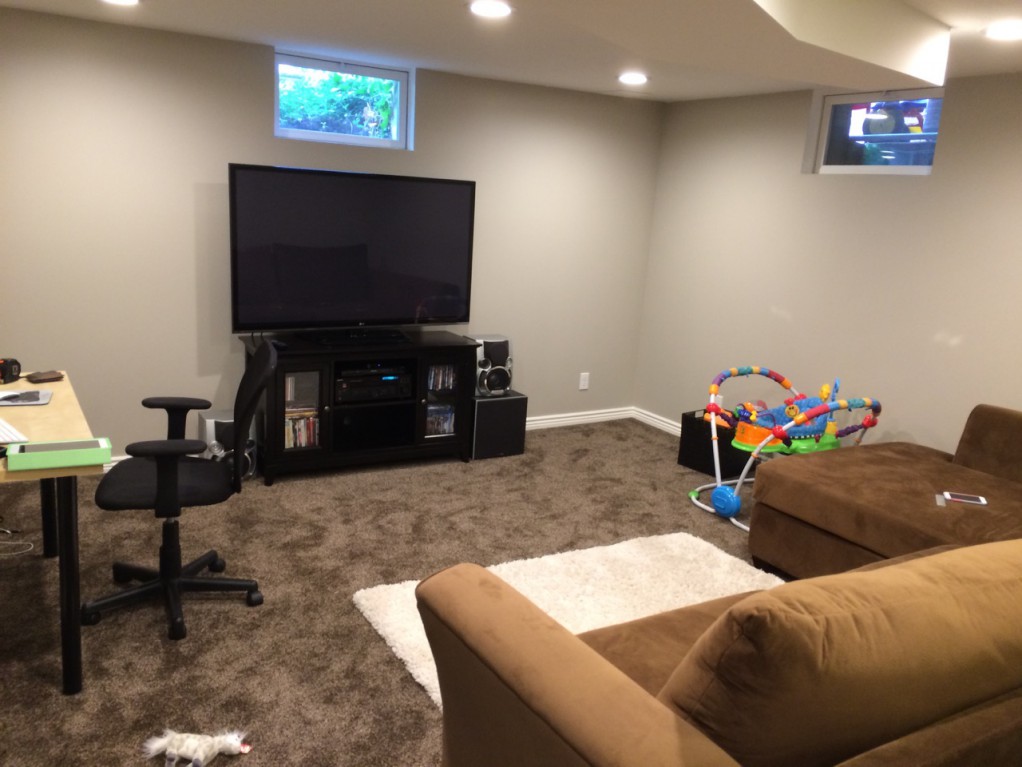
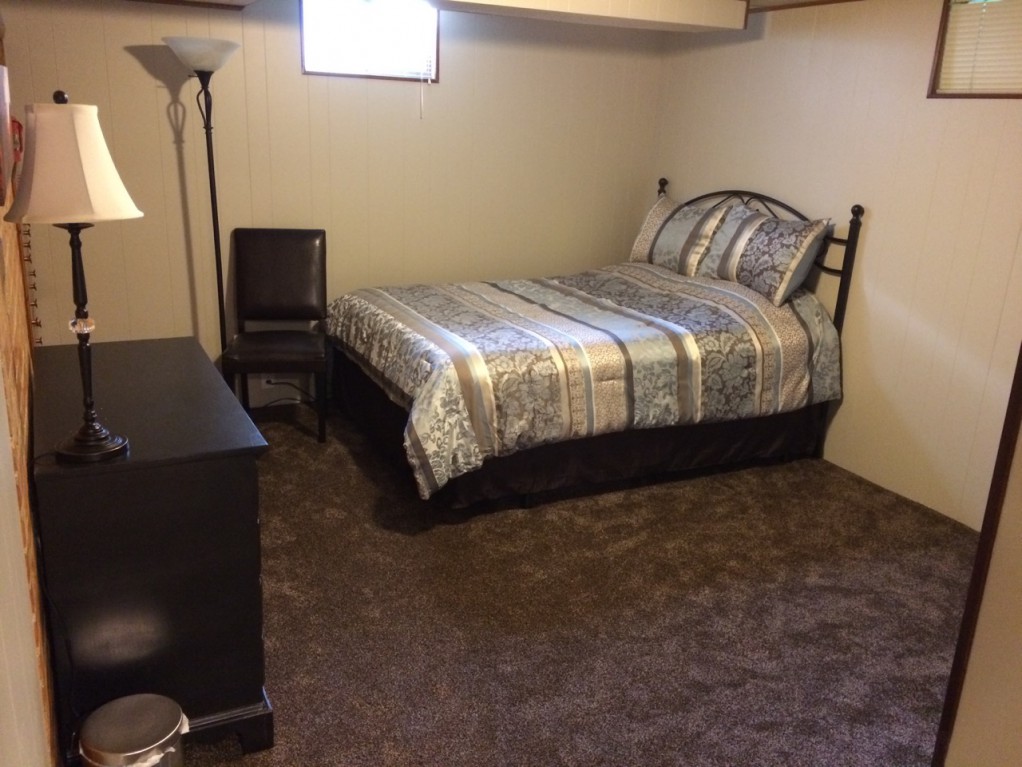
One of the perks of going on a business trip is lots of hours.  I took Friday off to work on the basement.  We got all of the electrical finished up.  Then we called up Kevin and he came over and helped us move the family room from upstairs down to the new room.  We also have a nice guest room again.  This was a magical day.  It’s so cool to see the room come together like this.  Eight months of dreaming and scheming and working to make this day possible.
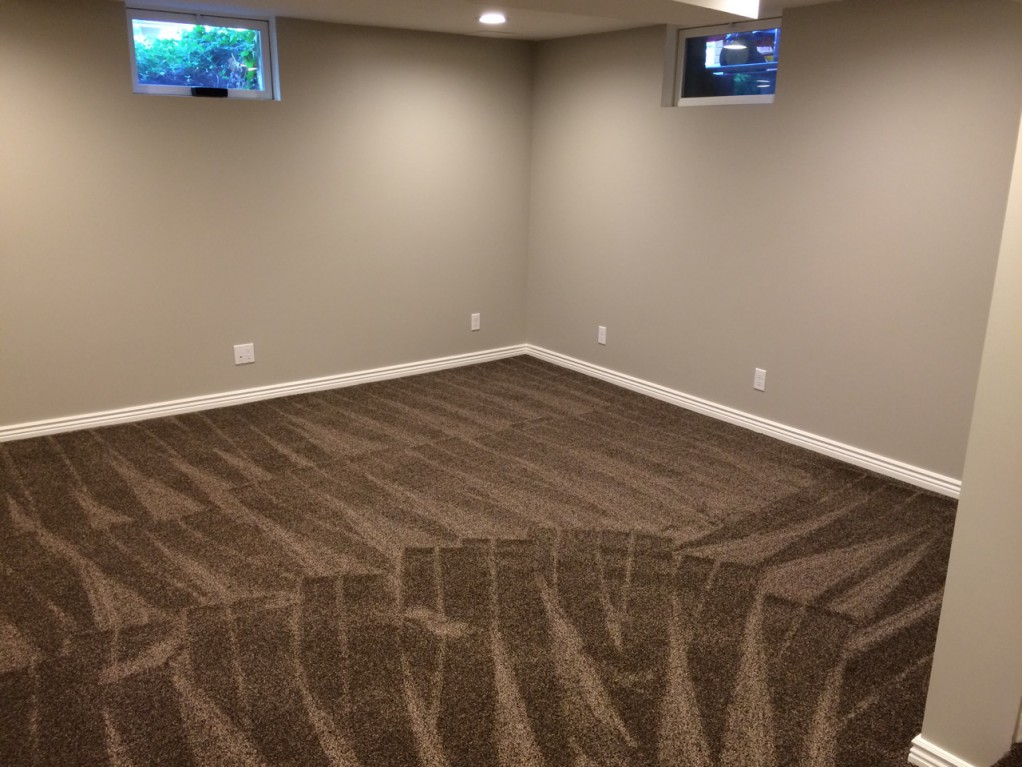
BR8. - 23

BR8. - 24

BR8. - 25

BR8. - 26

Basement Remodel Part 4, Redirection

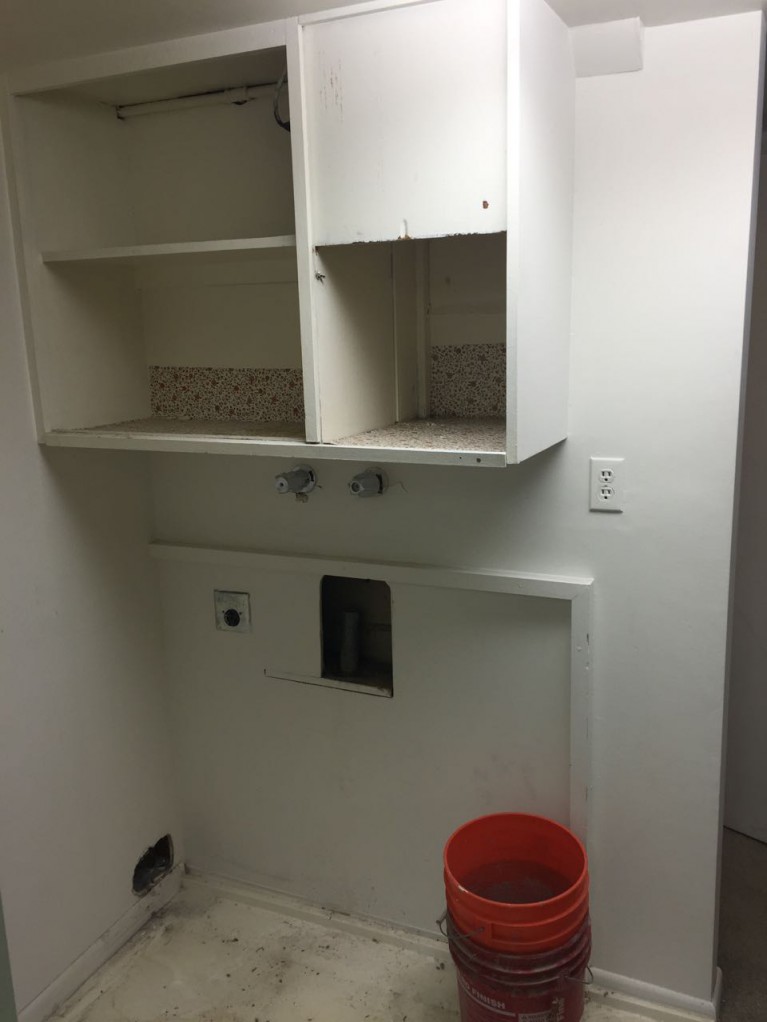
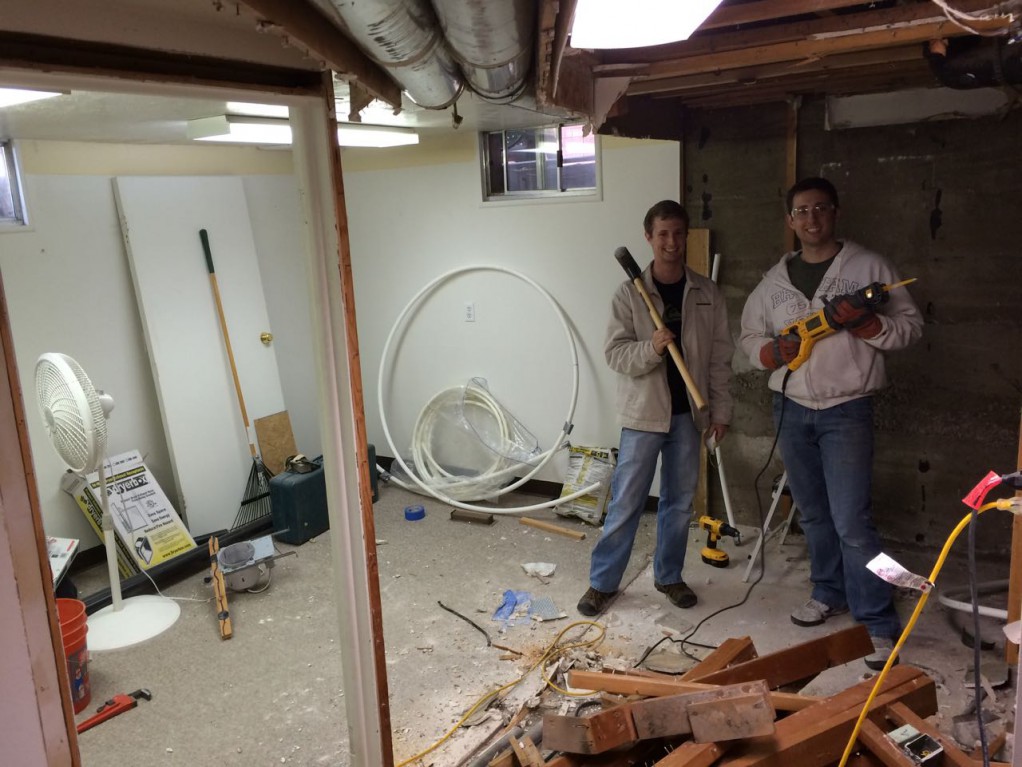
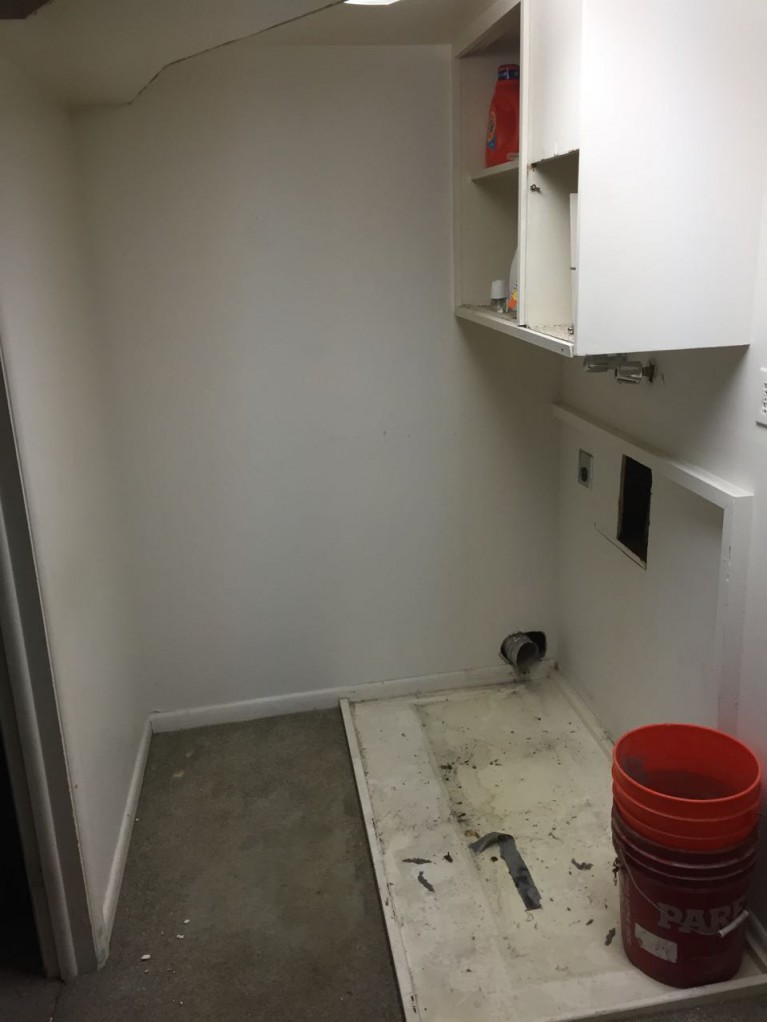
Time to do some more demolition.  This time, it’s the laundry nook.  Here is what  it looked like with the washer and dryer removed.
basement pt 4.01

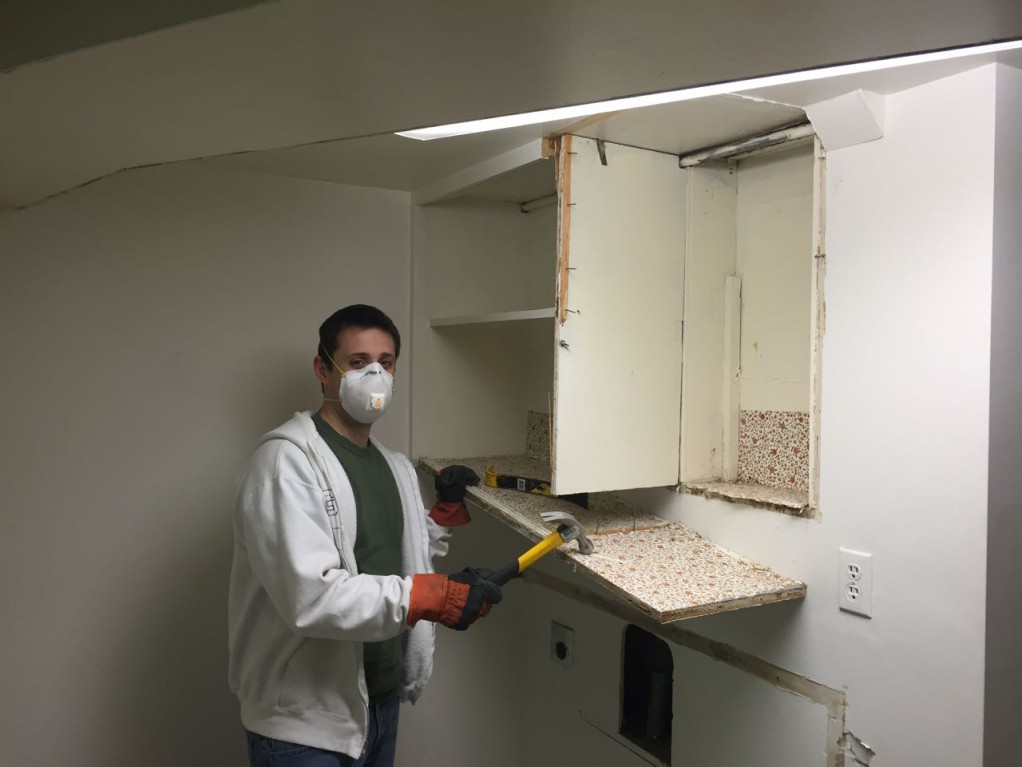
Here it goes.  Destruction is so much fun.
basement pt 4.02

This is good anger management.
basement pt 4.03

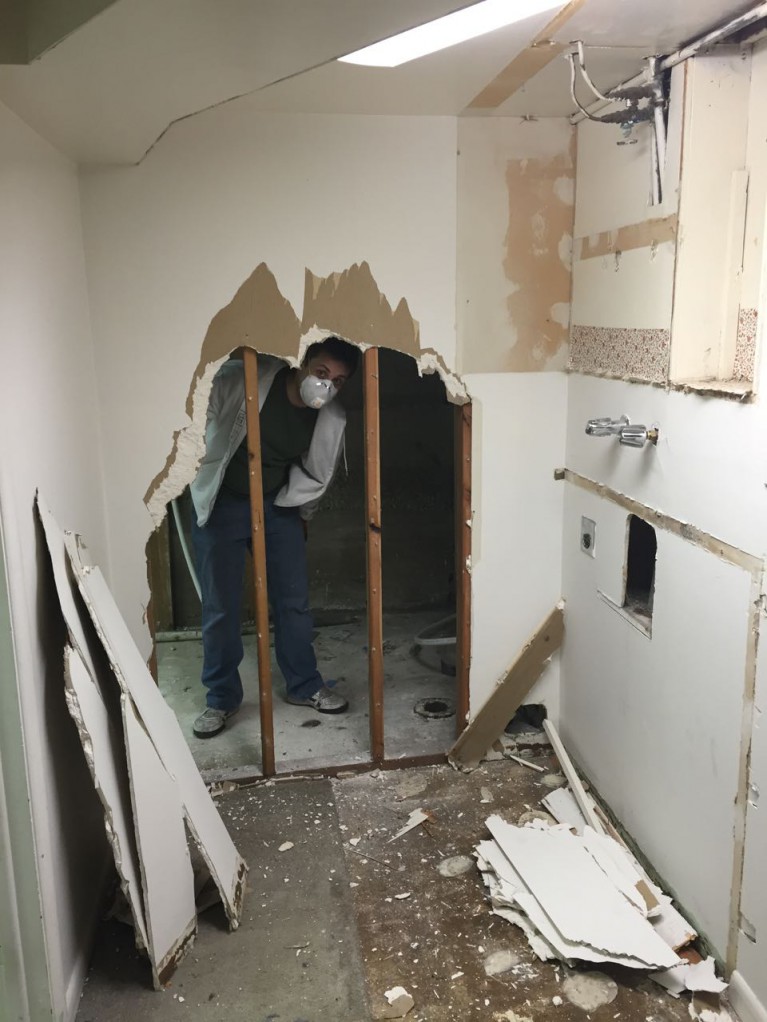
Down with the wall.
basement pt 4.04

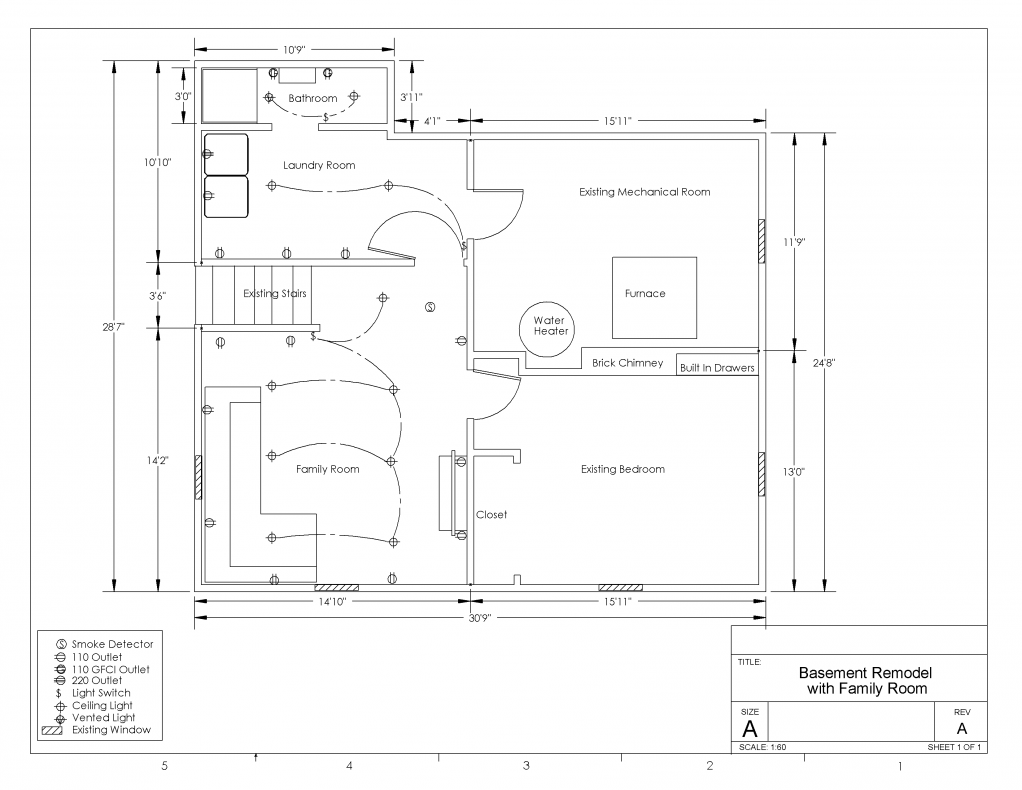
Once we got to this point, we had a crazy idea.  With the walls down, the basement felt so nice and open.  All of the sudden both Kathryn and I had visions of an awesome family room here instead of in the adjacent bedroom!  We could forgo the bathroom in this room, leave all the walls down, and have a nice open room where we could put the couch, tv, and the computer.  Basically, this would become our replacement upstairs bonus room.  Anyway, it’s fun idea to think about.

We pondered on it for a little while, and had a plumber come and give us a quote on what it would take to add another bathroom into the laundry room.  It all seemed doable, so we decided to go for it.  This is the new plan we drew up.

Basement Drawing game room

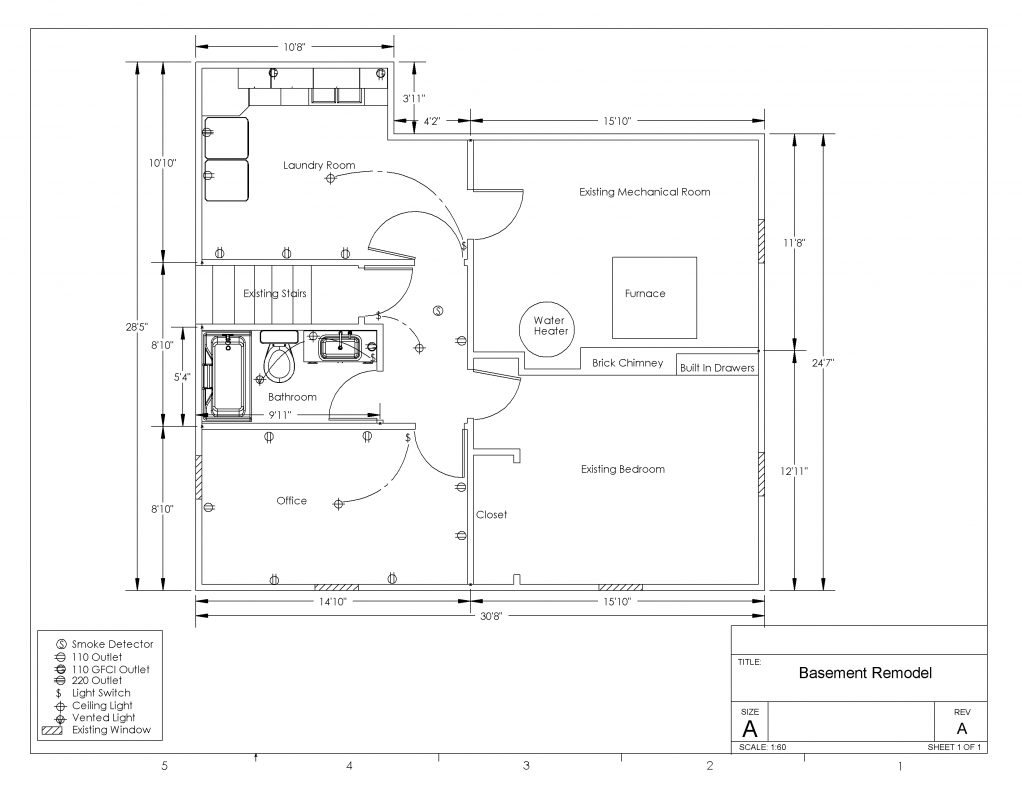
And the old one to compare against.
Basement Drawing


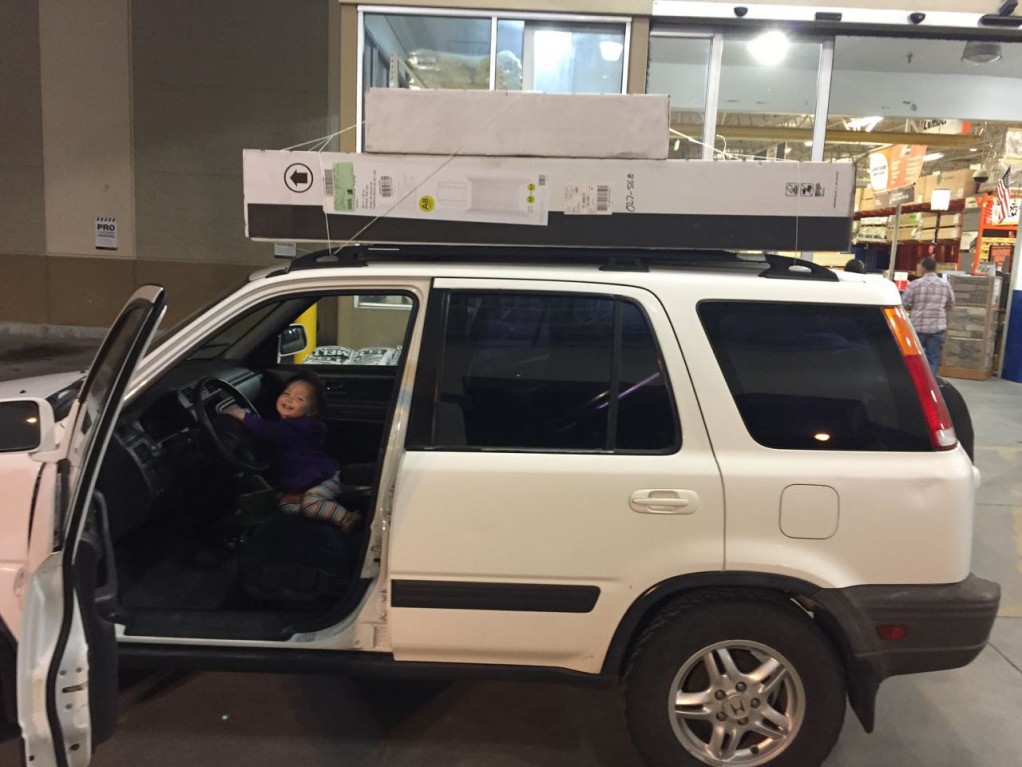
Supplies!  We’re starting to look like hoarders in our garage as we’re stockpiling supplies.  So far, most everything has been ripping out stuff and taking loads to the dump, but there has been quite a bit of new stuff gathering as well.  We really pushed Darbus to the limit with this load.  The trunk was also pretty full with the toilet and other things from this run.
basement pt 4.05

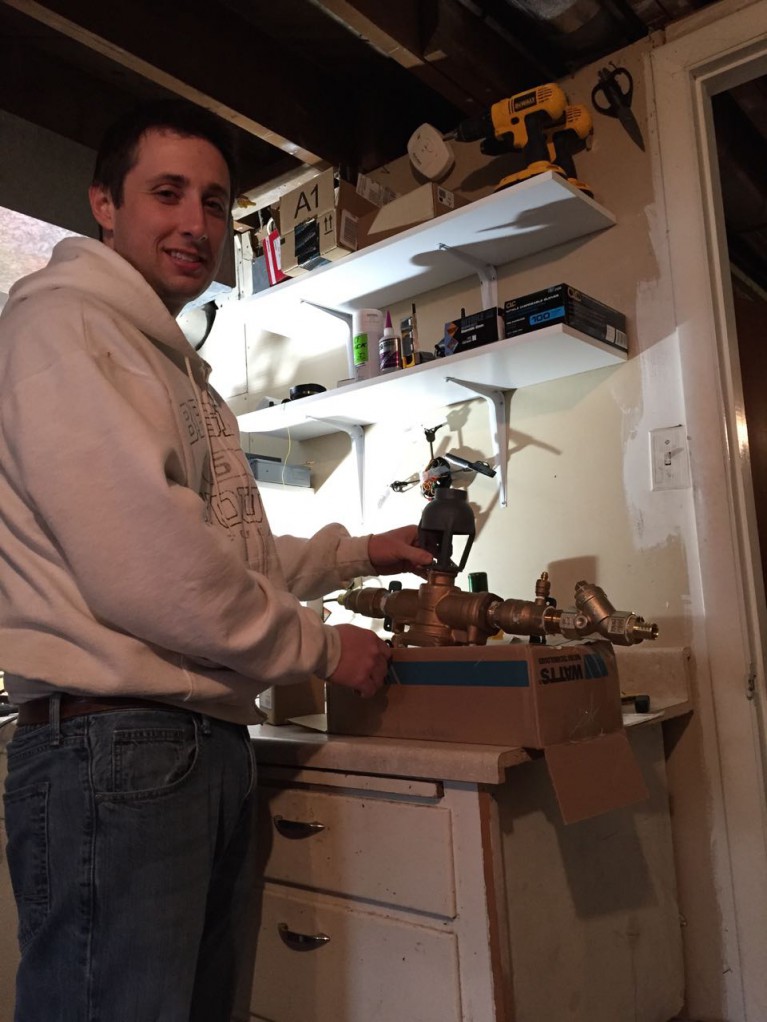
We’re trying to be responsible citizens by installing a backflow preventer  on the line that feeds the sprinklers.
basement pt 4.06

Unfortunately, by adding the bathroom over into the laundry room, we had to do some rework.  One of the major jobs was to add in another vent duct for the bathroom fan.  In order to do this, we had to pull out and redo parts of the dryer vent as well.

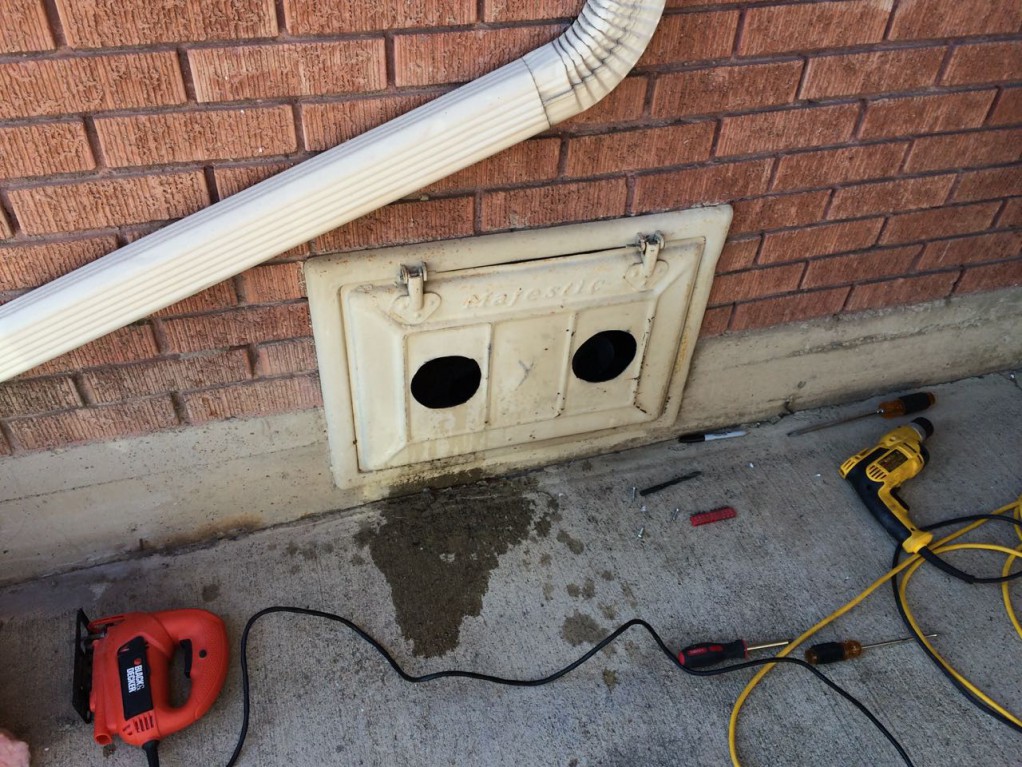
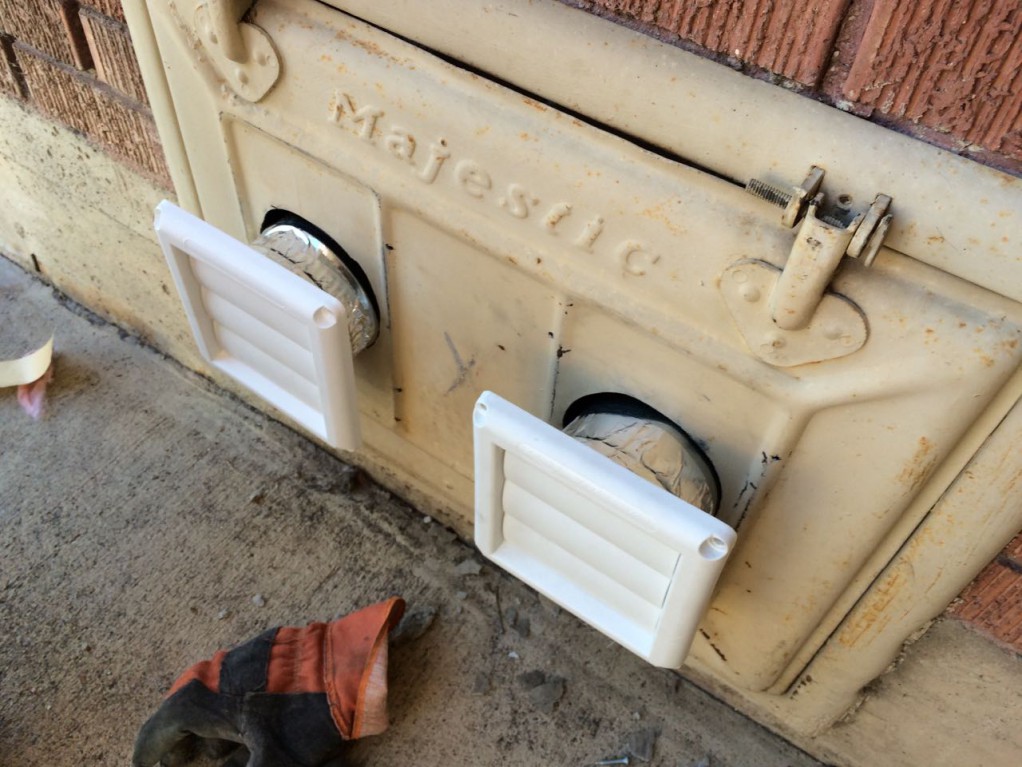
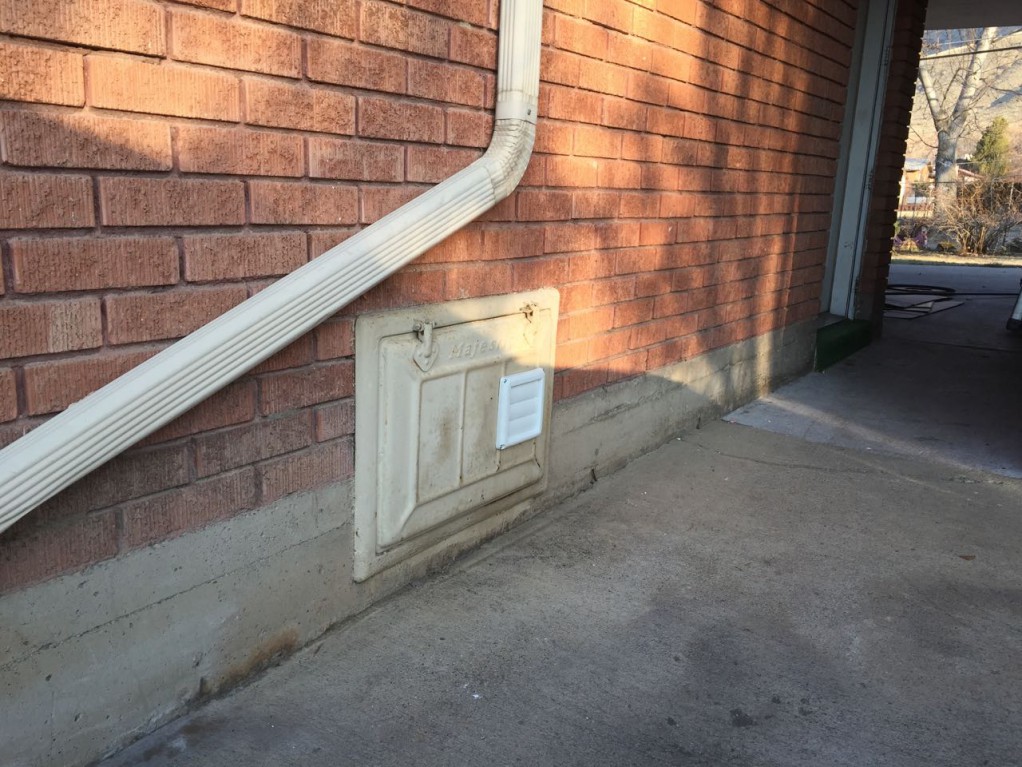
We’ve got the second hole cut on the old coal chute door.
basement pt 4.07

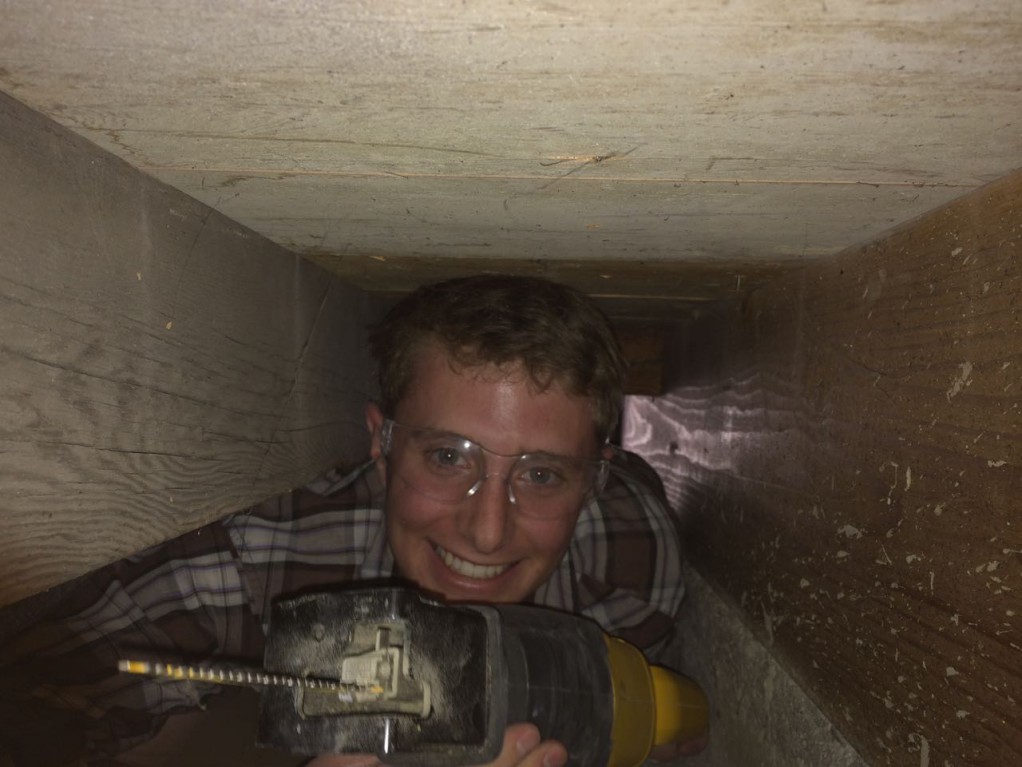
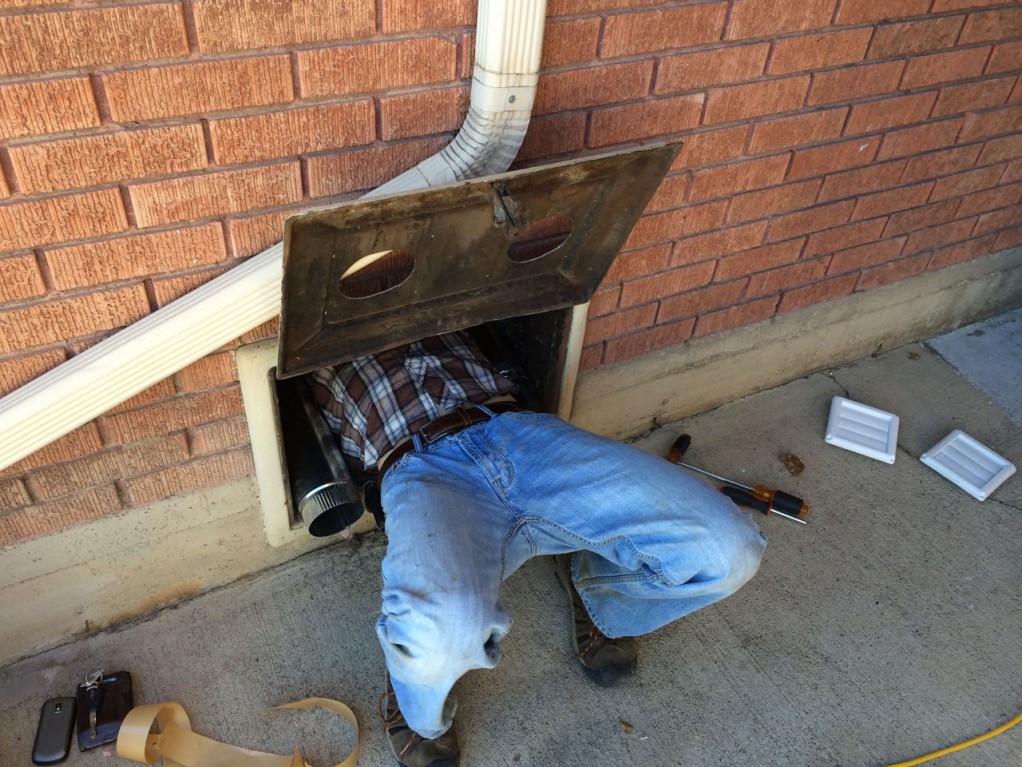
We needed to notch one of the floor joist braces in order to run the new duct line.  Kevin was amazing and volunteered to crawl in the old coal chute and do the job.
basement pt 4.08

basement pt 4.09

Here they are, ready to be pushed in and hopefully never opened up again.
basement pt 4.10

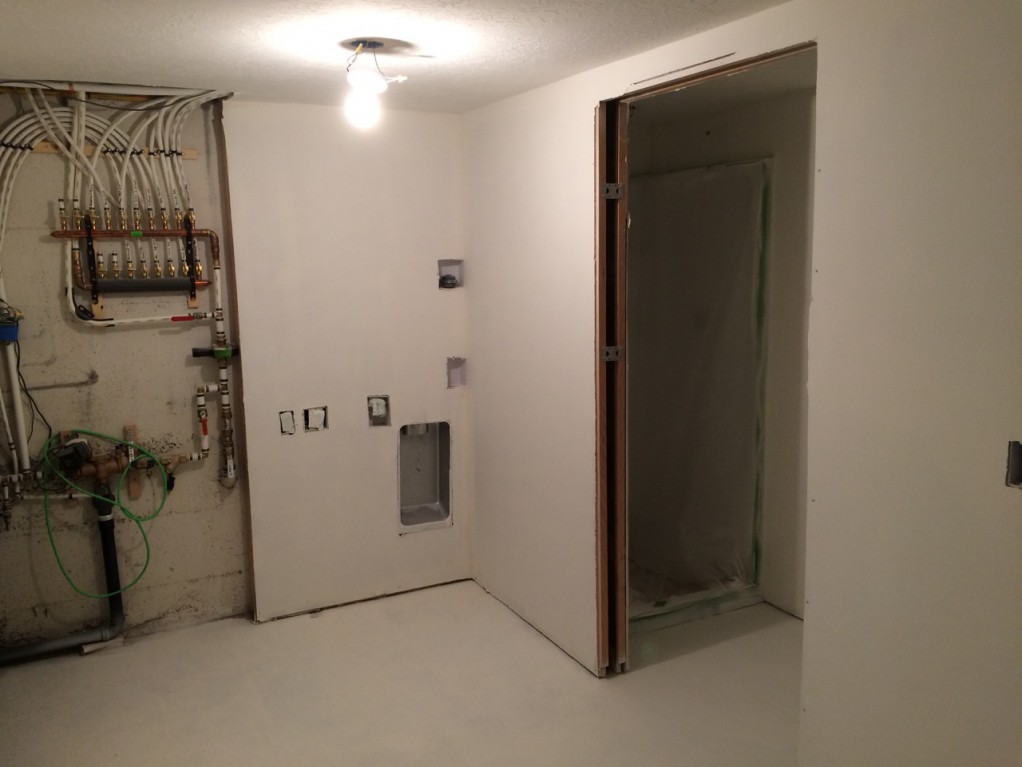
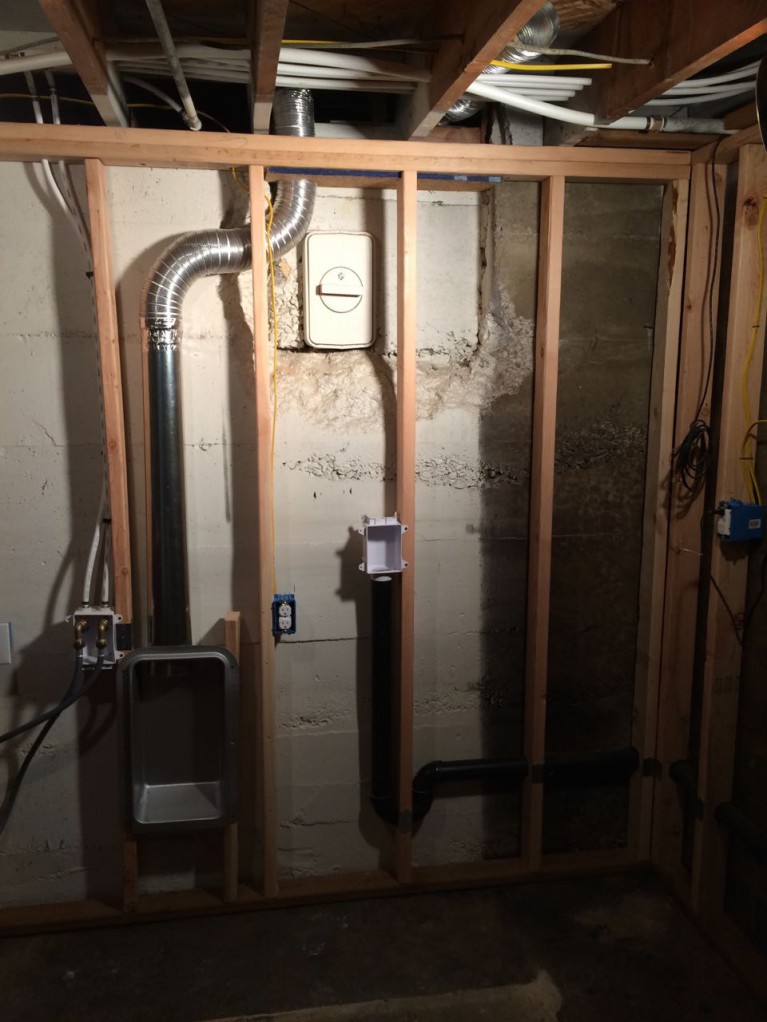
Here is what it looks like on the inside.  In order to make room for the bathroom, we needed move around the washer and dryer hookups.  The dryer vent is now one stud bay to the left of original.  The washing machine drain will get moved over one stud bay as well when we do the rest of the plumbing in the room.   In the ceiling, you can see the new vent duct ready to be hooked into a bathroom fan (which is stockpiled in our garage).
basement pt 4.11

Basement Remodel Part 3

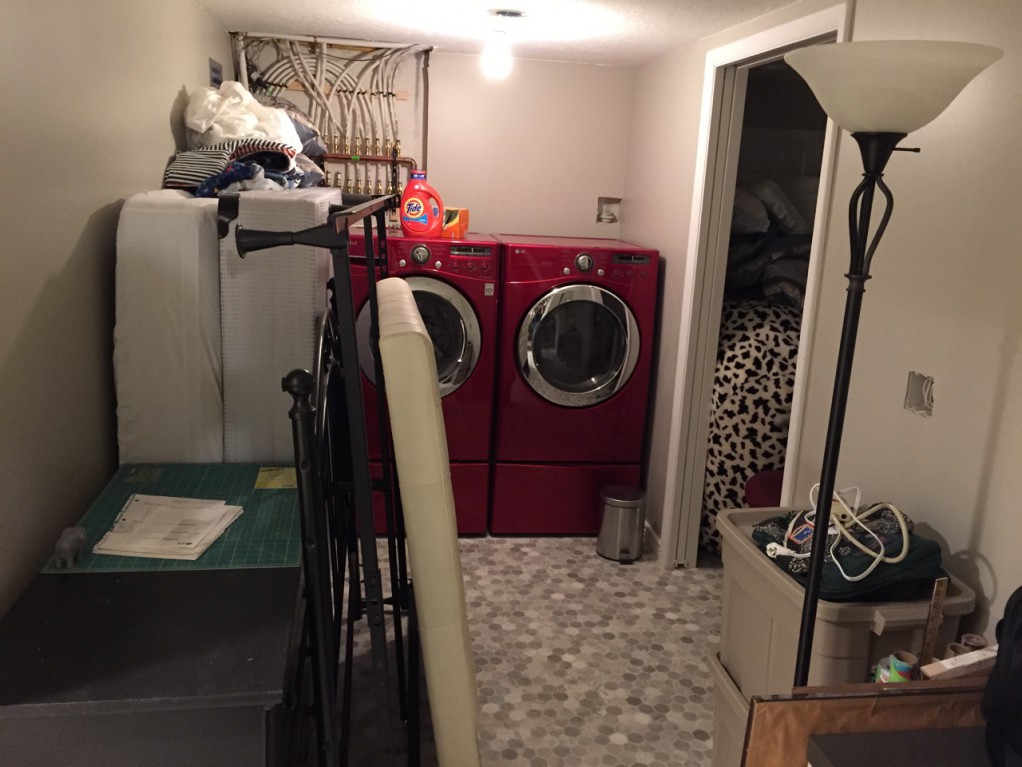
We have a laundry room!  It’s amazing how much you can do when you have a goal you are committed to.  Last week, we set a goal to get the washer and dryer moved over into the new room by this weekend.  It was definitely a stretch goal.  There were a lot of steps to accomplish.  We worked really hard and got it done.

Victory!
BasementPt3_08

It was not an easy process getting them moved over.  There were several steps that needed to be accomplished.

  • Electric
    • Install the basement subpanel
    • Run the beefy 6-3 wire from the subpanel to the main panel
    • Wire up the new outlets in the laundry room
  • Water
    • Run a new water line to feed the washer and the sink
    • Insulate the hot water lines
    • Get the 1″ sprinkler line installed that runs above the washer and dryer
  • Vent
    • Drill a 4 1/4″ hole in the steel coal chute door
    • Plumb in the new vent line
  • Drain
    • Finish running the drain line

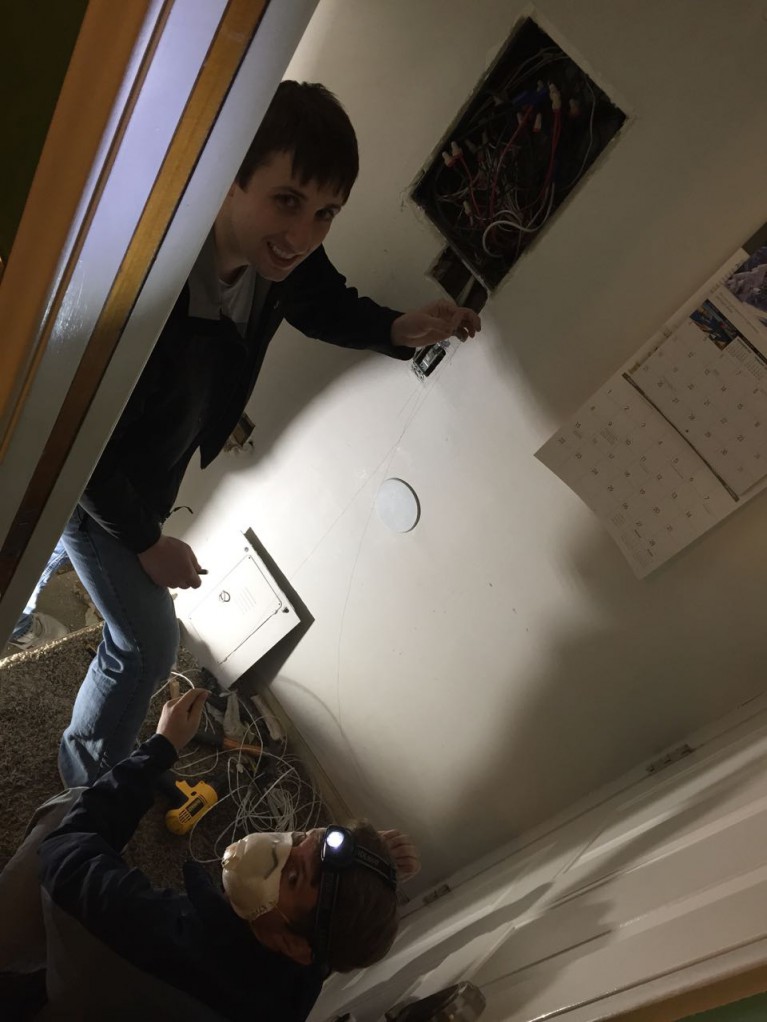
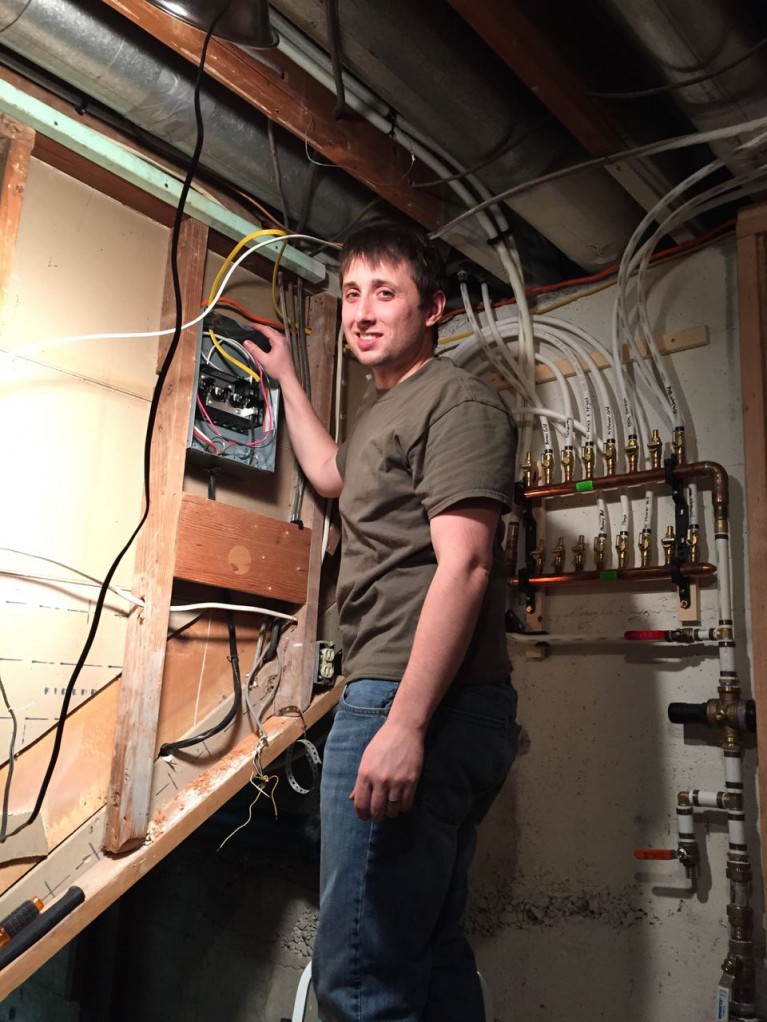
Here we are last week working on running the new wire to the subpanel.  We had to cut some access holes in the wall to make the run.  We pulled the new wire into this crazy junction box, which is the old circuit breaker panel and then into the main panel.  The actual main panel is right behind this large box on the outside of the house.
BasementPt3_01

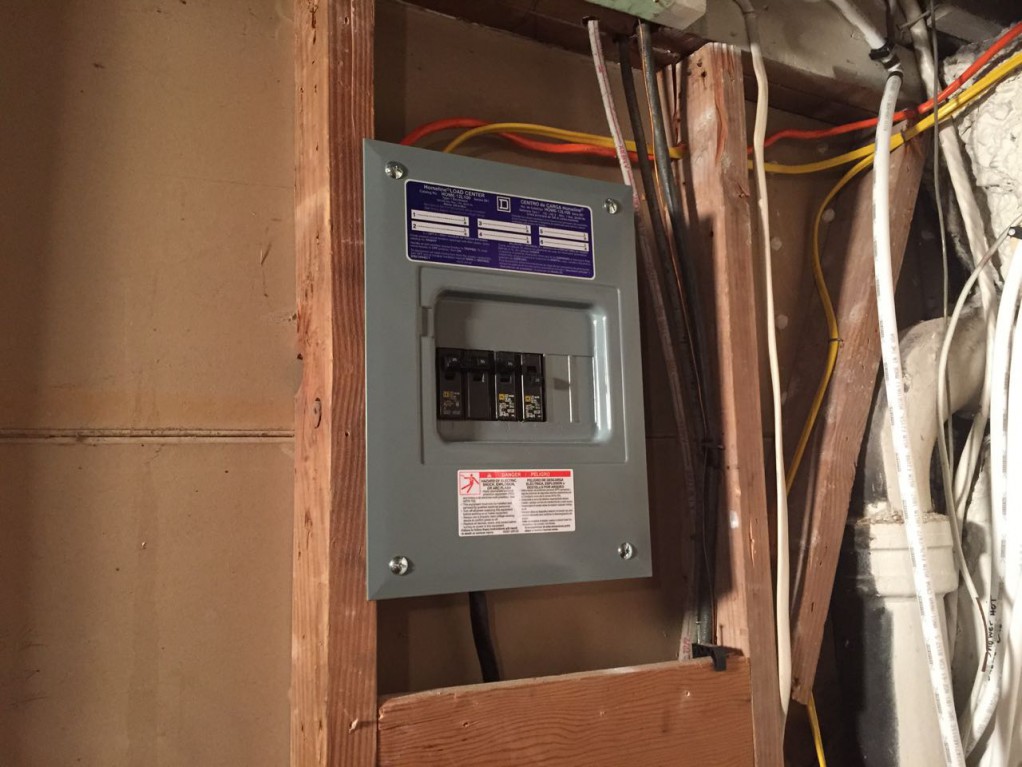
Wiring up the new subpanel.
BasementPt3_02

Heres what it looks like so far.  We have a couple more circuits to put in when we do the bathroom.
BasementPt3_10

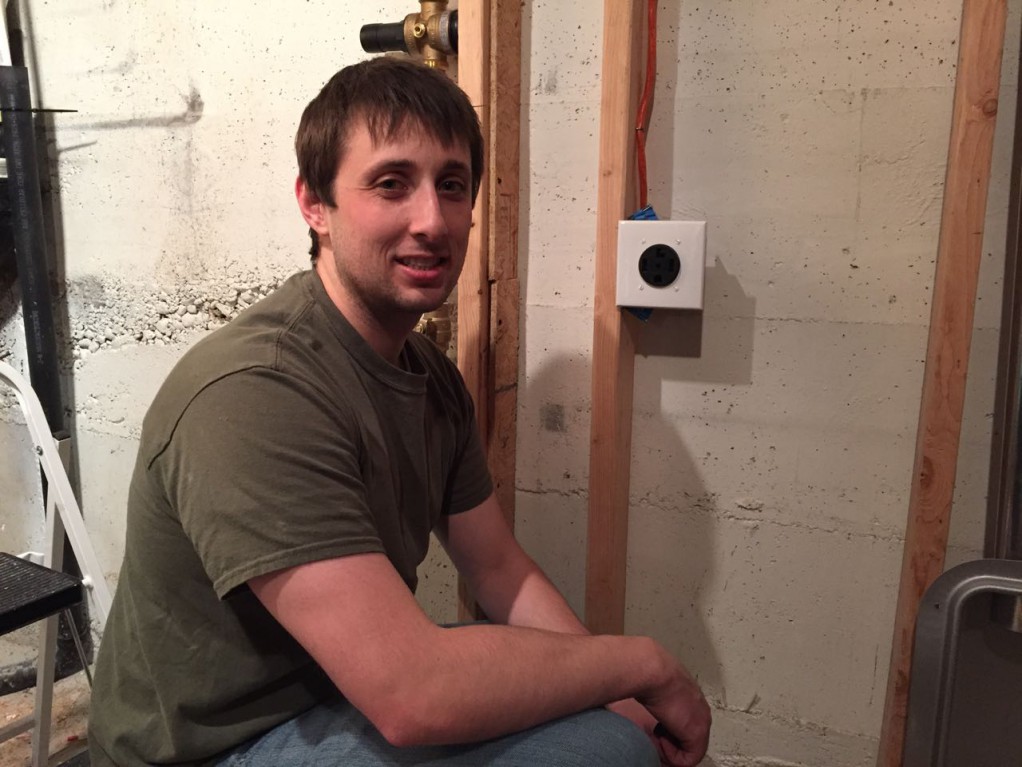
Getting the new dryer plug wired up and ready to go.  I’m getting tired.  This is 9pm on Friday.
BasementPt3_03

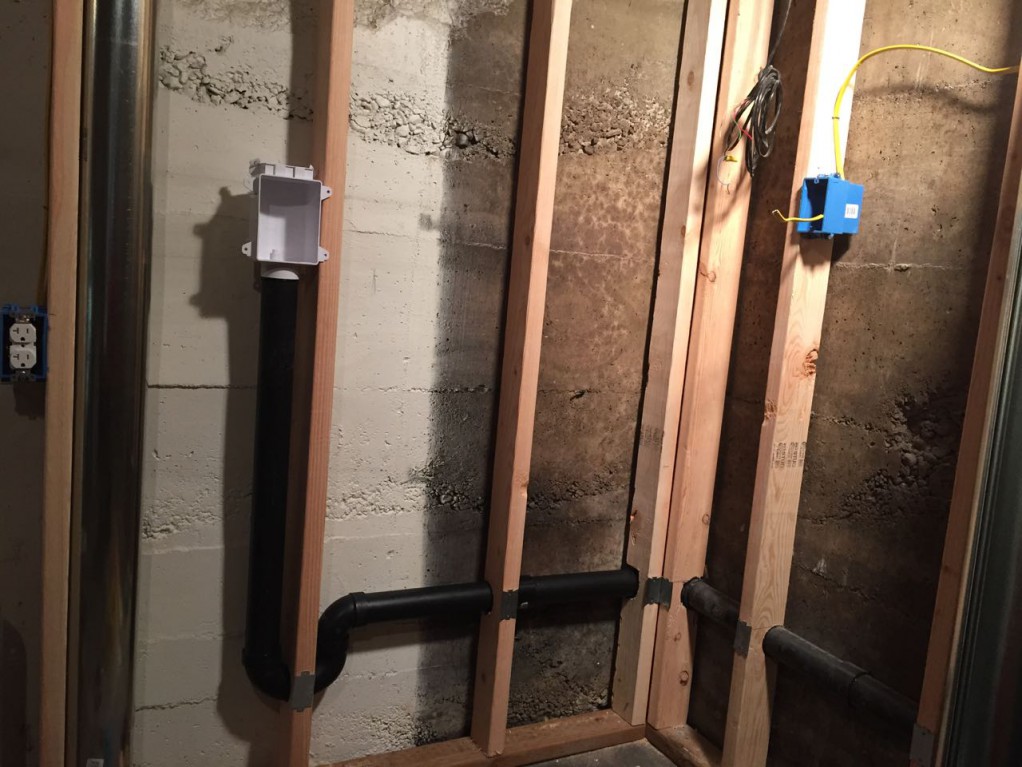
The drain line is now finished.  Time to call it a night.  10pm Friday.
BasementPt3_04

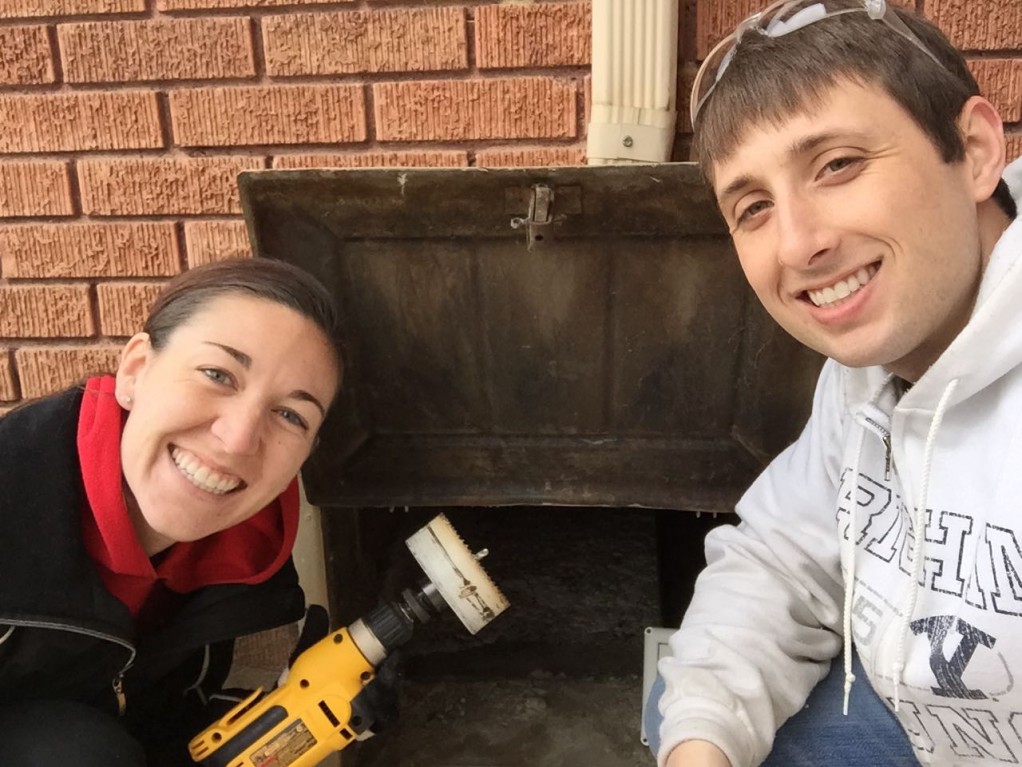
Saturday must be here.  We both look rested and energetic.  After a run to Home Depot for various supplies, we started working on cutting the hole in the old coal chute door.  We’re using the coal chute space for our dryer vent.  Kathryn is holding what used to be a hole saw, R.I.P.  After figuring out where we needed the hole, I drilled the pilot hole.  That went just fine.  Then I touched the hole saw teeth down and they started to cut…for about 2 seconds.  After the ~2 seconds, we stopped cutting the hole and started cutting away the teeth.  This all happened even with cutting lube.  This is a cheapo Harbor Freight hole saw that is supposed to be able to cut wood or metal.  Am I surprised the saw failed?  Not at all.  It did make two other important holes for us, so it was worth the money we paid for it.  Luckily we’ve accumulated a pretty good tool collection working on this old house and we got out our jig saw and it was able to make the cut in decent time.
BasementPt3_05

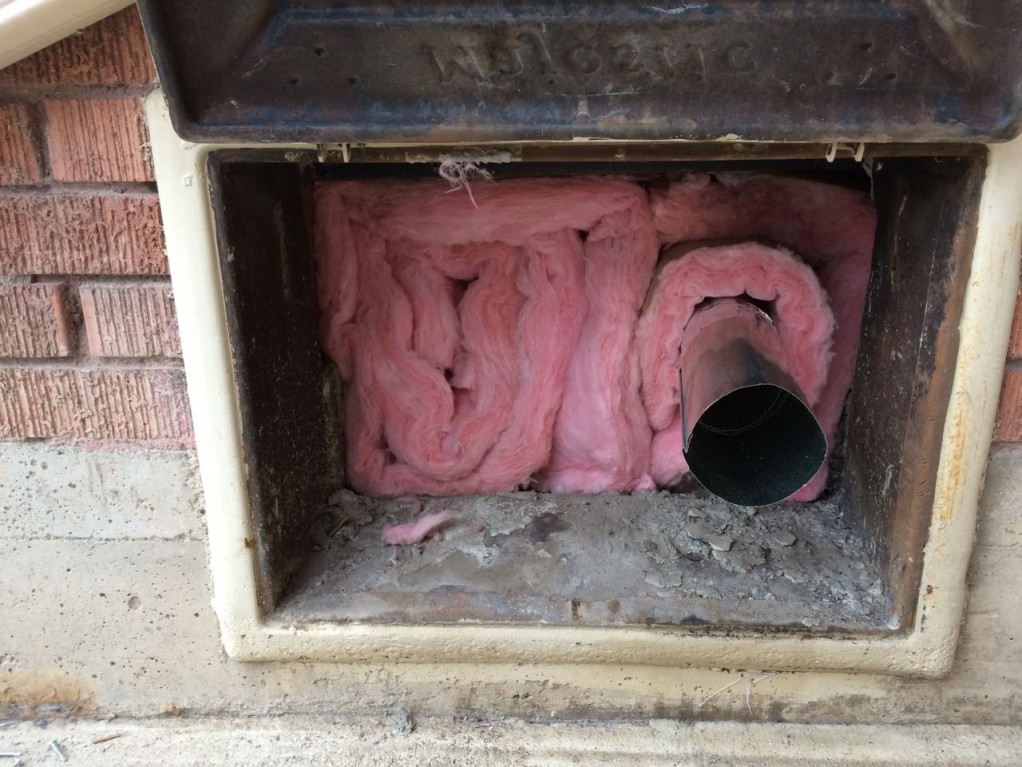
Prior to starting this basement project, we never once opened up the coal chute door.  I guess we just assumed it was sealed shut.  Once we got the idea of using it for the dryer vent, we pried it open to see if that would work.  What we found was a straight shot right into our basement under the kitchen floor for about 5 feet.  All that was keeping the bugs out was nothing.  All that was keeping the heat in was an 1/8″ piece of steel.  No wonder the floor under the kitchen table has always been a little chilly in the winter.  Thus, the insulation we packed in around the dryer vent.  This can do nothing but help make the house a little more comfortable and efficient.
BasementPt3_06

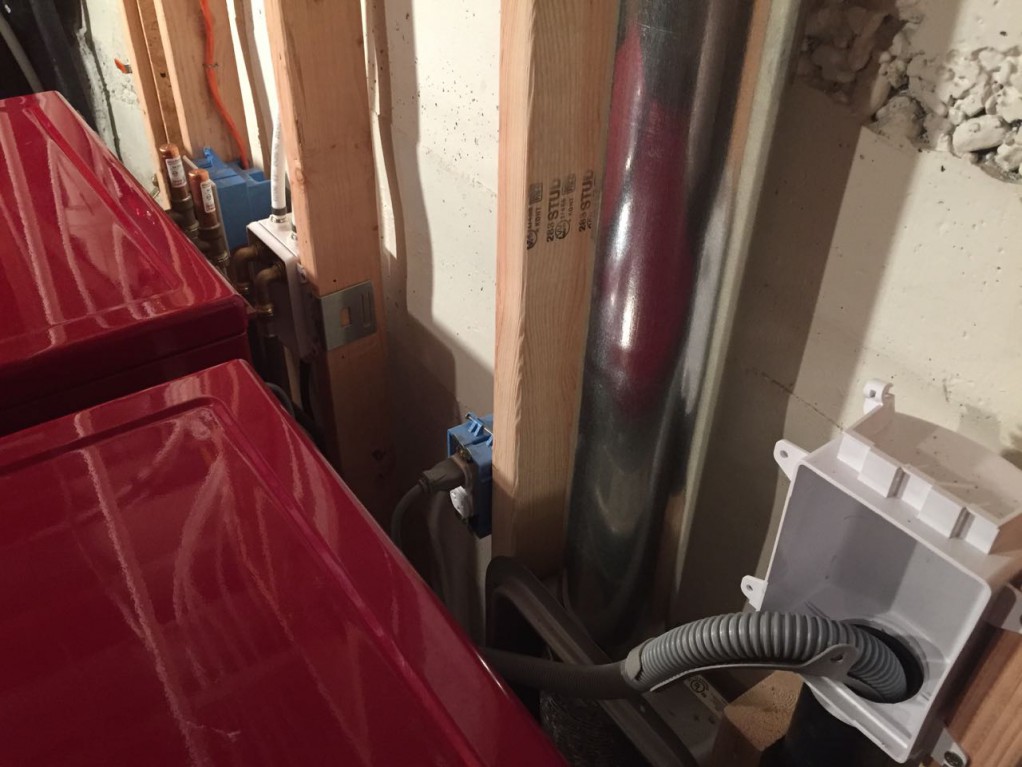
Here is a picture of the dryer vent all finished.
BasementPt3_09

Kevin was great to come over Saturday evening and help drive us to victory.  He helped me finish up a couple of the odds and ends jobs.  Then he was part of the muscle of the operation.  The dryer is pretty easy to move around, but the washer is quite heavy!  Thankfully we didn’t have to do any stairs.  Kathryn was feeling a little bad that we were doing all the heavy lifting while she was watching.  I told her that there is more to an operation than just the muscle.  “That’s good,” she said, “because I’d like to continue to be part of the operation.”  BasementPt3_07

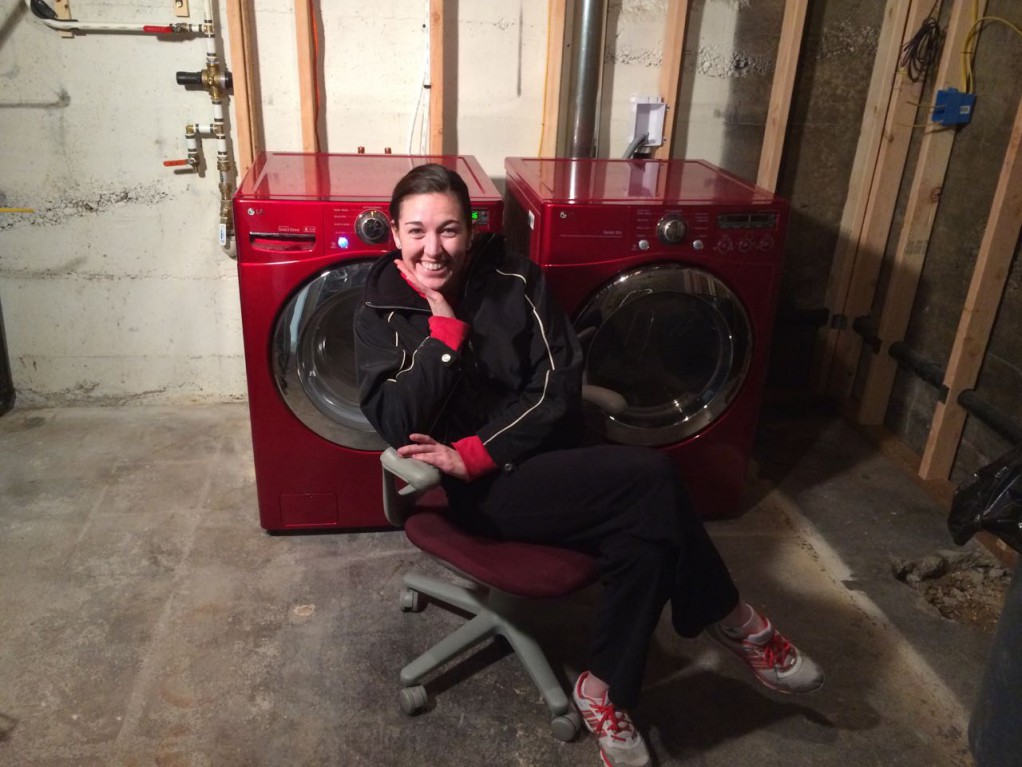
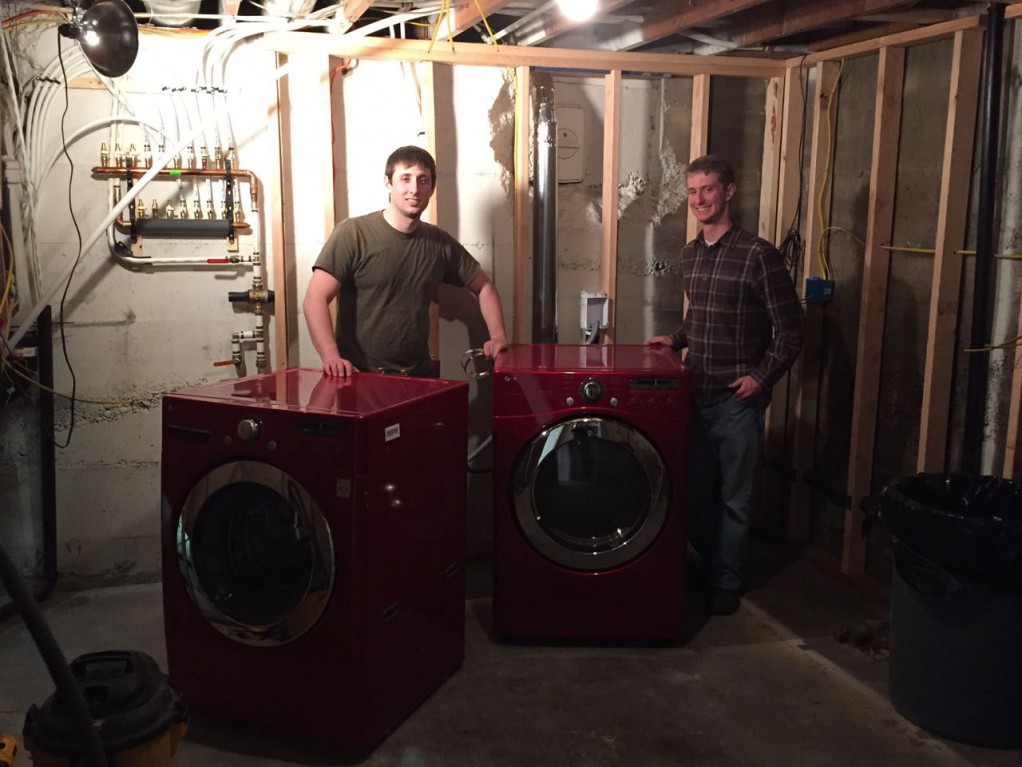
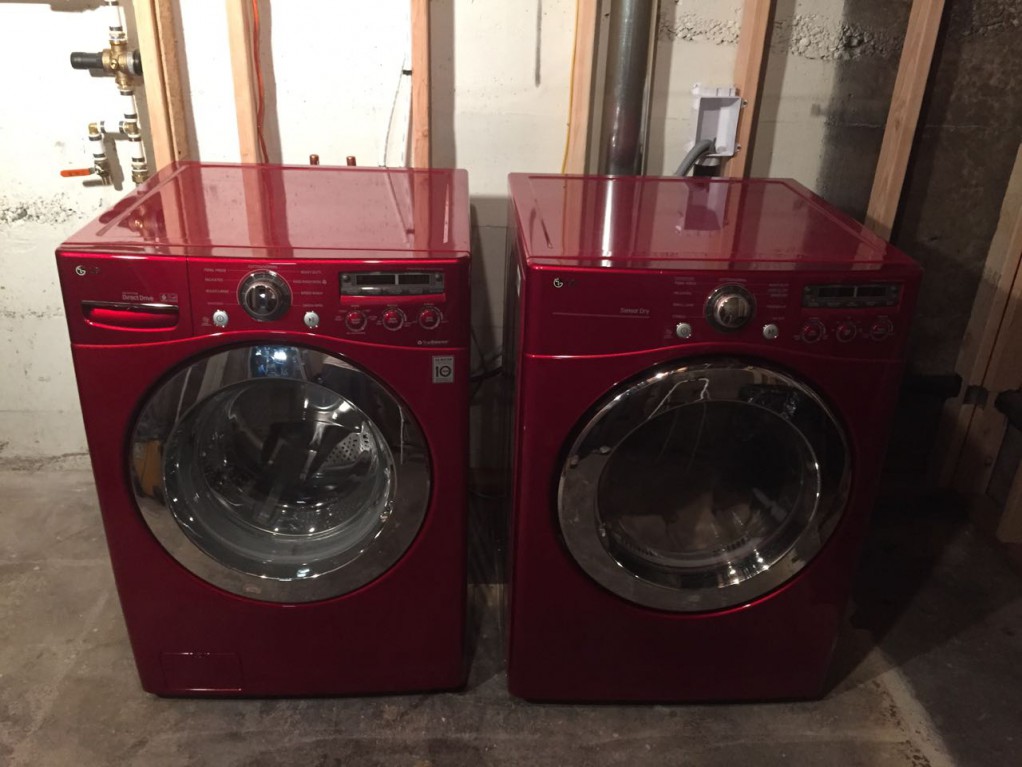
Here they are, fully operational.
BasementPt3_11

The hookups.
BasementPt3_12

The old nook, soon to be morphed into the 2nd half of the new bathroom.
BasementPt3_13