Tag Archives: house project

Upstairs Air Conditioner

The upstairs room is definitely one of our favorite places to hang out in the house.  Especially now that we have the nice bathroom up here.  The problem is that during the summer, it gets so hot in the room.  The house AC can’t cool the room without freezing out the rest of the house.  So, we decided to put in an air conditioner for the room.

One of the main requirements was that it be quiet.  We love to watch movies up here, and nothings worse than having a loud fan or other noise source that makes it so you can’t understand the words in the movie.

Also, the room also gets cold in the winter so we’ve been using a little electric room heater.  It would be nice to have something that could heat in the winter as well.

So we decided to put in a mini split AC unit.  These aren’t very popular in the US, but are used extensively throughout the rest of the world.  I had them in a couple of my mission apartments and I liked them.  Basically, it’s like a house AC system where you have the compressor unit on the outside of the house.  Except instead of having the evaporator, or cooling cools inside the furnace, they go to a wall unit.  The wall unit is very quiet since it’s just a fan.  The compressor is typically the noisier unit, and it’s located outside.  Additionally, you can run the unit in reverse in the winter and it becomes a heater.

Here is the evaporator, or the wall unit.
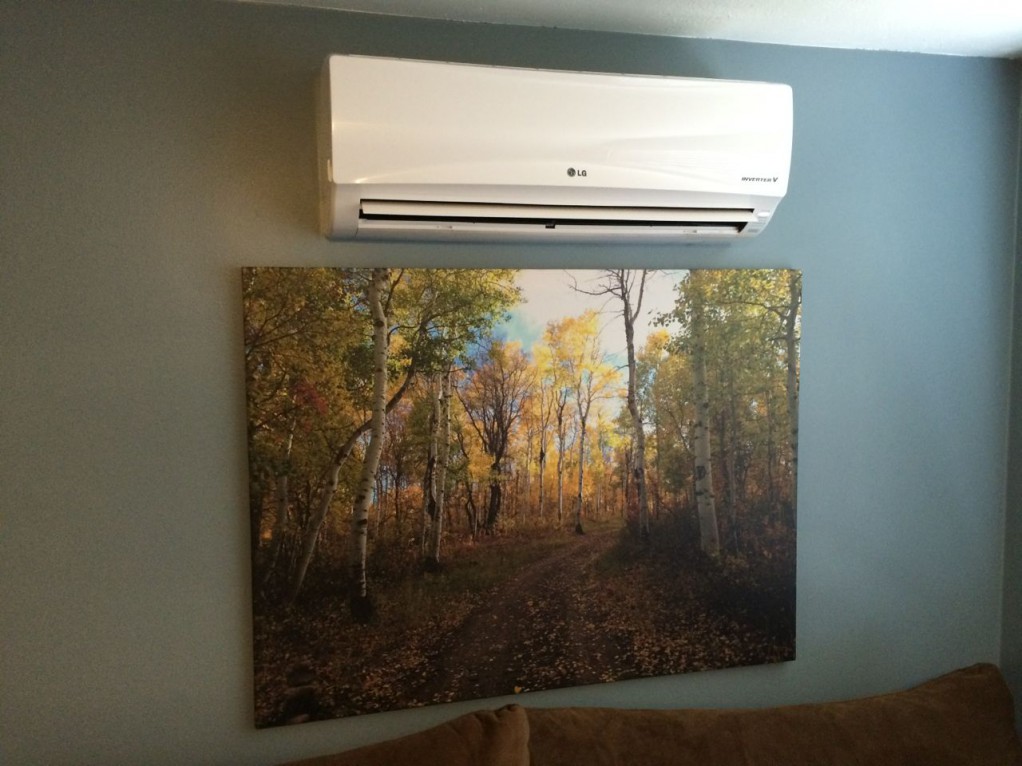
IMG_7425

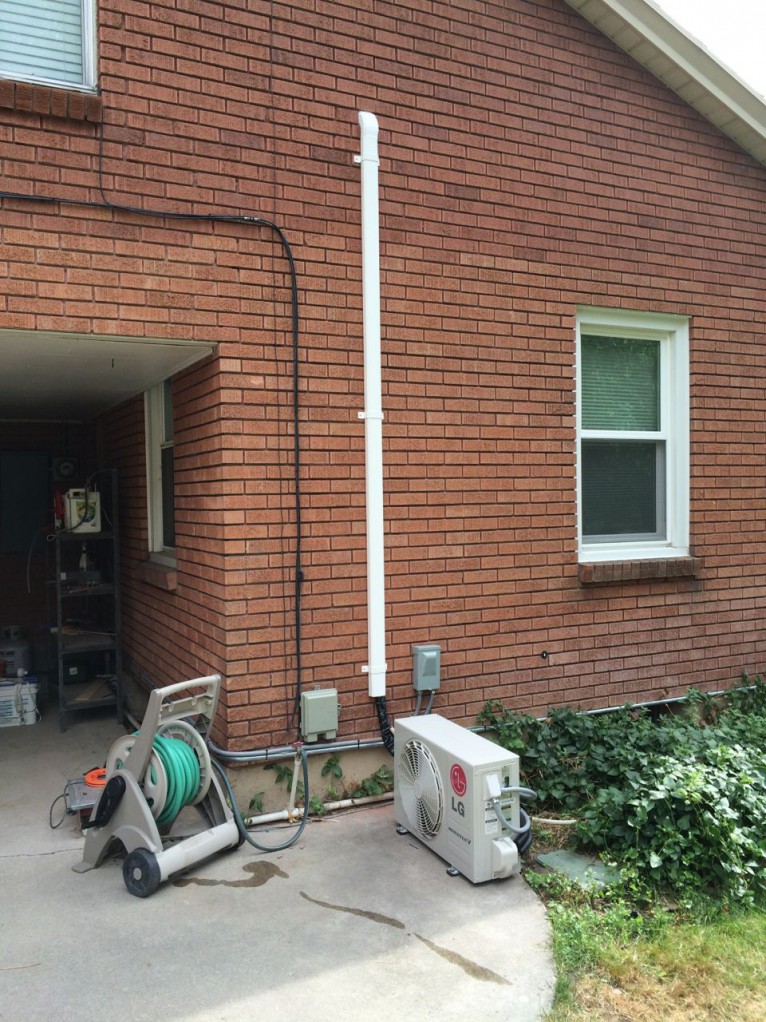
Here is the compressor with the lineset running up the wall into the attic.
IMG_7424

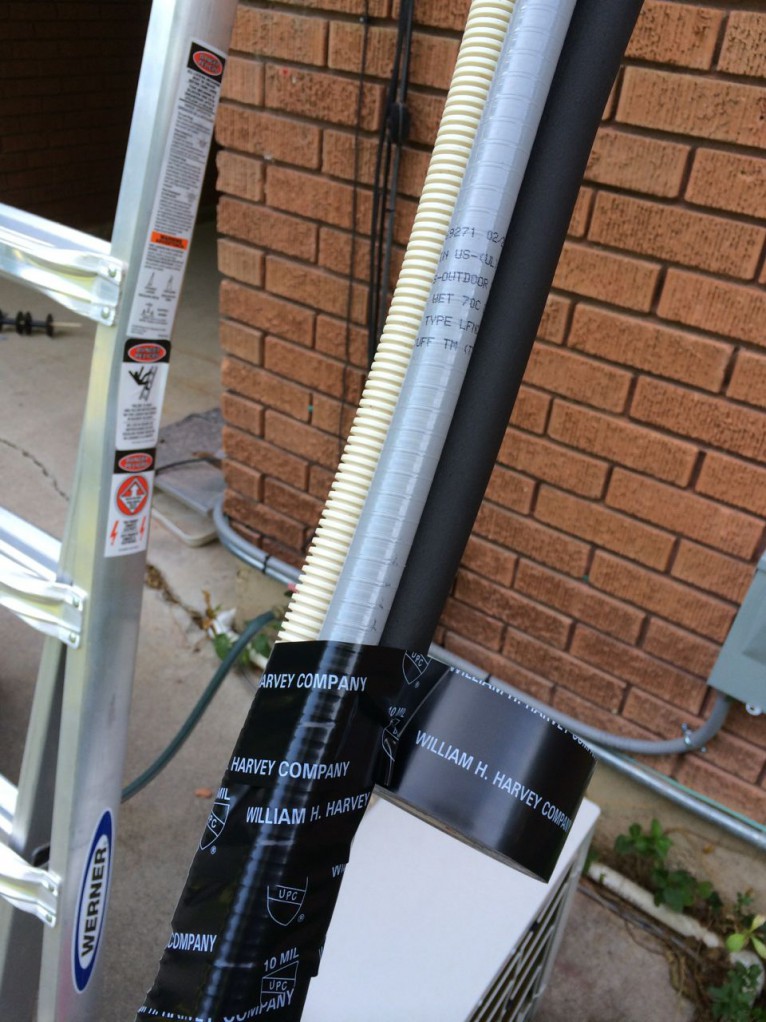
The lineset is composed of a high pressure refrigerant line, a low pressure refrigerant line, electrical line to power the indoor unit, and a drain line to drain the condensate.
IMG_7358

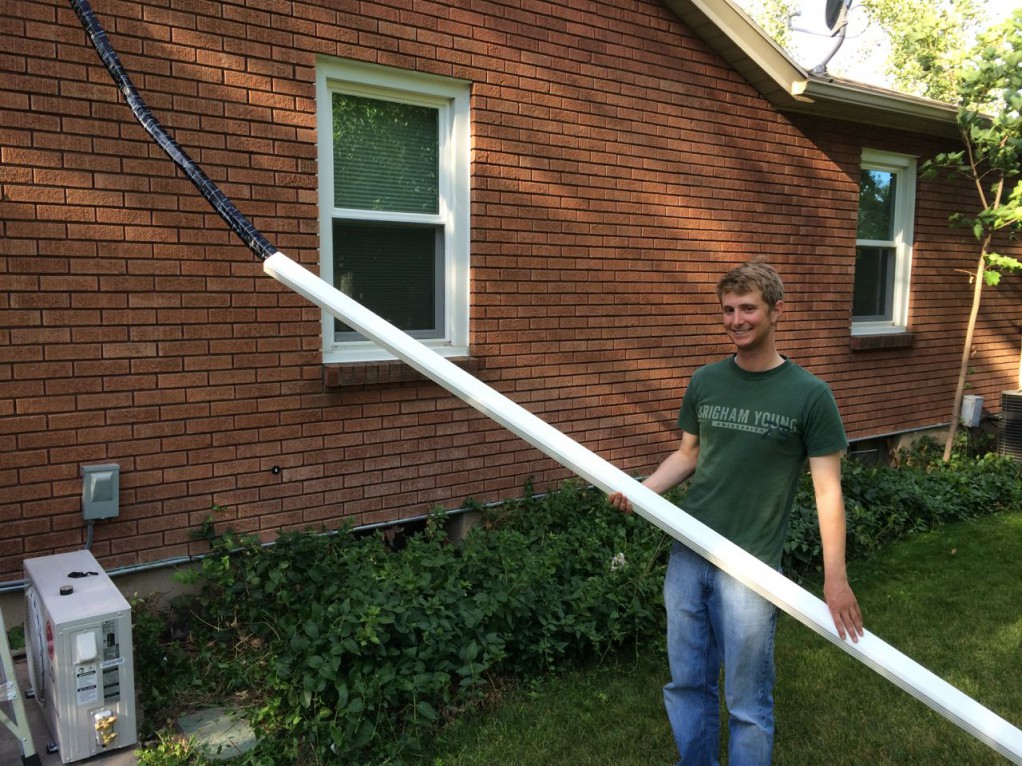
To give it a cleaner look, we ran the lineset inside a gutter downspout.  Kevin has been our amazing helper on most of our house projects.  He was in town for a missionary homecoming and stayed an extra day to help us do some of the two man stuff.
IMG_7362

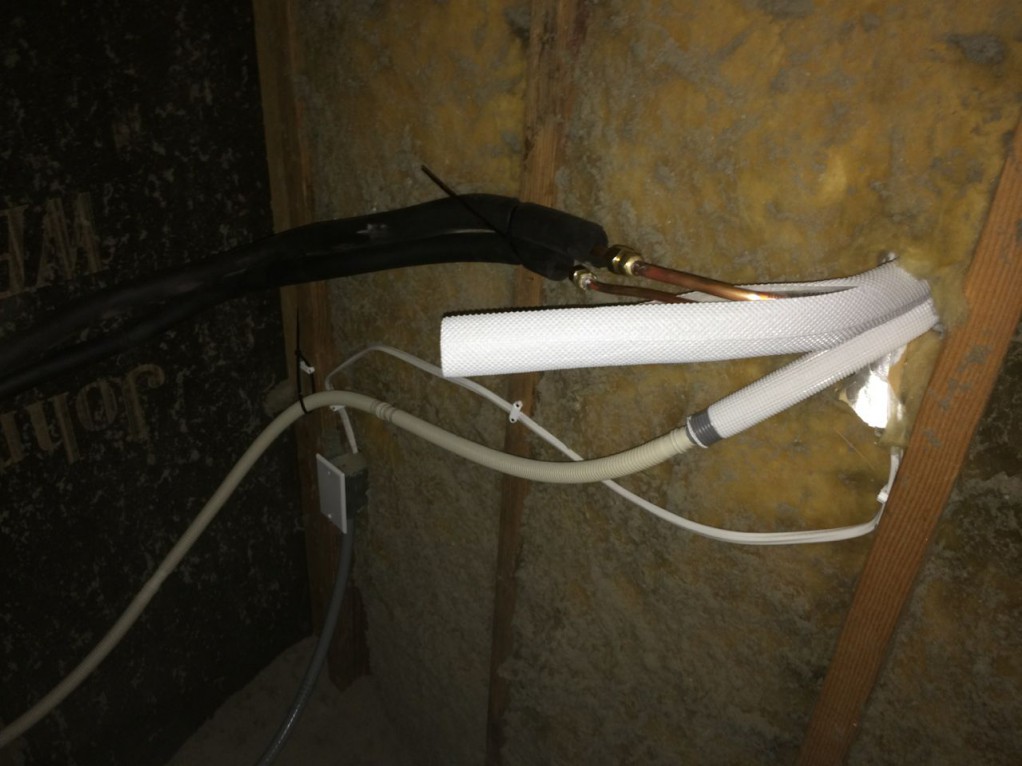
I got to spend some quality time in the attic doing the wiring and hooking up the linesets.
IMG_7370

The AC unit is fantastic and easily cools the room.  Now we are able to enjoy the room year round.  If you have a single room that you need to cool, these units are perfect.
Bathroom Remodel Part 5

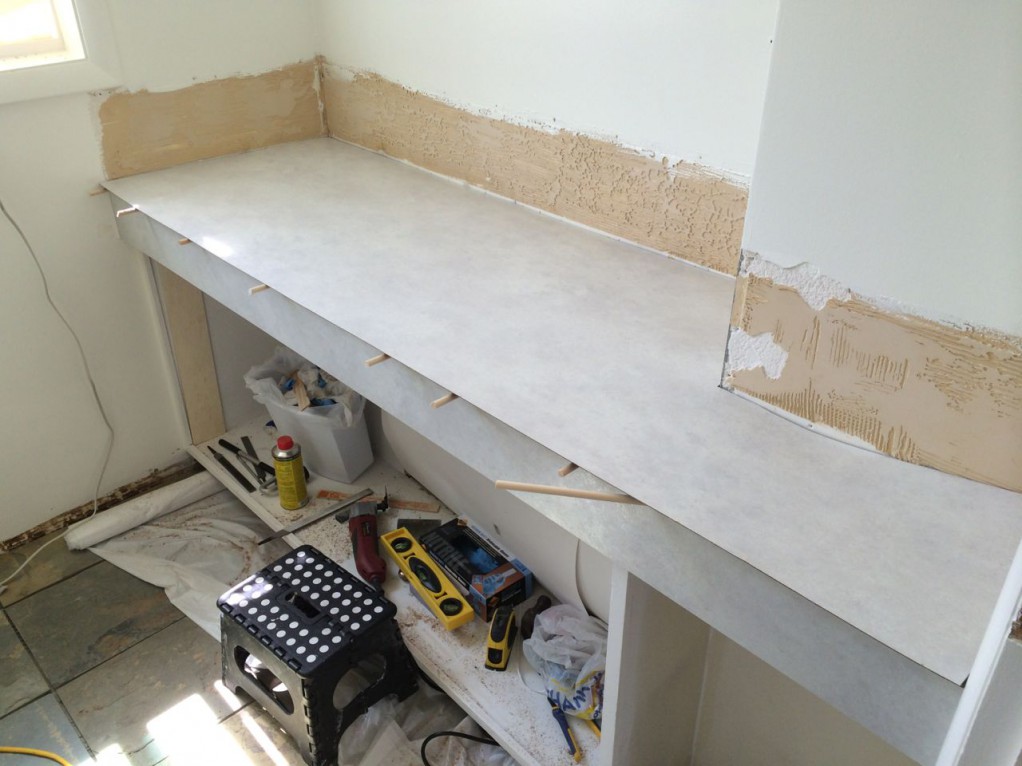
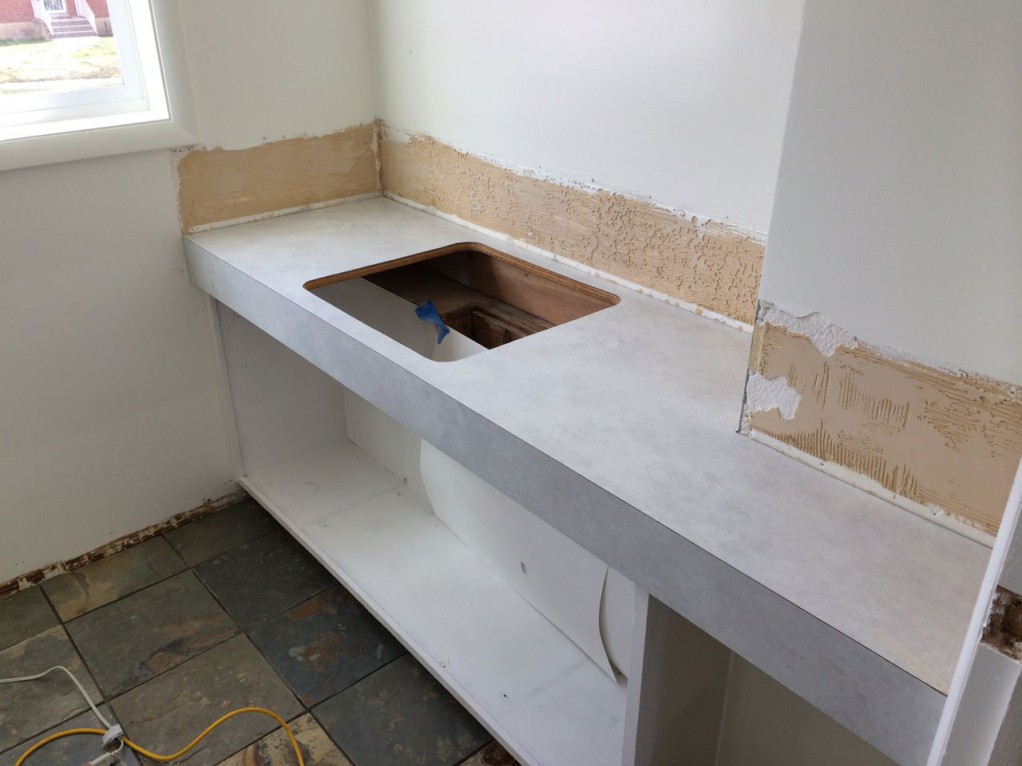
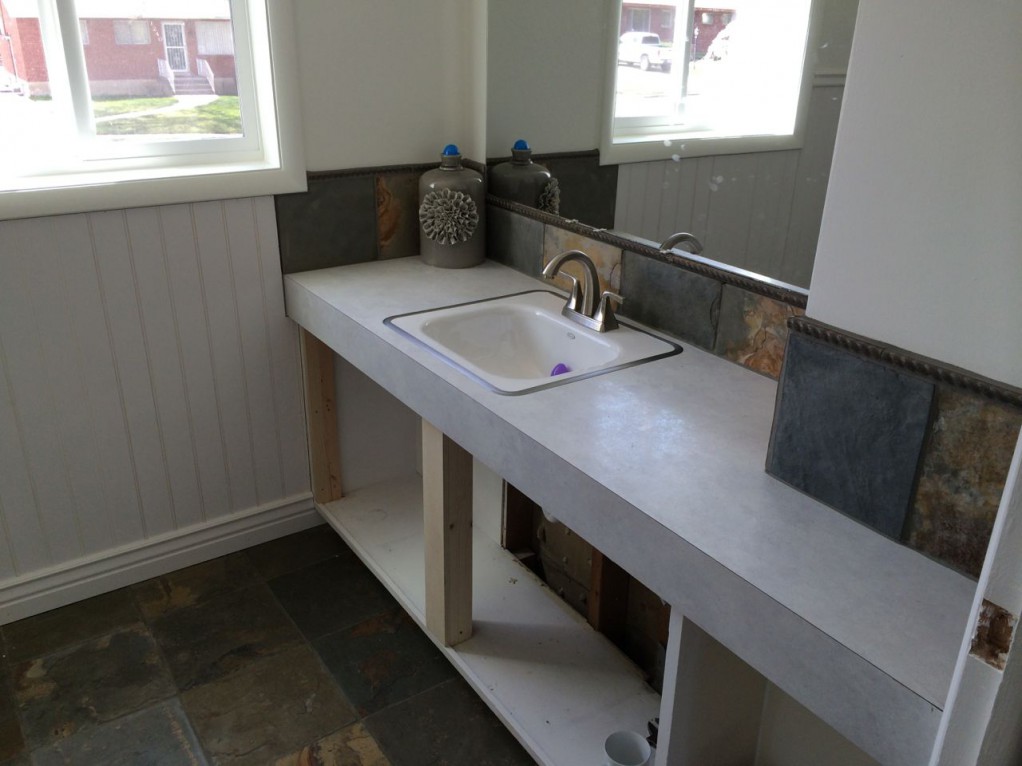
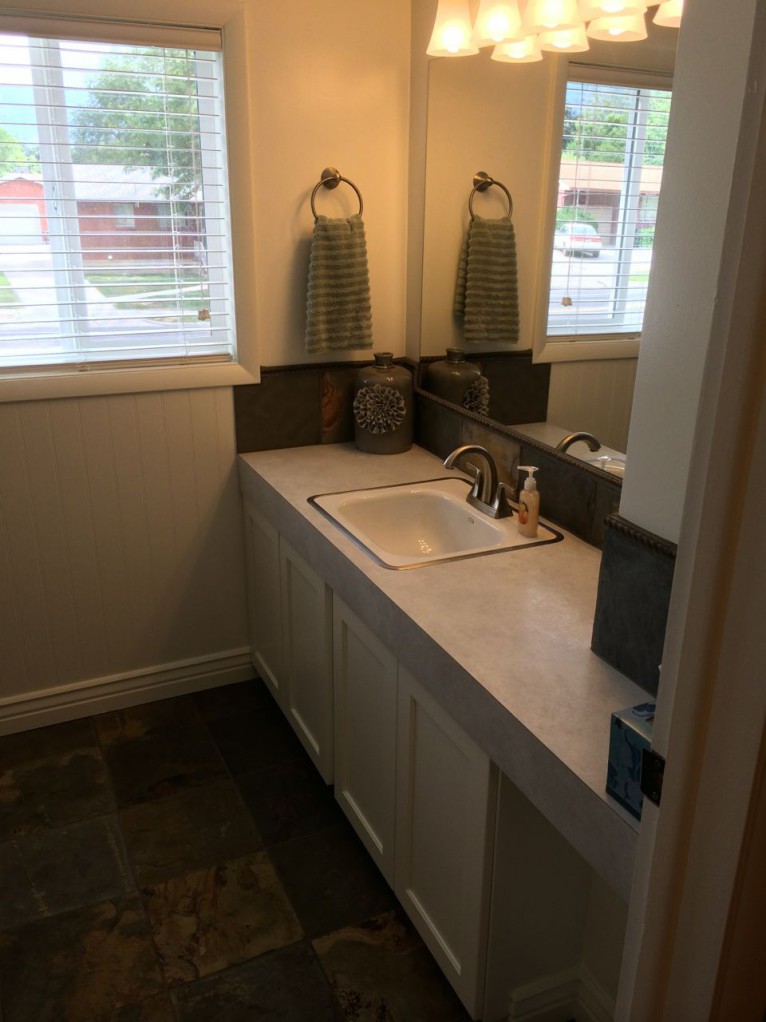
These pictures are from back in April.  The time has just gotten away from us this summer!  We put on a new countertop surface and cut in the sink hole.
IMG_6341

IMG_6344

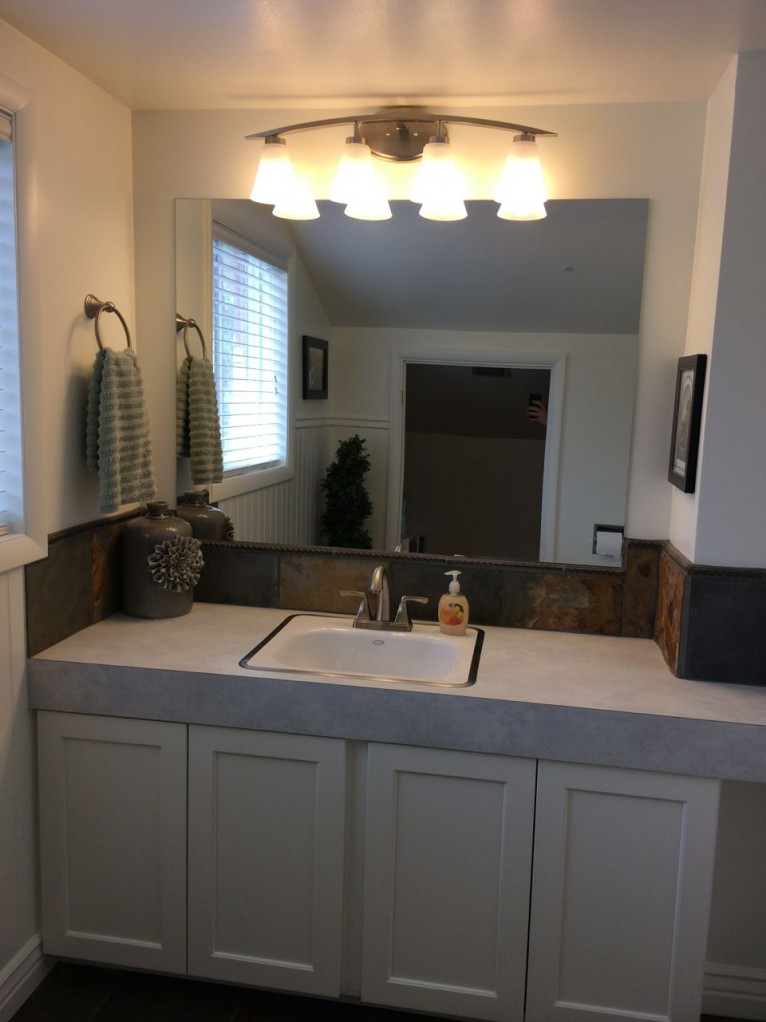
Then we put on the backsplash and the mirror.  Kevin came and helped us put in the sink.  It was a little tricky because it is a heavy cast iron sink held in with a houdini ring.  Kevin basically laid under the counter and held up the sink while we quickly installed the hangers and tightened them down.
IMG_6570

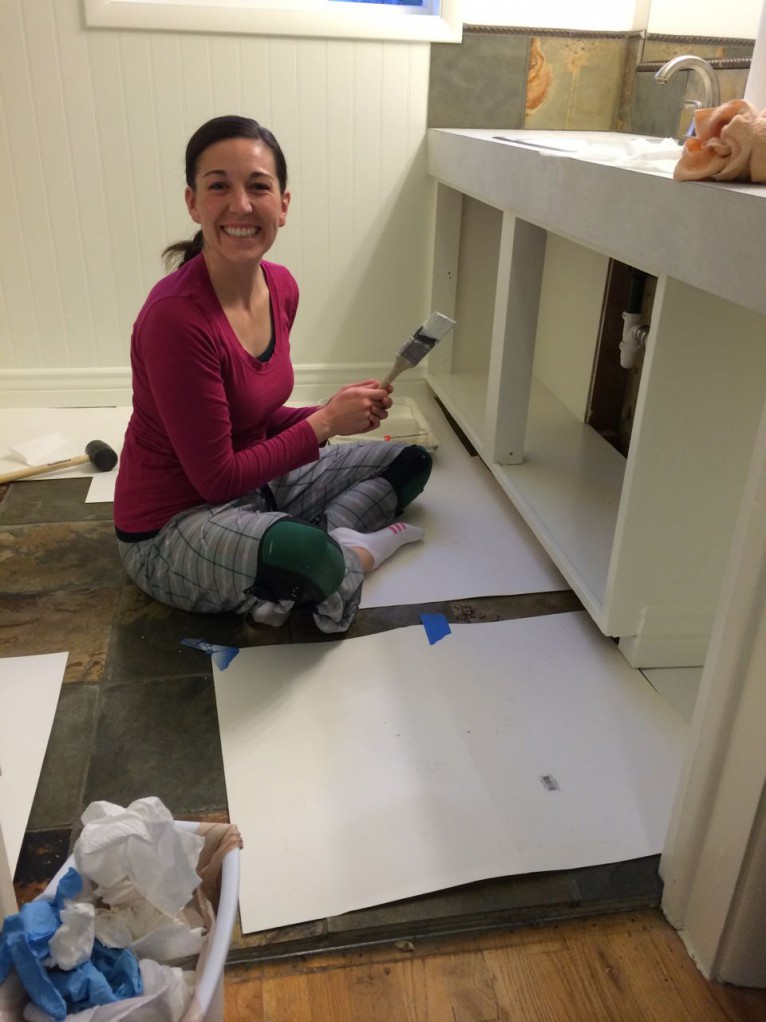
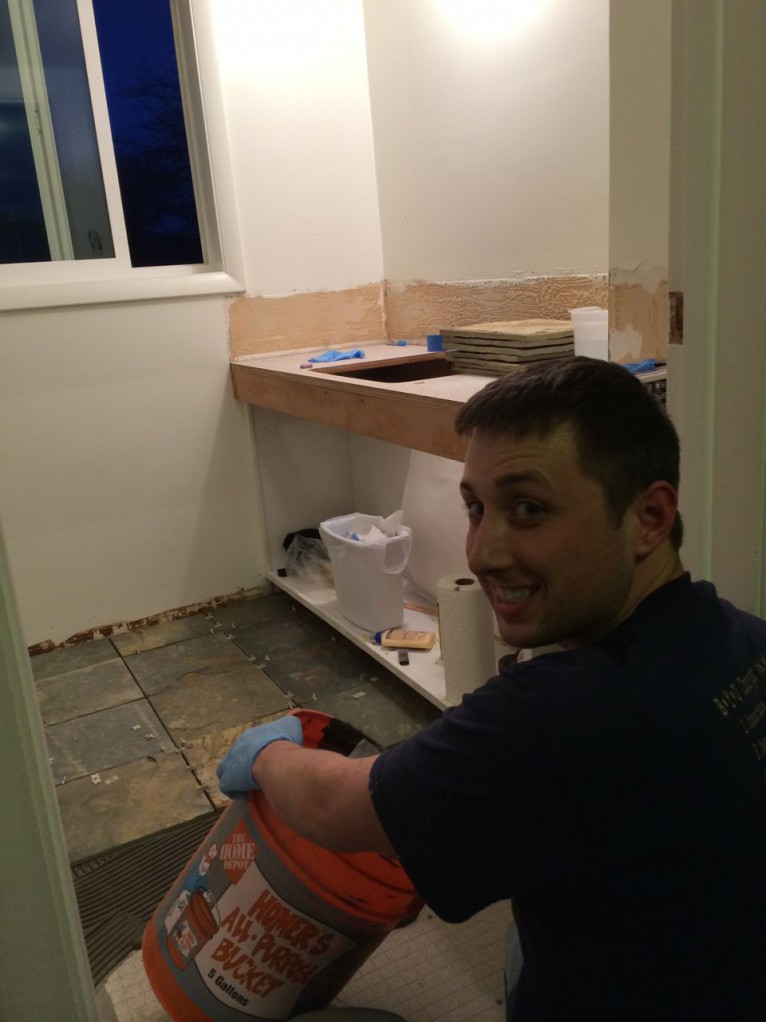
Here is a shot of Kathryn hard at work.  She was a tremendous help on this bathroom project and I want to make sure she gets plenty of credit.  Not shown is that she grouted and sealed the tile all by herself.  It was like magic when I came home from work and it was done!
IMG_6662

Bathroom Remodel Part 4

The word of the day is tile!  Special thanks to Kevin for coming over again and helping out, and for Suzanne for coming over in the evening to help with Ashley.  Also, a huge thanks to Kathryn for all she did.  She was instrumental in making the day a success.

We took off early on Friday and drove to Bedrosians in Salt Lake.  They are an amazing place to find any kind of tile imaginable.  We decided to get the same type of slate that we put on our fireplace upstairs.  It’s called Butterscotch Slate.  We loaded it all up in the back of Darbus (our CRV).  Upon pulling out, these lyrics came to mind:

♫Low-ri-der
Low rider drives a little slower
Low rider is a real goer♫

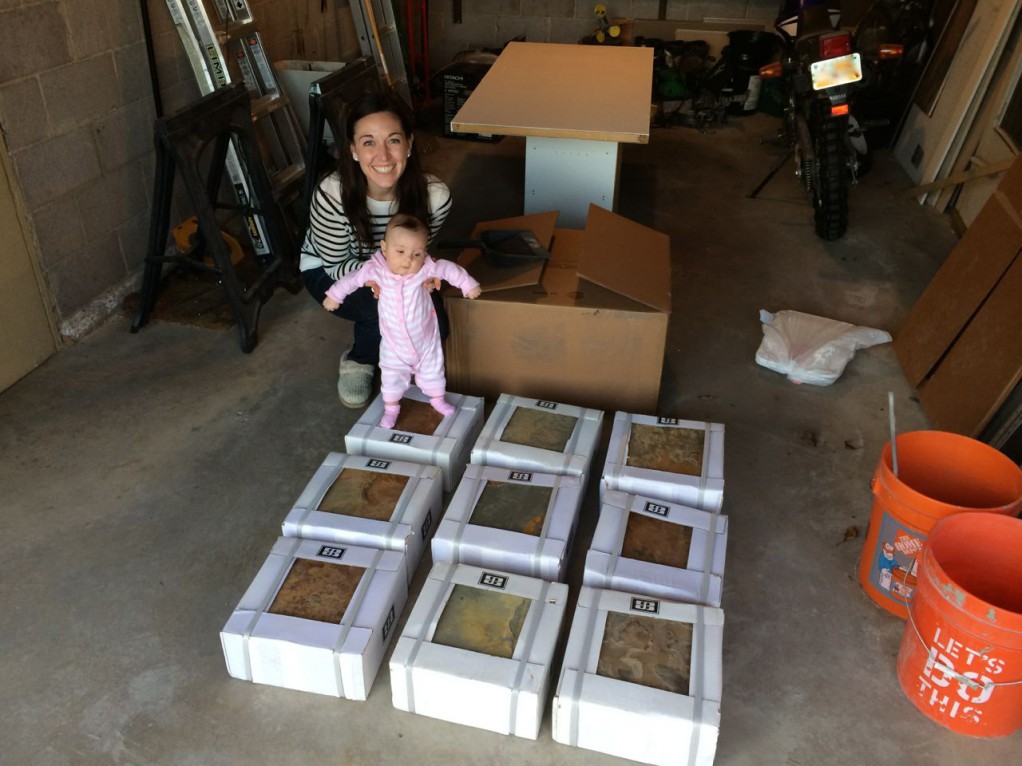
We made it home and unloaded the tile.  Here is our hoard.  Similar to what Forrest said, life is like a box of slate, you never know what you’re going to get.
bathroom4_1

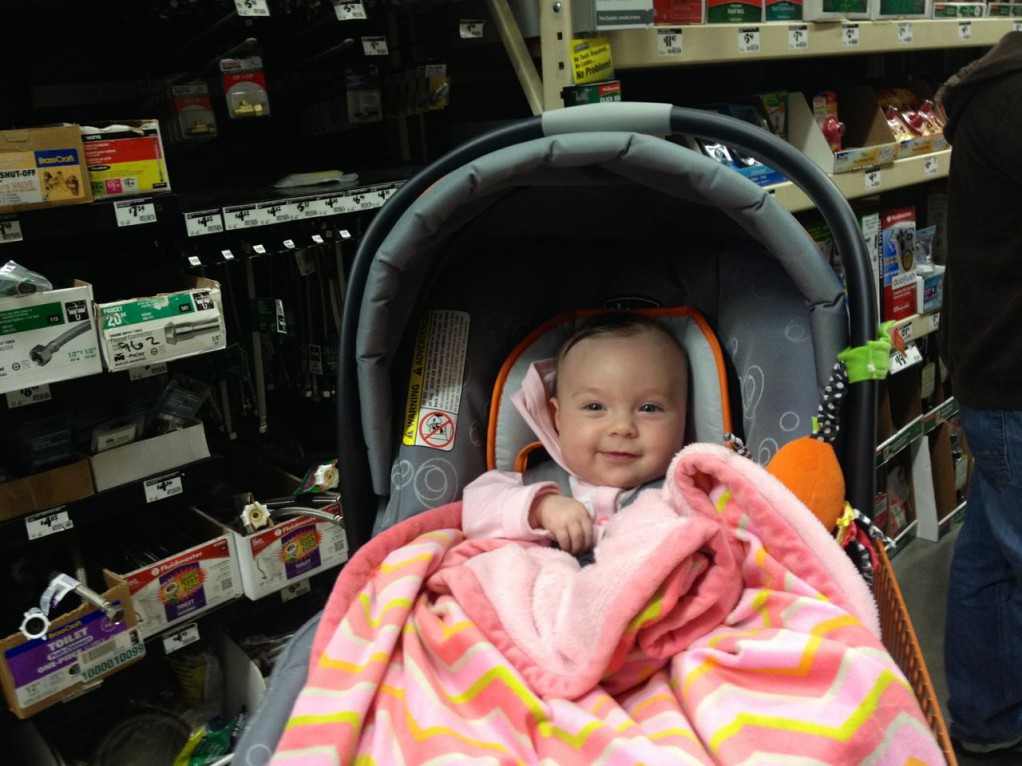
We are training Ashley to love Home Depot.
bathroom4_2

Funny story about Lowes.  We were in the store a while ago and saw a faucet we liked.  We didn’t buy it at the time though.  A couple of days later, we decided we wanted to go ahead and get it and in order to save the trip to Orem, we decided to buy it online.  Several days later it came in the mail.  We put the unopened box in our bathroom pile upstairs.  A couple of weeks went by the other night I was finally ready to open it up and take a look at it.  I opened the box and what did I find inside?  A pack of paper plates!  Granted, these were premium outdoor picnic paper plates.   Kathryn thought I had pulled a fast one and was joking.  Nope.  We looked at the invoice and sure enough, it had the faucet we ordered on it.  Well, looks like we’ll be making the drive to Lowes afterall.  I doubt it’d go very well to return the plates in the mail asking for our faucet instead.

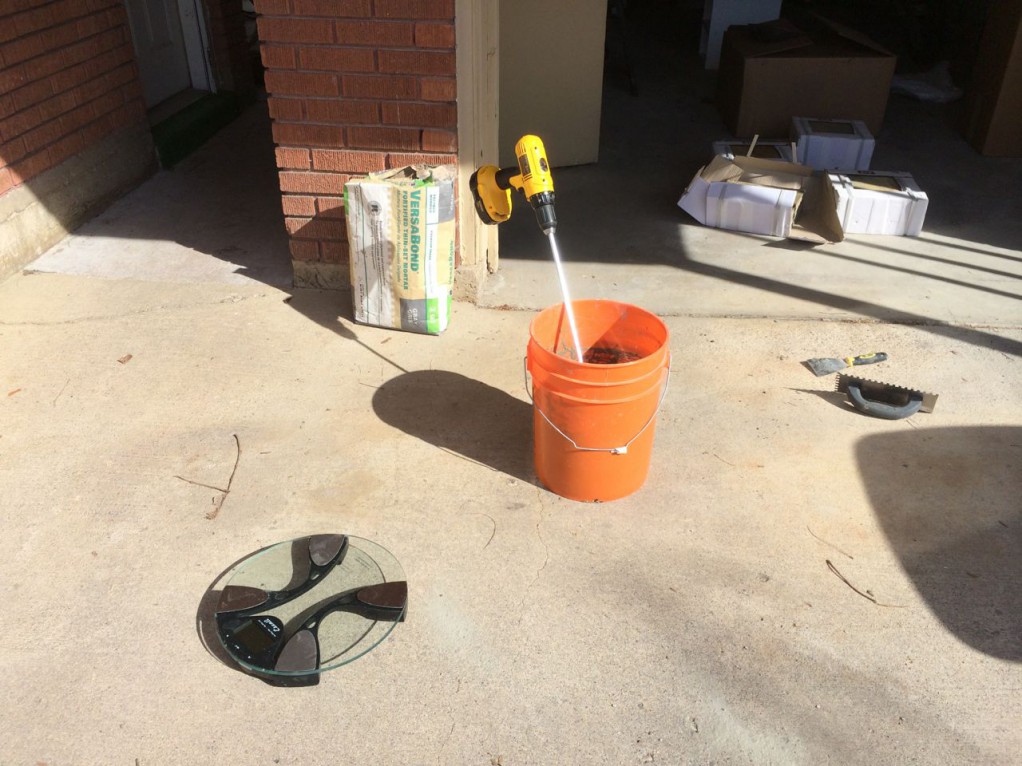
Back to the tile, here is our mud mixing operation.  We’ve discovered it’s easier to mix the mud by weight of powder and volume of water, than trying to guess on the ratios.  Hence the bathroom scale.
bathroom4_3

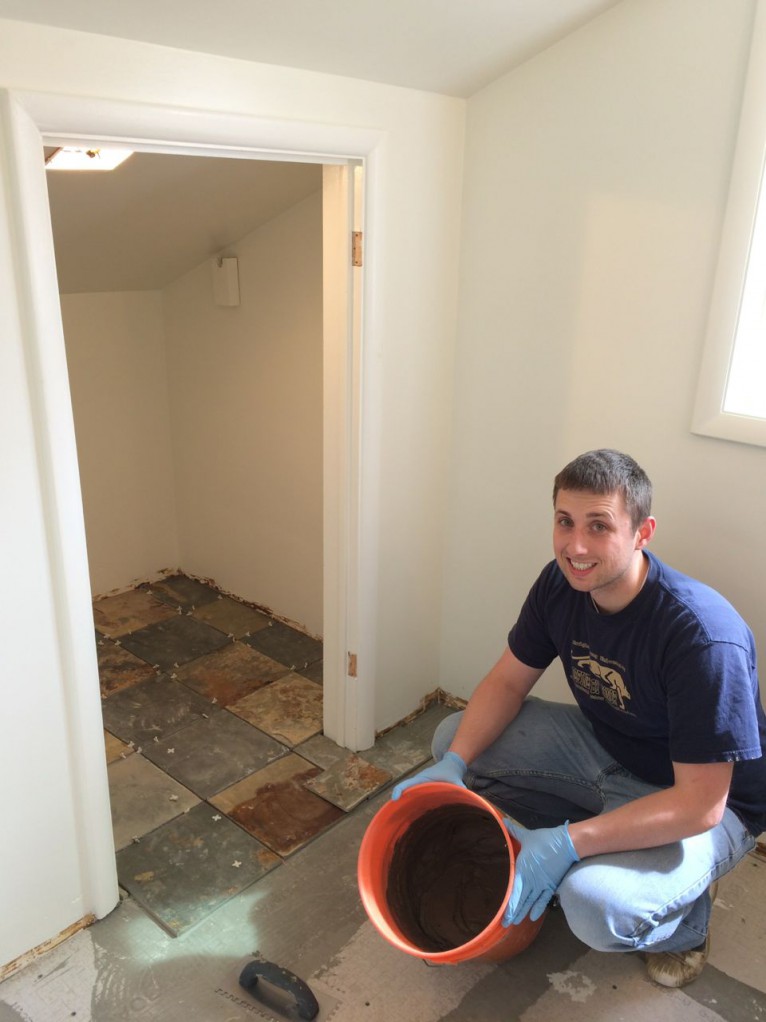
Closet is done and we’re ready with another batch of mud.
bathroom4_4

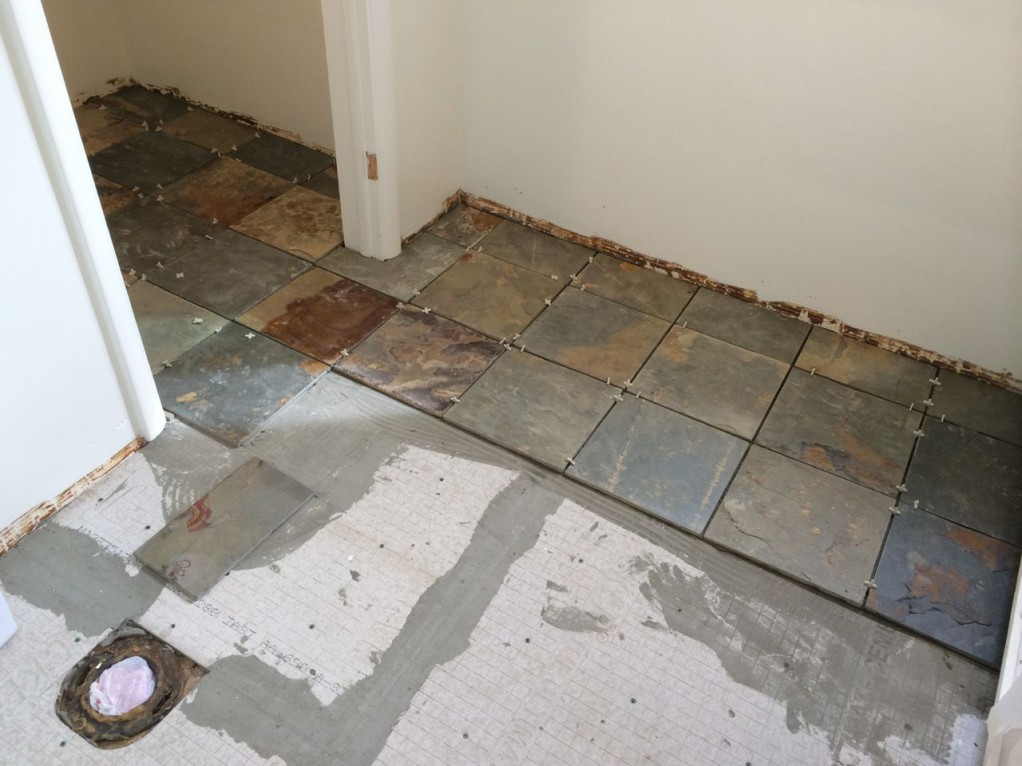
Making progress.
bathroom4_5

On the home stretch!
bathroom4_6 

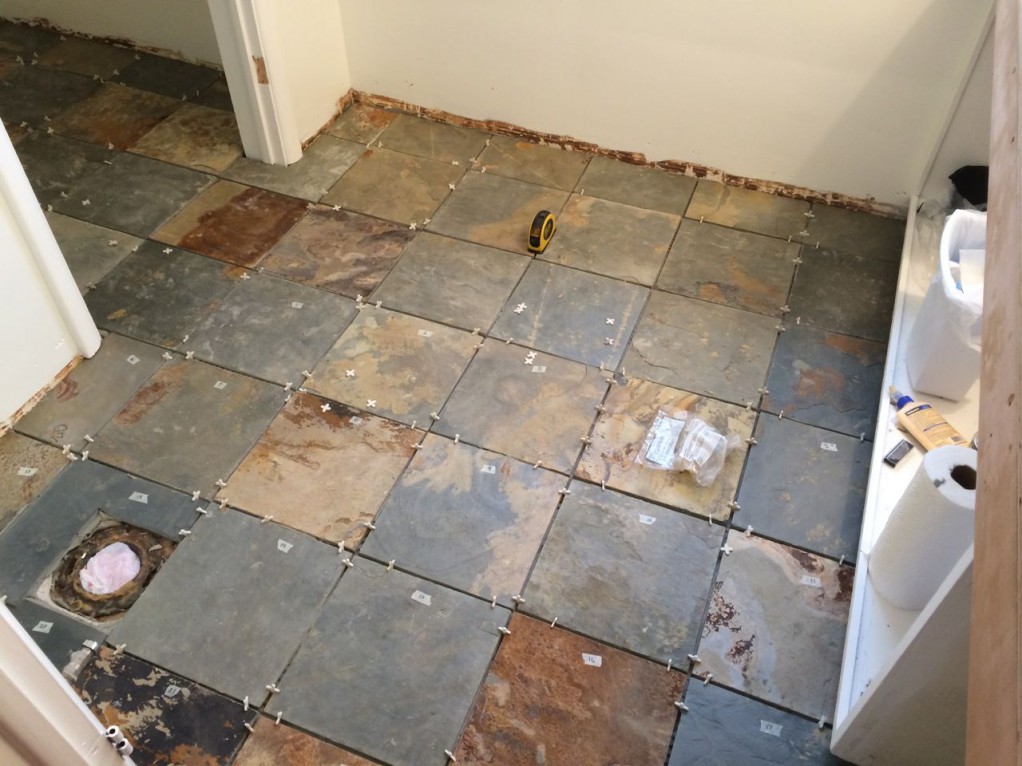
All the floor tile is down!  Yeah!
bathroom4_8

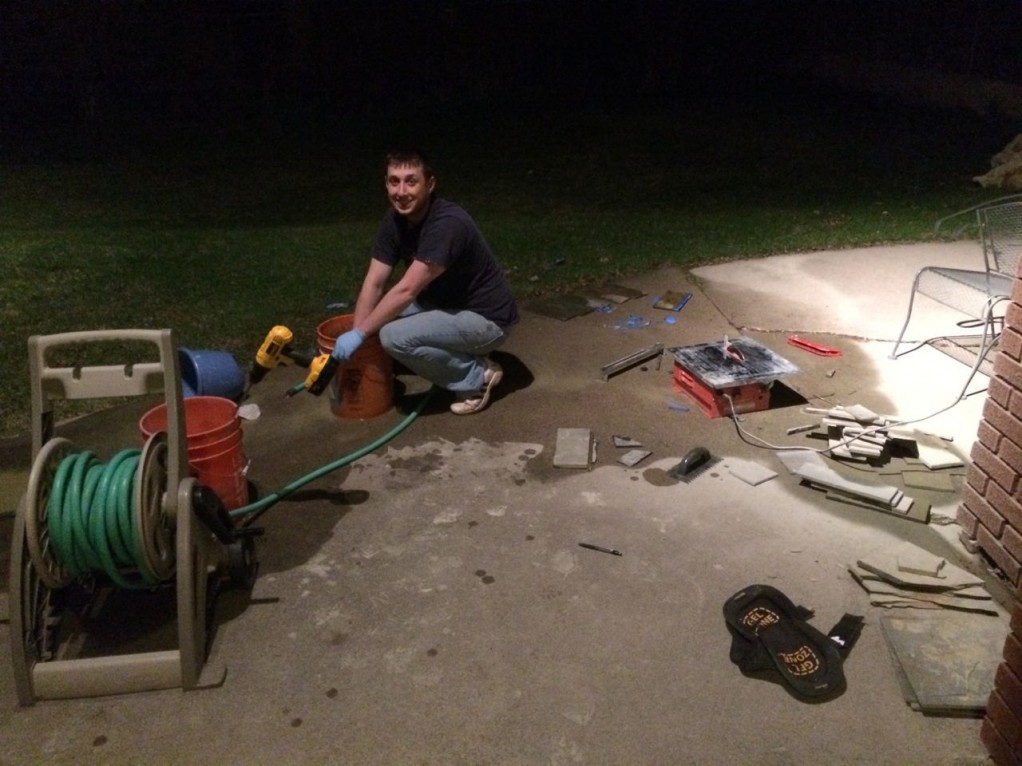
Cleaning up.  Doing tile makes quite a mess.  We’re glad to have a back patio that works well for the job.
bathroom4_7

There you have it.  Another Saturday dedicated to this bathroom project.  Again, a huge thanks to Kathryn for her help.  She’s the amazing behind the scenes helper making everything come together.

We’re getting really excited to wrap it up and do other things on beautiful Saturdays.  More to come as it comes.